
You may have noticed that the tips of your shoelaces (called the aglet) get frayed and damaged more frequently than the rest of the shoelace. Although you can easily replace your shoelaces, how about doing some DIYs?
If your shoelace aglets are frayed, damaged, or broken, you can easily repair them using some basic materials like heat shrink tubes, crafting glue, plastic line, or adhesive tape. Here is the list of hacks that will help you fix your shoelace aglets.
- Hack # 1 Fix Shoelace Aglets with Heat Shrink Tubes
- Hack # 2 Fix Broken Shoelace Aglets with Craft Glue
- Hack # 3 Repair Frayed Shoelace Tips with Fine Plastic Line
- Hack # 4 Repair Shoelace Aglets Using Adhesive Tape
The best part about these DIYs is they require no special materials. There is a good chance you will find them in your home or a nearby craft store. So, let’s get into the details.
Hack # 1 Fix Shoelace Aglets with Heat Shrink Tubes

Here is a simple hack to repair your frayed shoelace tips/aglets using a heat shrink tube. The name says it all; these clear heat shrink tubes shrink when heat is applied.
First, let’s see what you need for this hack?
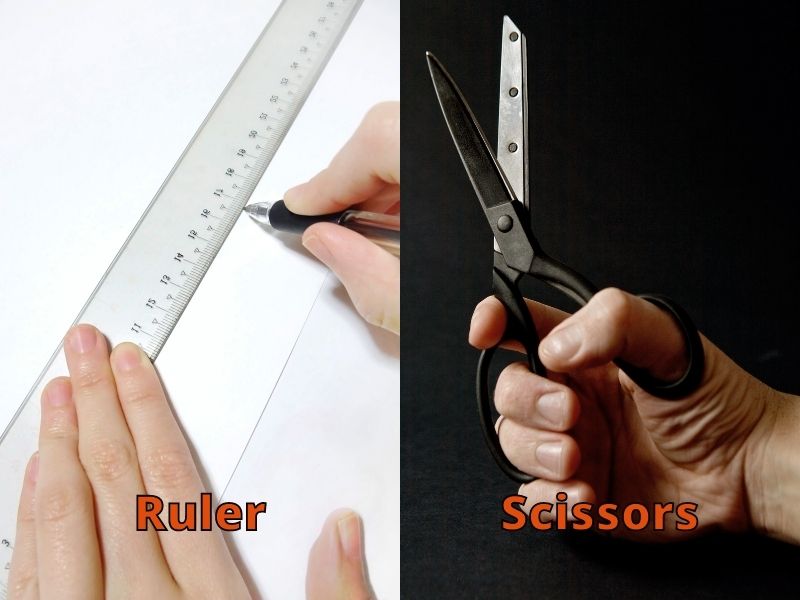
Things You Need
- Shoelaces
- Clear or multi-colored heat shrink tubes
- Ruler
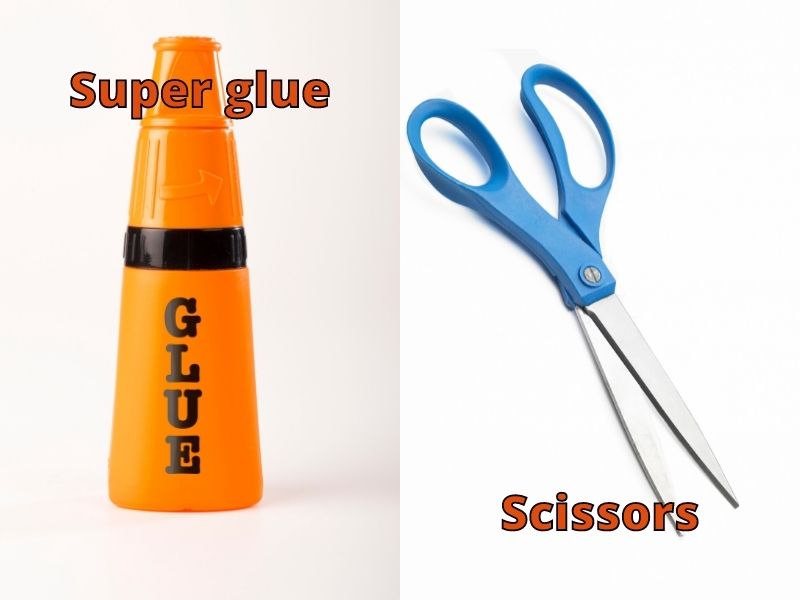
- Scissors
- Heat gun or a hair dryer

Instructions
Step 1: Choose the Right Size of Shrink Tube
Shrink tubes come in different sizes. However, mostly shrink tubes with a diameter of 0.40cm to 0.48cm are perfect for repairing shoelace tips.
If you want customized shrink tubes, measure your shoelace’s diameter. Then, hold the shoelace upside down in a straight line and place a ruler across its width. Choose shrink tubes that are a few sizes bigger than the shoelace width since shrink tubes shrink down to half their original size when heated.
I suggest using clear heat shrink tubes to make the aglets less visible. However, if you want to have multi-colored aglets, use colored shrink tubes.
Step 2: Trim the Length of The Shrink Tube
With the help of scissors, trim the shrink tube to the length you want the shoelace aglet to be. When you heat a shrink tube, the length does not change, so make sure you cut the right length.
Step 3: Clean Your Shoelaces
Clean your shoelaces and remove the frayed threads and pieces from the tips. It will create a clean edge to work with. Cleaning first will make it easier to insert the aglet into the tube; you can also clean it at the end.
Step 4: Slip the Shoelace into The Tube
Slip the shoelace end into the shrink tube. When sliding the shoelace, twist the tube to avoid fraying the lace. If your shoelace is in good condition, keep the tube end even with the shoelace edge. However, if you wish to shorten the shoelace length, place your shrink tube where you want the aglet to be.
If your shoelace has the old aglet, it would be fairly easy to slide the tube over the aglet. Also, I would suggest applying super glue inside the tube before slipping the shoelace in to make the aglet stronger.
Step 5: Heat the Shrink Tube
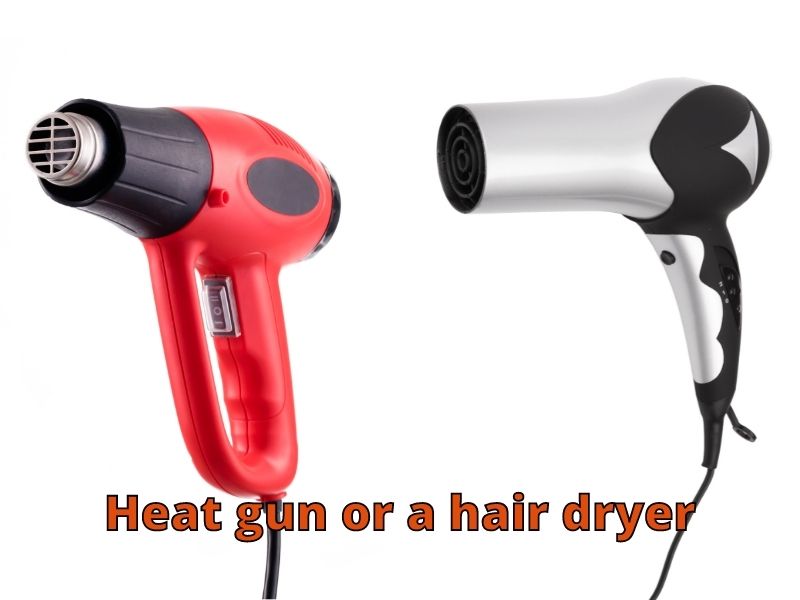
Finally, you need to heat the shrink tube. You can use a heat gun or a hair dryer to shrink the tube. Hold the heat gun in one hand and the shoelace in the other hand. Start moving the heat gun back and forth away from the tube until the tube gets shrunk. Make sure to apply the heat on both sides of the tube evenly.
The minimum temperature required to shrink the tube is 200°f, but you can apply more heat to make the process fast and get clean and even results. If you don’t have a heat gun, don’t worry!
You can also use a high-power hair dryer, a lighter, or a candle. While it might take a little longer, it works just fine. Rotate the tube constantly to get even results and shrink the tube from all sides.
Step 6: Finishing Touches
After the tube is shrunk, let it cool for about 20 seconds. Finally, trim the shoelace tip flat and smooth.
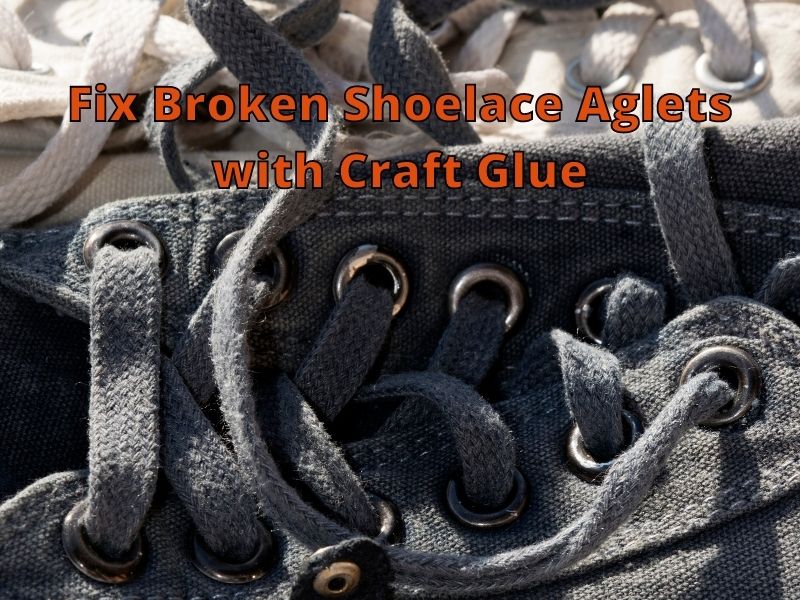
Hack # 2 Fix Broken Shoelace Aglets with Craft Glue
There are several ways to repair and fix your shoelace tips/aglets. With this simple hack, you can fix your broken aglet in no time. Even though it’s a quick fix and requires a few things, the results are pretty strong.
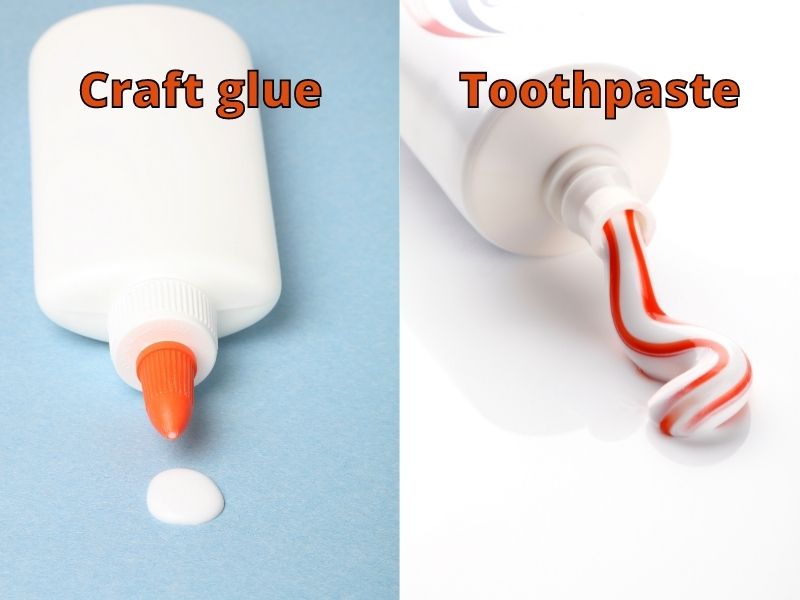
Things You Need:
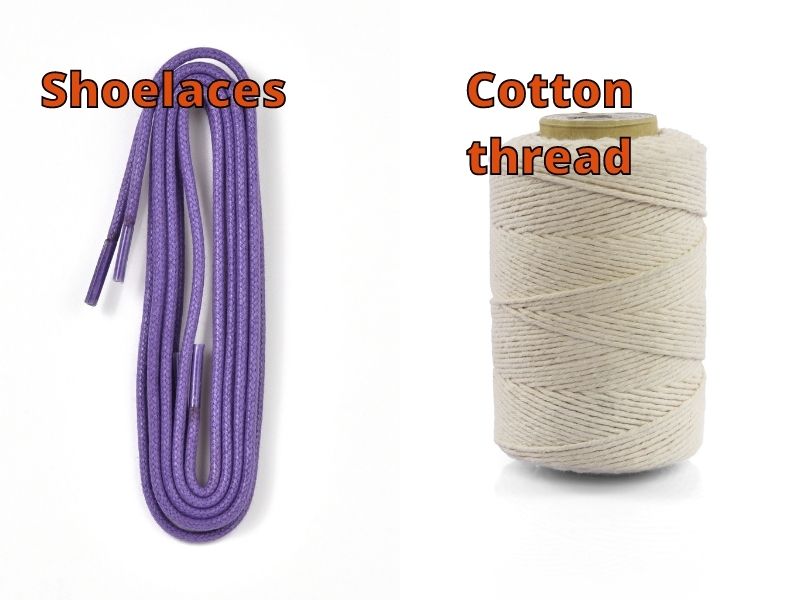
- Shoelaces
- Cotton thread
- Craft glue
- Toothpaste
Instructions
Step 1: Apply Glue on The Ends
The first step is applying some glue to the frayed shoelace ends. Next, take a tiny amount of the craft glue on a paintbrush and dab it on the frayed tips.
Step 2: Wrap the Thread Around the Glue
Take a cotton thread and cut it to the length you need to wrap around the glue. Of course, you can also use other threads, but I suggest cotton thread since it absorbs a lot of glue and has a better grip.
Take one end of the thread and wrap it around your finger. Next, take the other end of the thread and wrap it around the glue. Finally, wind the thread around the tip, starting at 1 cm away from the frayed end. Wrap tightly until you reach the tip.
Make sure you wrap the thread as closely as possible because the tighter you wrap, the thinner the tip will be. In case you miss any spots, don’t worry; you can always come back to cover them. Also, if the glue drips, clean it and continue the process.
Step 3: Tie the Thread Ends Together and Let It Dry
Once you’re done wrapping, tie the thread’s ends together. Do it twice. Let them sit to dry for about 10-20 minutes.
Step 4: Apply Toothpaste
After 20 minutes, check if the glue has dried. It may seem messy at this stage because of the glue and grime. But don’t worry; once the glue is dried, apply some toothpaste to smooth it out. Then, allow it to dry for 10 minutes.
If you have colored shoelaces, mix the toothpaste with those colors and use it as directed. You can also cover it with markers or sketch pens.
Step 5: Smooth It Out
After the toothpaste dries, rub off the excess with a brush. Smooth out the tips and make them look even. Trim a tiny bit of the end to make it neat and clean. And you’re done!
Hack # 3 Repair Frayed Shoelace Tips with Fine Plastic Line

Let’s see the things you need for this hack.
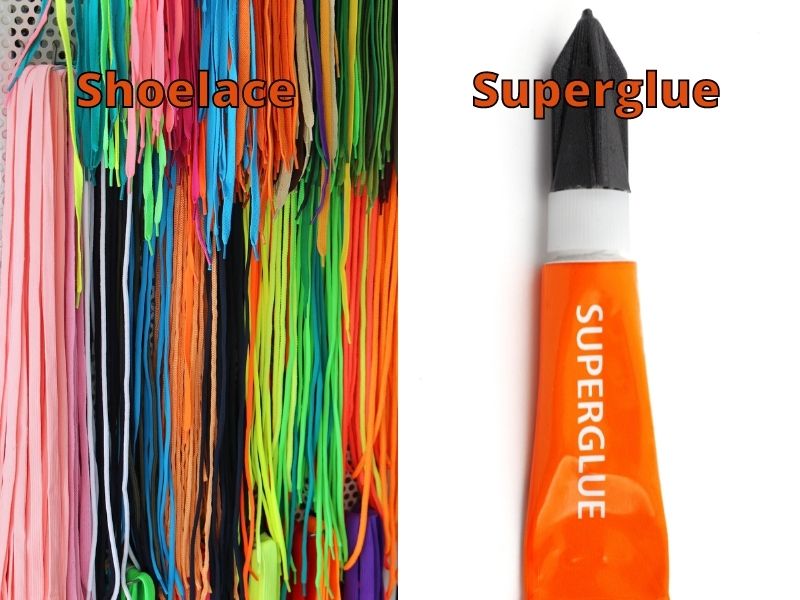
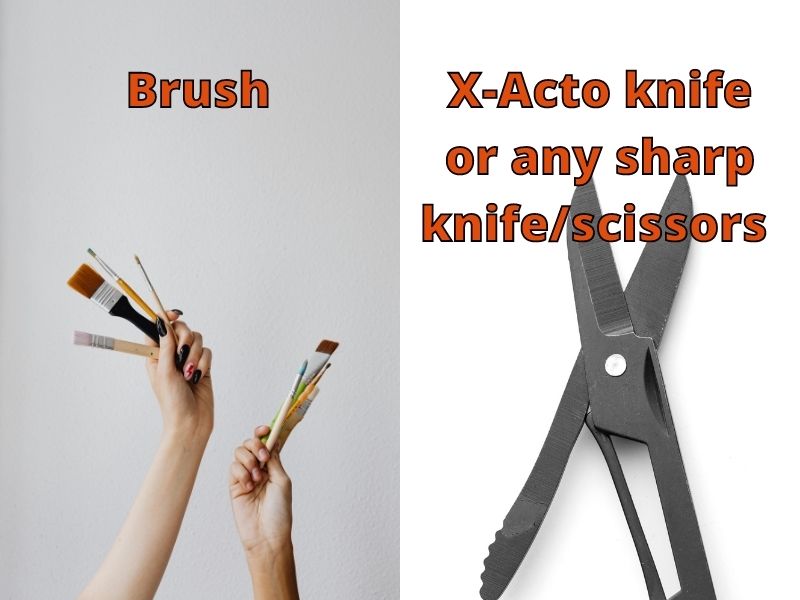
Things You Need:
- Shoelace
- Fine plastic line
- Superglue
- Brush
- X-Acto knife or any sharp knife/scissors
Instructions
Step 1: Gather Your Supplies
First, gather all the supplies you’ll need for this hack. You will need a fine plastic line. You can also work with a fishing line, but it should be thin. Or you can also use a plastic line for sewing clothes or beads.
A regular fabric thread would also work as long as it is thin and fine enough. Again, it might seem that thick threads would be better for this task, but you need a thin thread that is both strong and durable.
Secondly, get a superglue that dries quickly. It would be great if you got a superglue with a brush. Finally, you would need an X-Acto knife. However, you can also use a sharp knife or scissors.
Step 2: Wrap the Shoelace
Cut the length of the plastic line as short or long, depending on how much you need. For example, a 12-inch length would be enough.
You will have to wrap the plastic line around the shoelace end to make it rigid, so attach one end of the plastic line to the shoelace. To do this, thread the line on the shoelace and make a tight knot. It will help you in wrapping the plastic line and getting neat results.
Start wrapping the line over the shoelace. Cover the part of the shoelace end you want as the new aglet with a close and uniform wrap. One wrap is enough, but if you have time and want more secure results, you can do a second lap. Just go back over the first wrap.
Be patient while doing so because this step decides how neat your new aglet will look. If your shoelace end is damaged, you will need to sacrifice an inch of the length by cutting the damaged end. Finally, create a tight knot once you finish wrapping.
Step 3: Glue the Plastic Line
When you’re done wrapping the plastic line over the shoelace end, secure it in place with glue. Use a brush to apply super glue to cover all the plastic lines evenly.
Make sure not to miss any spot but don’t overdo it. You may spill a little glue on the frayed ends but don’t worry. Let it sit for 1-2 hours to dry the glue completely. You can also roll it between your fingers to stimulate drying.
Step 4: Trim Away the Frayed Edges
Once the glue is completely dried, use a sharp knife or scissors to trim away the frayed edges of your shoelace. To seal the edges, add a few drops of superglue and then trim off any stray parts.
Let it dry for 30 minutes. Once it dries, you’re almost done! Now you have new aglets that will last you a long time.
Hack # 4 Repair Shoelace Aglets Using Adhesive Tape

Adhesive tapes are strong enough to make lasting aglets for shoelaces. Also, they are transparent, making your aglets look seamless. So, let’s see what you need for this hack.
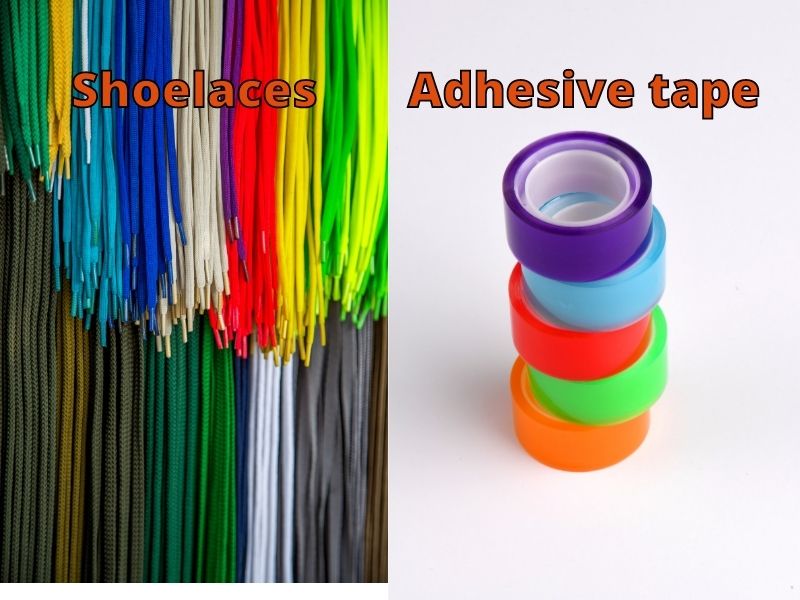
Things You Need:
- Shoelaces
- Adhesive tape
- Super glue
- Scissors
Instructions
Step 1: Choose the Required Adhesive Tape
Firstly, you would need a clear adhesive tape to fix your aglets. Make sure to choose a single-sided basic adhesive tape to wrap up the tips of your shoelaces. I suggest using a 3-inch-wide tape to make your new aglets long enough to protect your lace.
You can also use electrical tape or duct tape. While electrical tapes are slightly stretchier, the positive point is that a wide range of colors is available. I think adhesive tapes are the most convenient for making a regular-sized aglet.
Step 2: Place A Strip of Adhesive Tape on A Flat Surface
Peel a strip of adhesive tape from the roll. The strip should be around 6 inches long, but do not cut it from the roll. Instead, spread it over a table or on a plain surface.
The sticky side should be facing up. But make sure the tape doesn’t fold or pick up any debris; otherwise, it won’t stick to the shoelace.
Step 3: Place Your Shoelace Tip 1 Inch Away from The End of The Tape
Place the shoelace end perpendicular to the adhesive tape. Put it on top of the tape, but make sure it is level with the upper edge of the tape. If your shoelace has a frayed end, let it fall off the tape. You’ll be able to cut off the frayed ends later.
Step 4: Fold the Tape Over the Shoelace
Fold a small margin of the adhesive tape on either side of the shoelace. Gently press the tape over the shoelace as you fold. Next, start wrapping the shoelace tightly. Progress slowly so that the tape is correctly secured over the shoelace. Also, make sure it completely covers the end of the shoelace.
The first wrap should compress the end of the lace well to wrap the tape easily the second and third times. If the first wrap isn’t tight enough, the aglet will either be too large or hard to grip.
Step 5: Roll the Tape Over Shoelace 3 Times
Roll the tape over the shoelace end a second time. Wrap the tape around the shoelace as tight as possible to compress and cover the shoelace well. Continue wrapping the tape around the shoelace for the third time. To finish, use scissors to cut the tape strip from the roll.
Step 6: Spread Super Glue to Secure the Tape
Super glue helps to secure the tape in place. First, put a few drops of super glue on the open end of the tape before flattening it over the shoelace. Next, put the super glue on the tape using the tip of the bottle. Make sure it does not stick to the exposed parts of the shoelace or the new aglet.
Finally, flatten the tape. Remove the extra glue coming out of the tape. Let it sit for half an hour until the glue gets dried.
Step 7: Trim the Frayed Ends of The Shoelace
You can use scissors to trim frayed ends from the top of the new aglet. Trimming them will create a flat top that looks like a new shoelace aglet. The new aglet should now look neat, tidy, and consistent. If you want to secure it more, add a few drops from the top of the aglet and trim it after 2 hours.
| Methods | Supplies | Steps To Follow |
|---|---|---|
| Fix Shoelace Aglets with Heat Shrink Tubes | Shoelaces Clear or multi-colored heat shrink tubes Ruler Scissors Heat gun or a hair dryer | 1. Choose the right size of shrink tube 2. Trim the length of the shrink tube 3. Clean your shoelaces 4. Slip the shoelace into the tube 5. Heat the shrink tube 6. Finishing touches |
| Fix Broken Shoelace Aglets with Craft Glue | Shoelaces Cotton thread Craft glue Toothpaste | 1. Apply glue on the ends 2. Wrap the thread around the glue 3. Tie the thread ends together and let it dry 4. Apply toothpaste 5. Smooth it out |
| Repair Frayed Shoelace Tips with Fine Plastic Line | Shoelace Fine plastic line Superglue Brush X-Acto knife or any sharp knife/scissors | 1. Gather your supplies 2. Wrap the shoelace 3. Glue the plastic line 4. Trim away the frayed edges |
| Repair Shoelace Aglets Using Adhesive Tape | Shoelaces Adhesive tape Super glue Scissors | 1. Choose the required adhesive tape 2. Place a strip of adhesive tape on a flat surface 3. Place your shoelace tip one inch away from the end of the tape 4. Fold the tape over the shoelace 5. Roll the tape over the shoelace three times 6. Spread super glue to secure the tape 7. Trim the frayed ends of the shoelace |
Thanks for visiting helpshoe.com
References