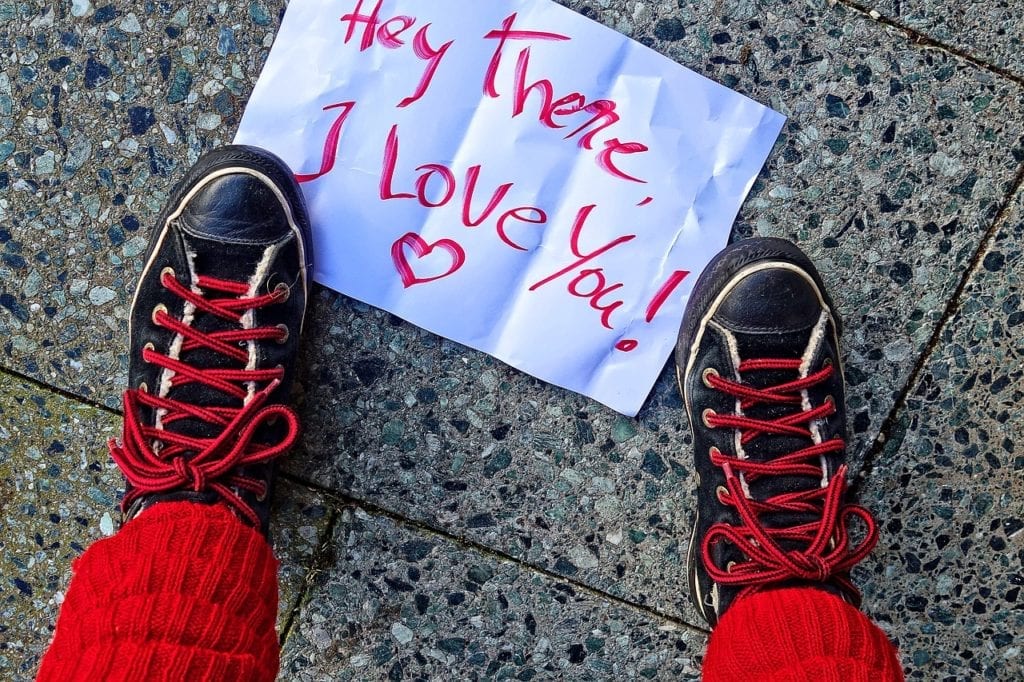
At times, our shoes need some type of repair for aesthetic or functional purposes. When the rubber sole of my hiking boots started to separate from the foam midsole, I decided that using some type of shoe glue was the best solution.
Shoe repair can be done yourself or by a shoe repair professional. Repairing shoes yourself can save you money but also includes a learning curve. Professional shoe repair will usually cost more, but the repair will be done well and may include a quality guarantee.
It can be easy and cost-effective to repair your shoes. I’ve fixed some of my shoes and felt good that I can now wear my nice-looking shoes again. I had saved money and had made my shoes functional again.
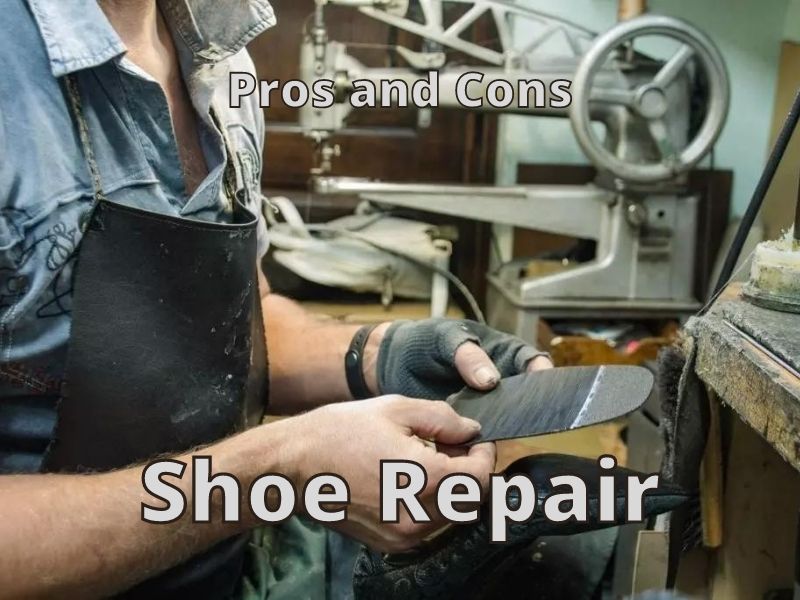
This chart shows the pros and cons of repairing your show yourself and having a professional do it. It explains how you can make a decision about each pair of shoes you have.

Why Should I Repair My Shoes?
If you love your shoes, it’s a good bet you’ll want to repair them. Take into consideration that this may take time and money, but it can be well worth it.
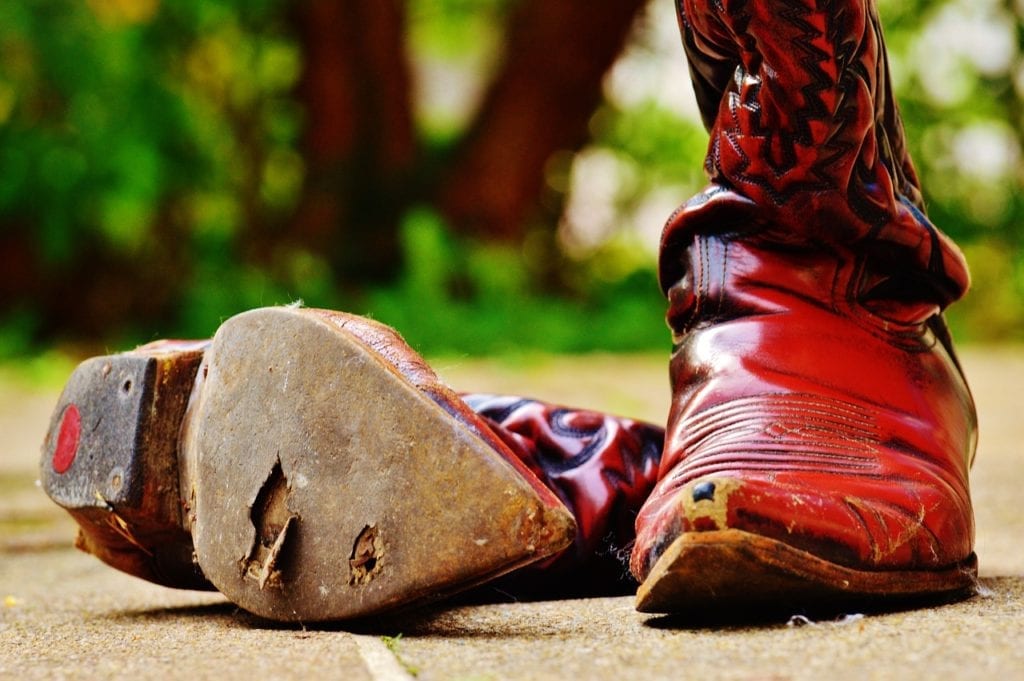
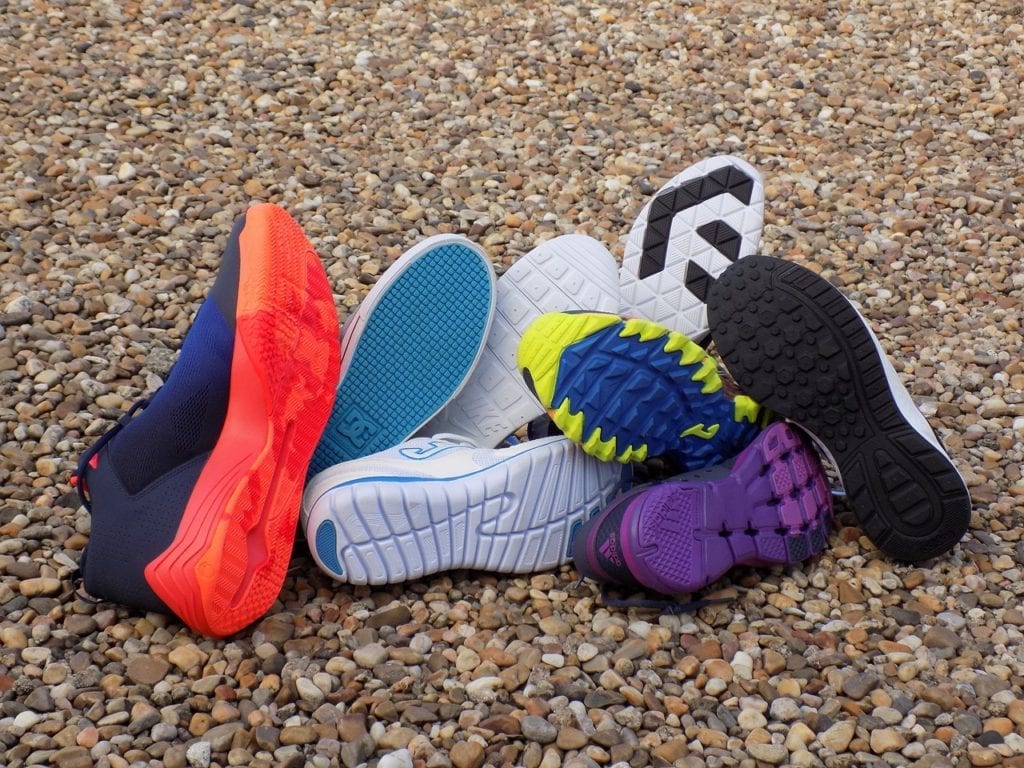
You’re likely to want to repair shoes that you use regularly. These shoes sometimes have worn tread, broken laces, and loose soles, and can be repaired in many cases cheaply and fairly quickly.
If you don’t wear your shoes much, and they don’t bring you joy, it’s better to donate them, recycle them, or throw them away.
Money
Some of the simplest repairs are replacing torn shoelaces and fixing frayed fabric. It makes sense that I would keep shoes that require only ten minutes to fix since I would be spending more money when buying a new pair of shoes.
Time
You will save time on simple repairs because taking the time to buy new shoes will include research, which may include going to the store, trying on the new shoes, and possibly returning if the shoes do not match your needs.
Pros and Cons of DIY Shoe Repair
| Pros | Cons |
| 1. It may cost less than buying a new pair of shoes. 2. It is likely you can fix your shoe in a short time period. 3. Learning a new skill you can use later with other shoes. 4. You won’t need to spend the time and money on a new pair of shoes. | 1. It may take a lot of time and patience to learn how to do the repair. 2. Your repair may not look professional. 3. You may end up making the shoe look and function worse. 4. You may not be able to obtain the materials you need for the repair. |
Pros and Cons of Professional Shoe Repair
| Pros | Cons |
| 1. May cost less than buying a new pair. 2. The work is usually done well and the shoes look and perform well. 3. No need to worry about buying new shoes or do-it-yourself repairs. 4. You can look on Yelp or other rating websites to ensure good quality. | 1. It may take several days or longer to get your shoes back. 2. The cost may be more expensive than you’re able or willing to pay. 3. You may not be able to customize it the way you want. 4. It may cost more than a new pair of shoes. |
Budget
One easy way to determine if you are ready to do shoe repairs is to look at your budget. Buying higher-quality shoes will ensure they last longer, but the initial investment and money needed for monthly care may be prohibitive for some.
Take a look at your shoes and determine which you will keep, sell, donate, and use in the future. You can determine if you want to buy new shoes, refurbish or repair the shoes you have, and what your goals are for the shoe in the future.
When Should I Let My Shoes Go?
A good pair of shoes can be similar to an investment. It can be just as valuable or more valuable as time passes. If your shoes cost a lot of money initially, you’ll want to consider how much value they still hold.
If they have value and you like them, it’s likely you want to keep them and repair them when needed.
On the other hand, if your shoes do not hold monetary value and repairs would cost more than half the value of the shoe, it’s usually best to donate them. Throw away your shoes only if no one can use them.
| Keep | Let Go |
| 1. If the shoes still hold value. Usually, higher-priced shoes will hold some of their value. 2. If it doesn’t matter how much the repair will cost because you love your shoes so much. 3. If the repairs are simple, and be done easily. 4. They are used each week for a purpose. | 1. If you don’t find joy in them consider selling them if they hold monetary value. 2. When they are not healthy for your feet and joints. 3. If the price of repair is more than half the cost of the shoe, it’s likely a good idea to donate or sell. 4. If you don’t use them or not enough. |
Simple Repairs
A good way to get into doing it yourself (DIY) repairs is to start small. One way to do this is to look at simple repairs that your shoes need that take 10 minutes or less.
| 10 Minutes or Fewer Repairs |
| Ways to Fix Your Shoelaces 1. Get some tape and roll it securely around the ends of frayed laces. 2. Use white Elmer’s glue and mix it into the frayed shoestring tip. Use a sewing string and wrap it tightly around the end of the shoestring. Cut the string and let the shoestring dry. 3. Another method is to cut the end of the frayed shoelace and insert it into a heat shrink tube (Amazon Link) that matches the color of your other lace end. Then use a hairdryer to heat the tube until it shrinks. 4. Relacing the shoelaces in a new way can give you more shoelaces to use when tying your shoes. Try some of the lace methods from Ian’s Shoelace Site. |
| Replace a High Heel Tip 1. Determine if the heel tip needs to be replaced or if the heel itself is broken. If the heel is broken, it’s likely not repairable unless it has just become detached from the shoe. (See Reattach High Heel) 2. Buy a set of new high-heel replacement tips. (Amazon Link) 3. Remove the old high heel tip and metal post using pliers. You may use needle nose pliers but might want to have other types (Amazon Link) of pliers for additional help. 4. Find the replacement tip the fits into the hole very snuggly. It should fit firmly into the hole and should not be moved. Tap carefully with a hammer if needed. Check that the tip is straight and when it is aligned correctly, you’re done. |
| Reattach High Heel 1. If your heels have become detached from the shoe sole, you can reapply the heel with strong shoe glue. 2. Do a little research to find strong glue and follow the instructions given for application. 3. Make sure the sole and heel are clean and ready to glue. 4. Apply the glue to both heel and sole unless otherwise stated. 5. Line up the heel and sole and slowly press together, making sure the heel is aligned correctly. You may need to compress the heel for a while to ensure the glue has bonded. Finding a larger clamp (Amazon Link) is probably the best solution to ensure the heel is correctly attached to the sole. (Not worth it? If your high heels were bothering you already and causing issues with foot pain, try something healthier that might be cheaper in the long run.) |
| Repair a Hole in the Shoe 1. If the hole is in the sole of the shoe, use Shoe Goo (Amazon Link) or a similar product filled in a hole. 2. Use tape or something like tape on the other side of the hole, so it doesn’t get inside the shoe. 3. Use a putty knife or maybe a piece of cardboard to smooth out the glue so it is flush with the sole. ———————– 1. To patch a hole in the fabric of a shoe, try an iron-on patch. 2. Clean the area to be patched. Let dry. Cut any frayed area around the whole. If needed, cut the patch to ensure accurate fit and preposition it to check. 3. Place newspaper or a shoe tree into the shoe, and cover the patch with a cloth, such as a pillowcase, before ironing. 4. Iron the patch on through the cloth using the high setting, unless your shoe is made of delicate material. Pass over the patch about 4-5 times and check the patch. Pass over the patch again 4-5times and recheck. Continue to iron until the patch is securely on the shoe. |
| Repair a Hole in the Shoe 1. If the hole is in the sole of the shoe, use Shoe Goo (Amazon Link) or a similar product to fill in the hole. 2. Use tape or something like tape on the other side of the hole so it doesn’t get inside the shoe. 3. Use a putty knife or maybe a piece of cardboard to smooth out the glue so it is flush with the sole. ———————– 1. To patch a hole in the fabric of a shoe, try an iron-on patch. 2. Clean the area to be patched. Let dry. Cut any frayed area around the whole. If needed, cut the patch to ensure an accurate fit and preposition it to check. 3. Place newspaper or a shoe tree into the shoe, and cover the patch with a cloth, such as a pillowcase, before ironing. 4. Iron the patch on through the cloth using the high setting unless your shoe is made of delicate material. Pass over the patch about 4-5 times and check the patch. Pass over the patch again 4-5 times and recheck. Continue to iron until the patch is securely on the shoe. |
| Repair a Strap That’s Come Undone 1. If the strap has ripped, you’re likely out of luck unless you don’t mind a patchwork strap. Check to see if it has most of the strap is intact. It needs to have enough length to insert into its former home. 2. Use shoe glue that is more liquid-like, like Super Glue (Amazon Link), so it will be able to be applied on the strap and move with the strap back to where it came from. 3. After the glue is applied to both sides of the strap end, ensure that the glue is applied to the distance of the strap that was previously tucked into the shoe. 4. Use a thin tool, such as a screwdriver or tweezers, to help insert the strap into the area where it was previously located. 5. Clamp down on the area where the strap was inserted for as long as the shoe glue instructions recommend. You’ll want to get a strong clamp or a heavy object to provide pressure where the strap was inserted. |
| Fix Your Flip Flops 1. If one of the straps has come loose, you might be able to save your flip-flops with a washer, which is usually used with a screw and nut. 2. Insert the strap into the hole that it came out of. 3. Push the strap through a wash that’s just wide enough to allow it to pass. This should keep the strap from pulling back out again. |
Complex Repairs
These repairs take longer and usually have more steps involved. If you want to save money and are handy, this is a good way to satisfy your desire to do it yourself.
Most soles are glued with an adhesive that breaks down over time. The sole of the shoe may separate from the shoe and require glue.
| 10 Minutes or More Repairs |
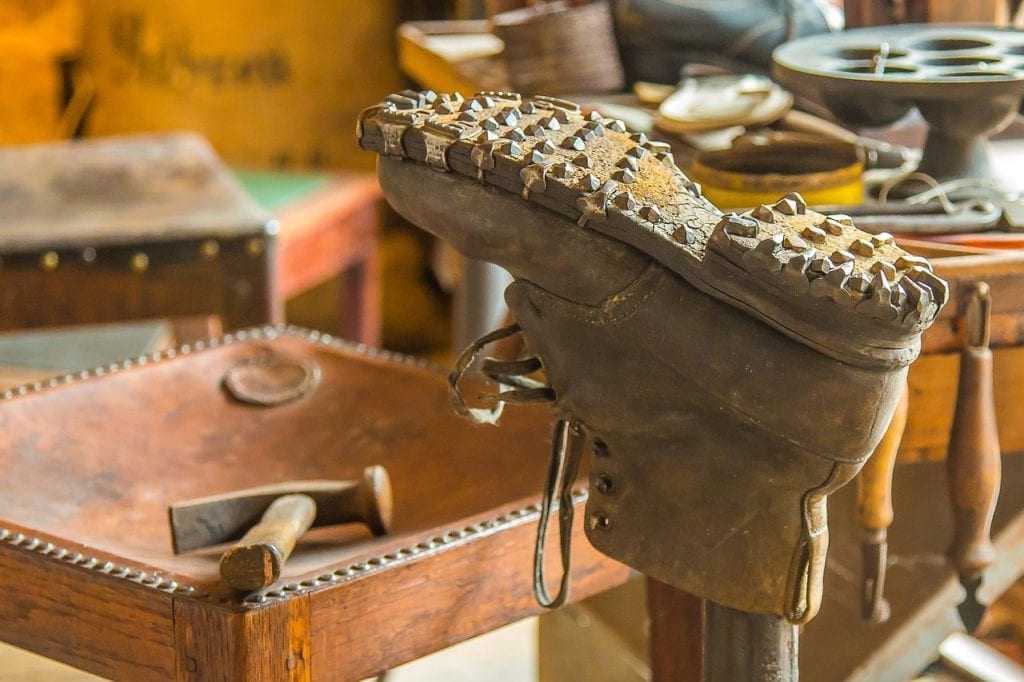
| Replace the Rubber section of a Dress Shoe Heel 1. If the rubber on your heels is worn or coming apart, try replacing them with a new rubber section. Measure the width, length, and thickness of the rubber on the heel. 2. Find the heel that matches the size you’ve measured or is a bit larger. This way you can cut the excess off if needed. 3. Take off the old rubber section of the heel. This may cover a partial section of the heel or the entire heel. 4. Clean off the area with sandpaper if needed, to ensure an even surface. Apply some type of shoe glue and follow its instructions. Make sure to apply pressure to ensure a secure seal as the glue dries. 5. Remove any excess glue and use a utility knife to carefully cut away any excess rubber. If the rubber is thick, use sandpaper to grind it down, or carefully use a Dremel tool (Amazon Link) to shape the heel. Take your time for the best results. |
| Replace the Entire Sole of a Shoe 1. Replacing an entire rubber or leather sole usually takes longer and can be more detail-intensive. Look at the sole in detail. Determine if it is stitched or glued on. (Sometimes shoes will show stitching that looks real but isn’t. To recognize real stitching, you can usually look under the shoe and see if the stitching goes through the sole.) 2. If the sole has become unglued, you can buy a replacement sole and glue on the new one. This is possible as long as the shoe hasn’t been damaged or is falling apart. (Follow the method mentioned for partial sole replacement.) 3. If the sole is stitched on, you’ll need to decide if you want to get a new sole to stitch on or have a cobbler resole the shoe for you. 4. Stitching on a new sole will take a bit of a learning curve and quite a long time. You’ll need to decide on a leather or rubber sole. You’ll also need the tools to help you craft a new sole if no replacements are available and tools to sew the sole to the shoe. 5. Another option is to glue a thin rubber sole over the old leather one. This will likely take much less work. (Follow the method mentioned for partial sole replacement.) 6. Before you take off the sole, you’ll need to remove the heel. If there’s a thin rubber or leather sole attached remove this first. Then look for nails and use pliers to pull out the nails. Nipper (Amazon Link) cutting pliers may work best. Be careful when removing heels, some are made of cardboard-like material. 7. To replace the leather sole, take off the old sole by cutting all the stitching all the way around the shoe. Be aware some stitching will stop at the heel. To cut the stitching you’ll usually need a Xacto (Amazon Link) type knife to cut on the edge between the layers of the sole and shoe bottom. 8. Once the sole is removed, you’ll usually find cork filling glued inside. Remove all the cork from the shoe bottom, and thoroughly glue on a new cork filler (Amazon link). After it is dry, you need to sand the cork down so it is level with the edge of the shoe bottom and fills in the shoe bottom as before. 9. Next, place glue on the sole and the shoe bottom. Follow glue instructions. Place the sole onto the shoe and wait indicted time for drying. Cut the leather that extends beyond the shoe edge. A Xacto knife may work, but getting a leather cutting knife may be helpful. 10. Now you can begin stitching the sole to the shoe. Use an awl (Amazon Link) and follow the holes that are already in the shoe bottom edge or use a shoe stitching machine. 11. Use sandpaper or a sander if needed, to ensure that the layers where the sole meets the shoe are even and smooth. 12. Use nails (Amazon Link) to reattach the shoe heel to the shoe. Line up the edges on all sides before hammering. 13. Use glue to reattach the heel sole. Work slowly to ensure the rubber lines up with the edge on each side evenly. 14. Wipe up any excess glue. |
| Repair a Rip in Leather Shoes 1. You’ll want to get a leather repair kit (Amazon Link) to repair a tear in your leather shoes. 2. If you don’t have a kit, you can try closing the tear with clear or clear drying glue, like Super Glue. 3. Place a piece of thin fabric on the inside of the hole and glue in place or stuff newspaper firmly inside to hold in place. 4. Glue the leather edges and the inside area of leather that will lay on the fabric. Use a thin tool, such as a putty knife or plastic knife to carefully place the leather down and get the seems to press together. 5. Wait until it is dry and remove the newspaper. The leather should lay flat and hopefully stay closed. |
| Repair a Rip in Leather Shoes 1. You’ll want to get a leather repair kit (Amazon Link) to repair a tear in your leather shoes. 2. If you don’t have a kit, you can try closing the tear with clear or clear drying glue, like Super Glue. 3. Place a piece of thin fabric on the inside of the hole and glue it in place, or stuff newspaper firmly inside to hold it in place. 4. Glue the leather edges and the inside area of the leather that will lay on the fabric. Use a thin tool, such as a putty knife or plastic knife, to carefully place the leather down and get the seems to press together. 5. Wait until it is dry, and remove the newspaper. The leather should lay flat and hopefully stay closed. |
Shoe Repair – Love It or Leave It
Making your own shoe repairs will save money and help you keep the shoes you love. But it’s not for everyone. Determine if you’re OK with spending the time, energy, money, and emotions on doing the shoe repair before you begin.
Even small repairs can leave you frustrated and wondering why you started to try the repair in the first place. To ensure the best results, be prepared with everything you need for success. Ensure you have all the tools and materials that will make the repair process go smoothly.
That is why professionals make it look so easy. They have all the right tools and have had lots of practice. So if you’re ready for a bit of a challenge, then shoe repair is the thing for you.
If you should repair your shoes is up to you, but the following reasons may help you make a choice about what you should do.
| Love It | Leave It |
| 1. I feel frustrated quickly and need things to be done right away. 2. I am not willing to spend money on tools that might make the repairs easier. 3. I’ll just use whatever is available, even if it may not be correct. 4. I just want to have shoes to wear, but don’t want to take the time to take care of them. | 1. I feel frustrated quickly and need things to be done right away. 2. I am not willing to spend money on tools that might make the repairs easier. 3. I’ll just use whatever is available, even if it may not be correct. 4. I just want to have shoes to wear, but I don’t want to take the time to take care of them. |
If you love your shoes, it might be a good idea to invest the time and energy into repairing them yourself or going to a cobbler for help.
If you feel indifferent about your shoes, you’ll likely not enjoy the process of shoe repair or the money and time needed to hire a cobbler to fix your shoes for you.
Decide how important your shoes are by imagining yourself going through the entire process, with both successes and failures, and then you will come closer to knowing if you’re ready to invest your time, energy, and money into shoe repair.
Thanks for visiting Helpshoe.com
Related Questions
How Much Will Professional Shoe Repair Cost?
When going to a cobbler, repair costs will vary but you’ll usually end up spending about $40 to $100 for various repairs. You can get much cheaper prices depending on the simplicity of the task and the cost of materials, but any replacement of parts or time-intensive activity will cost you more.
Can I repair my Soccer Shoes?
If you have cleats, you can usually use shoe glue to mend the separation from the sole that sometimes occurs. Make sure to use clamps of some sort on the mend, wipe away excess glue, and wait until the glue has dried. If you don’t have shoe glue, try Super Glue, Gorilla Glue, or even construction sealant or adhesive that could work.