It can be frustrating to place some new insoles in your shoe only to find that they won’t stay in place. When I had a loose shoe, I decided to place an insole inside, which helped my foot feel snug, but each day, my insoles moved around as well.
Insoles need to fit your shoe shape exactly and sometimes need adhesive to stay in place. The wrong size insoles or ones that don’t conform to your shoe may not work properly. Precise measuring and cutting can help insoles stay in place.
I’ve found that a thicker, more rigid insole will stay in place better in my shoes than a soft, thin insole. It helped me when I found an insole that was the same size as my shoe. Then I cut it into shape, and it fits well inside my shoe without much movement. We’ll review five tips that will help your insoles stay put in the long term.
5 Tips To Get Your Insoles To Stay
Insoles that come with your shoes are specifically made to fit perfectly in the shoes. Many of these insoles are glued down, although I have seen more and more shoes with removable insoles.
Of the eight shoes that I have, 2 of the insoles are glued down. Of the 6 that can be removed 5 are soft yet rigid foam, and 1 is a soft, floppy foam insole. The soft, rigid foam insoles fit very well and don’t move. The floppy insole does.
After removing your insoles, you’ll notice the footbed and stitching on most shoes. The footbed is usually flat and smooth. Mine is mostly a soft foam material that should work well with the following methods for securing your insole inside your shoe.
1. Buy the Correct Size and Type

AD
Some insoles are one size fits all, but some are sized more precisely. Check that the insole will fit your shoe size or larger. Then, when you get it, you can cut it to size to fit more precisely.
If you want to replace your old insole with a new one, make sure it matches the length, witch, and arch shape. Some of my shoe insoles have a bit of arch support built into the insole.
Unless you specifically need arch support because your doctor recommended it or you have an injury that requires it, most people should use the same insole they are used to. (see this article about arch support for more information.)
2. Cut Your Insole Precisely
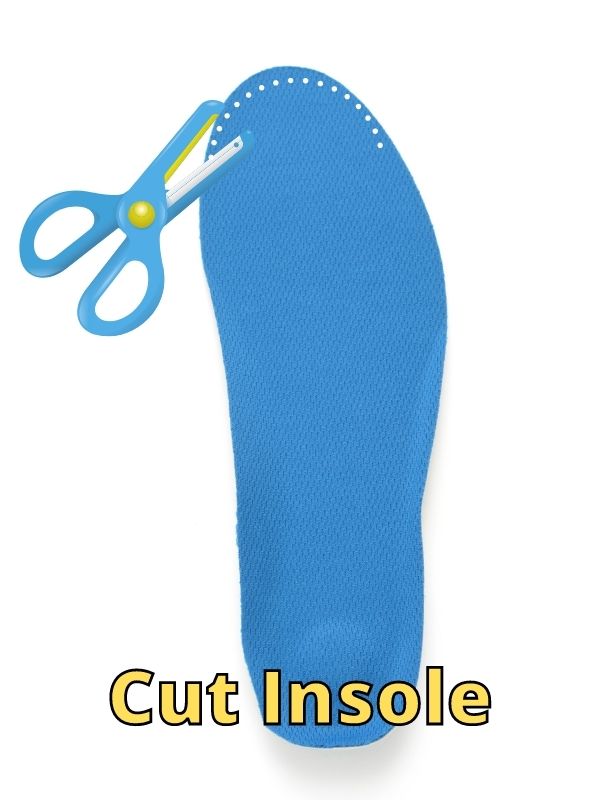
The best way to get a good fit for your new insoles is to use your old insoles as a guide. Make sure you have sharp scissors so you get a precise cut. You’ll need to:
DIRECTIONS
- Take out your old insoles if possible. Sometimes glued-down insoles will rip apart when you try to pry them up. Use a mini spatula or paint scraper to get between the insole and the Strobel (a thin sheet of EVA foam or fabric that is stitched to the upper) and slowly use a sawing motion to separate the insole little by little. It might help if you pull up slightly on the insole during separation and using a weight or a helper to hold the shoe down. If your patient you should be able to remove the old insole intact.
- If you have the old insole you can now use it to outline the shape and correct measurements for your new insole. Lie the old insole over the new insole and make sure the ends of the heel area are flush. Then you can center the old insole over the new one and trace around the entire old insole onto the new one with a pen.
- Last, cut the new insole where you outlined in pen. I might cut just outside the line to make sure the insole fits snug. You can always cut a bit more if needed, but if it’s loose your new insole might not stay put.
3. Glue Your Insole – Which Glue To Use?
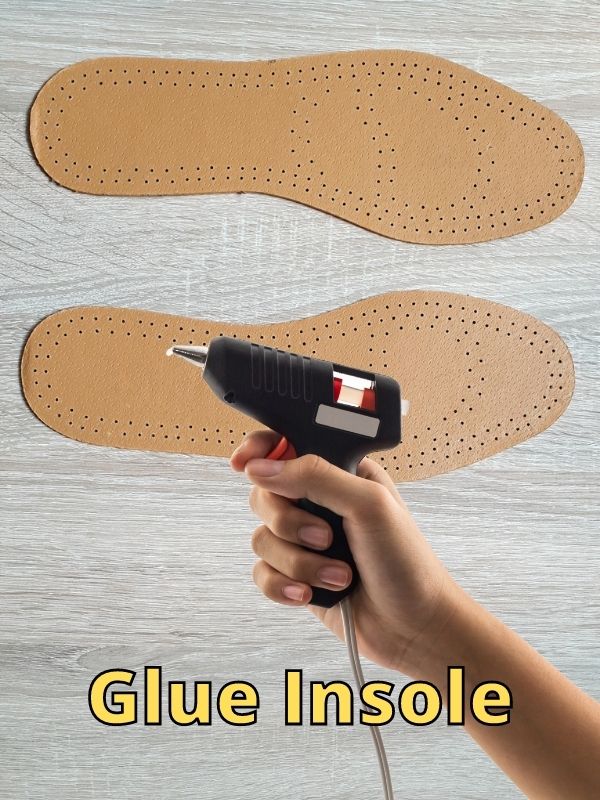
There are different types of glue you can use to secure a loose insole. After gluing the insole down, make sure to have a newspaper or a shoetree to place in the shoe to press down on the insole while the glue bonds.
TYPES OF GLUES TO USE
 AD
AD
- Spray glue can be good for a temporary hold that will allow you to eventually remove your insole if needed. Be sure to look at the glue properties to ensure is not a permanent bonding glue. If it is permanent, you might just spray a tiny bit so the insole is easy to take out when you want.
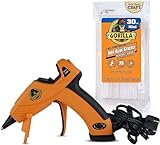
- A hot glue gun can be a good solution as a temporary way to secure an insole. Apply a thin bead of glue along the length of the bottom of the insole and carefully insert it into the shoe and press down.
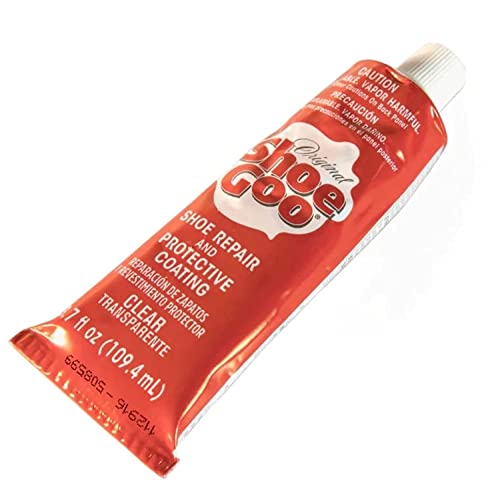
- Shoe Goo can be used to secure an insole. For a more permanent bond apply glue to the entire bottom of the insole, but if you want to be able to take it out apply small dots at the back, mid-section, and front. Then smear the dots with a paper towel so only a thin layer of glue is present. Insert insole and press down when done.
- Regular glue might work. If you have white or clear glue-like Elmer’s craft glue, you can spread a thin layer over the entire insole bottom. A glue stick could also work. Wipe any excess glue off if needed and insert the insole and apply pressure.
- Super Glue? I wouldn’t use super glue or any cement glue unless you really want a strong bond between the insole and the Strobel (usually EVA foam). The bond will likely be permanent and difficult to remove if you want to take the insole out. I would use only a few small dots just like when using Shoe Goo.

Make sure to let the glue bond for a while before using your shoes again. Working outdoors will help reduce any odors and may help the glue to set faster.
Spray glue and hot glue will likely set within 5 minutes to 20 minutes. The other glues may take an hour. If you wait 24 hours, Shoo Goo and Super Glue will likely have enough time to cure permanently.
4. Use Thumbtacks
Warning: This is an unconventional method because you’re placing something sharp in your shoe. I’ve tried this with a couple of shoes. Some worked well, and others did not.
Thumbtacks are smooth on the top and just long enough to penetrate through most standard shoe insoles and into the EVA foam that most shoes have.
They tend to stay in place once inserted and can keep your insole from moving side to side or back and forward.
If your insole is too thick in the back you will need to find a thinner place to poke the thumbtack through. Some midsoles are not completely solid. If you find your thumbtack not staying in place, move it to another area.
Places to Avoid
Try not to place the thumb tack near the center of the heel or the ball of your foot. You don’t want something hard to irritate your foot while you walk. I would place it on the outer edge of the insole where there was little or no pressure from my foot.
This method won’t always work, and there is a chance the thumbtack will come out and then you find something very sharp in your shoe.
5. Double-Sided Tape
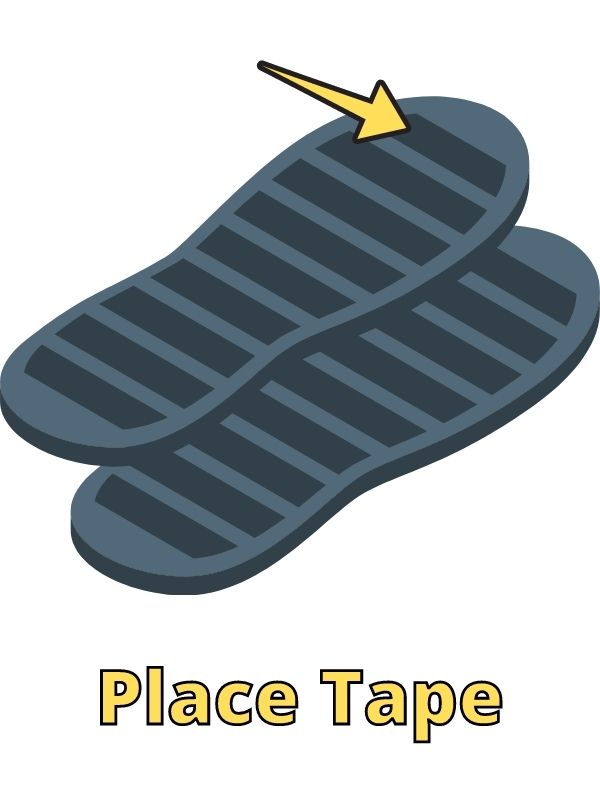
This is a very quick method, but you need to make sure to place the tape in the right place. If you have thick double-sided foam, it might not work great. Anything under your insole that is not smooth can feel irritating.
Try using a double-sided scotch tape (amazon.com link) or any type that is thin. This can work well and you won’t feel anything under the insole.
- Remove the insole and use a paper towel or clean cloth with water to wipe off the bottom.
- Turn your shoe over and empty any particles that have gotten inside and wipe the inside of your shoe with a paper towel also.
- Once the insole is dry, apply the double side across the bottom. Cover from the front to the back to get make sure the insole will stay in place.
- Insert the insole carefully and align it so it fits correctly before applying pressure.
This method should work well with most shoes. It is fairly easy, and you can remove the insole easily once you want to replace it.
Why Aren’t My Insoles Staying Put
My experiences with loose insoles have been when I placed insoles in my shoes on top of my existing insoles and when I didn’t cut the insoles correctly.
At times, I have tried to gain some comfort when wearing my dress shoes by inserting some insoles on top of my existing insoles. These were floppy soft foam insoles from the dollar store.
They worked ok, but by the end of the day, they had moved all over the place.
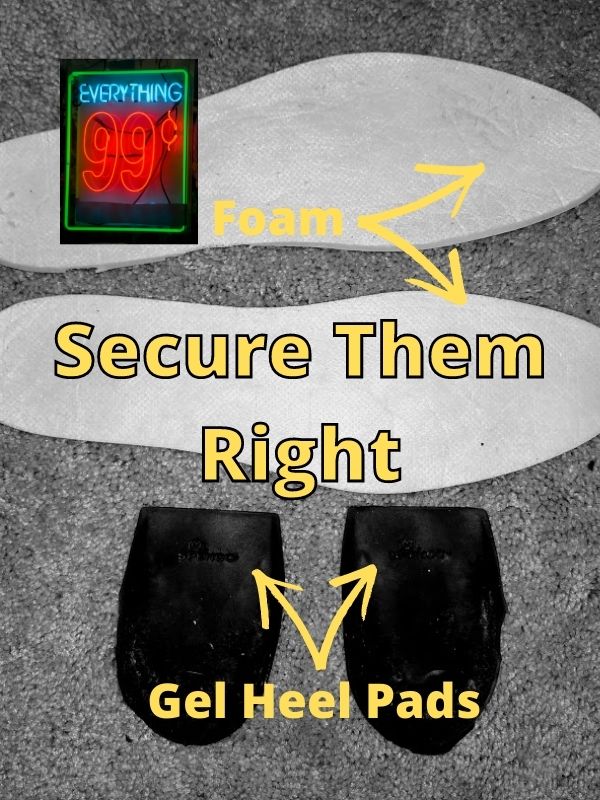
I have also tried to find relief from my achy feet by purchasing some get inserts. I have tried the heel gel inserts which felt very cushioning but moved a lot, and the full-length gel insole that worked fairly well also.
When trying to fit the gel insole into my shoe, I cut it without using the original insole as a pattern, and I ended up cutting it the wrong shape. I still worked but moved around in my shoes a little.
For all of these insoles, it would have helped if I had used some method of securing them. Most likely, some double-sided tape would have worked well.
When To Replace Your Insoles
If you haven’t looked at your insoles for a while, it is a good time to take them out and look at them. Some insoles are very absorbent, and others are mostly waterproof.
Absorbent insoles should be replaced if they get too dirty. Bacteria can take hold in them, which is hard to get out. Gel and EVA foam insoles are waterproof, so they won’t need to be replaced unless they are too compressed or falling apart. (see How Often to Change Insoles)
Hand washing your insoles every couple of months is a good idea. Your foot sweats every time you put on your shoes, and some of this may be absorbed by your insole. Even if your insole is waterproof, many have a thin fabric layer is added to the top so your socks can slide in and out easily.
After you wash them and they are still dirty or smelly (see Stop Smelly Shoes), it’s time to replace them. In general, you should get the same type of insole as the one you have before. If you are having foot pain, you may be tempted to get arch support insoles.
These can help some people with pain but are not best for all people (see Best Insole for Flat Feet). It’s usually best to get the same insole so your foot doesn’t need to adjust much, especially if you are doing running or exercise.
Final Thoughts
You can get your insoles to stay inside your shoes with a bit of effort. It’s best to make sure your insole is in good condition and the right kind for your foot.
Then, you can cut it and secure it inside your shoe so it will stay in place. You may feel like your shoes have a renewed feel. This can help you enjoy your shoes longer if they are still in good condition.
Although you may never need to replace your insoles, sometimes it is necessary. I hope your insoles will fit inside your shoes well and stay secure.
Thanks for visiting Helpshoe.com