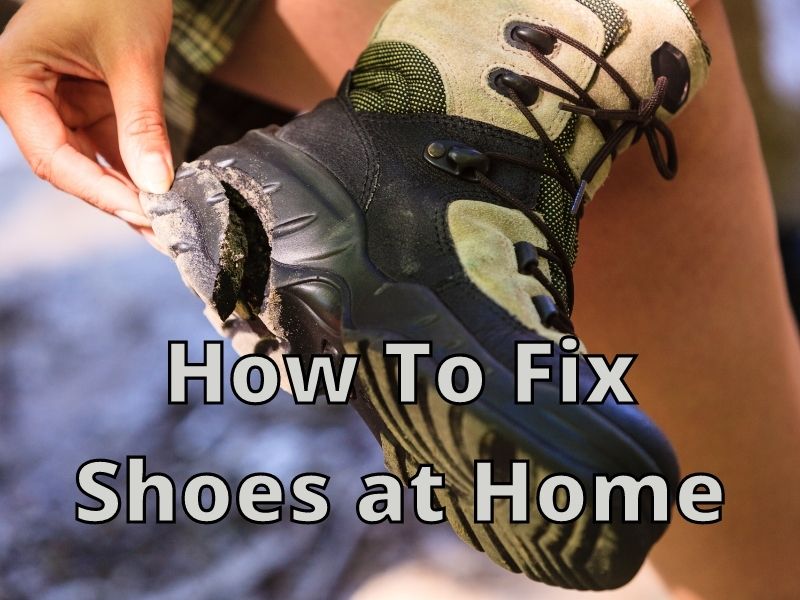
We all have several shoes lying around that need a few repairs. But, we can’t throw them away nor wear them. This is where the DIYs and quick fixes come in. So, I did my research and found five easy methods of how to fix shoes at home.
You can quickly fix your shoes at home and save yourself some money and a trip to the cobbler. With proper instructions, the right tools, and patience, you can repair your shoe soles and shoe heels and remove the stains and cracks. Here is a list of 5 methods to fix shoes:
- Fix Your Shoe Soles at Home
- Fix Your Shoe Heels at Home
- Fix Your Shoe Holes with Shoe Goo
- Remove The Stains from Your Shoes
- Fix The Cracks on Your Leather Shoes at Home
When it comes to shoe repair, we might think it’s a cobbler’s job to do that, even if it’s simple and easy. However, you don’t always need a cobbler or a shoe repairer to fix your shoes. You can fix them yourself with simple DIYs; let’s see how:
Fix Your Shoe Soles at Home
Cleaning Shoe Soles
- To clean your shoe soles, make a mixture of half water and half baking soda. Combine them well to make a soft paste.
- Use a toothbrush and apply the paste to your shoe soles. Next, rub the toothbrush against the soles. You can either use circular motions or go with the markings.
- Baking soda helps remove the dirt and debris from your shoe soles with no residue.
- After cleaning the soles entirely, take a soft wet cloth and wipe the mixture off.
- Allow it to dry completely [you can read How To Dry Shoes Fast].
- It’s a simple and easy fix to clean your shoe soles.
Reattaching Floppy Shoe Soles
Your shoe may still have a lot of life even if the sole is partially detached. So even though it doesn’t look great, there is an easy and simple way to fix it.
- Use a wet rag to clean the bottom of your shoe and the shoe sole. Clean all the dirt and dust accumulated between the shoe bottom and the sole.
- Dip the rag in nail polish remover and scrub away any glue stuck to the shoe bottom. After cleaning the shoe, wait until the shoe is completely dry.
- Scratch your shoe bottom and the loose sole with coarse sandpaper. This will allow the repair glue to adhere better.
- You can find good-quality shoe repair glue at a local store. Read the instructions given on the label of glue before applying it.
- Apply the shoe repair glue on a small round paintbrush. Spread the glue on the shoe bottom and the loose sole. Applying the glue with a brush will allow you to place an even layer on the exposed areas of the shoe bottom and the loose sole.
- Turn the shoe upside down, and press the sole into the shoe bottom. You can use a hammer to press the sole. Strike the area of the sole you’re attaching with the hammer. Hit it several times, moving the hammer slightly to cover the entire area of the sole.
- You can use a clamp to hold the shoe and the sole together. By attaching the clamp to the shoe, the bottom of the shoe and the top of the sole will be pressed down together.
- Leave your shoes for 24 hours to dry completely. Then, pull the sole gently in between to check if the shoe is fixed or if it hasn’t budged.
Replace Your Shoe Soles
If your shoe soles are so worn out that you can’t fix them with glue, then you need to replace them with new ones [Read How You Can Resole Your Shoes]. You can easily find new shoe soles online.
- If your shoe soles are extremely old and worn out, pull them away from the shoe. Since they are old, you will find an edge that has already worn away. But if you are having trouble removing the soles, you can use a hairdryer and a pair of pliers.
- Gentle heat from the dryer will melt away any glue holding the shoe sole. Now gently remove the sole from the shoe with the help of pliers.
- Once the shoe sole is pulled away, take a soft cloth, and apply some acetone. Remove any glue residue from the bottom of the shoe and let it air dry.
- Use sandpaper and smooth out the bottom of your shoe and the top of the new sole.
- Apply the adhesive that has come with the replacement soles and follow the instructions on the label.
Fix Your Shoe Heels at Home
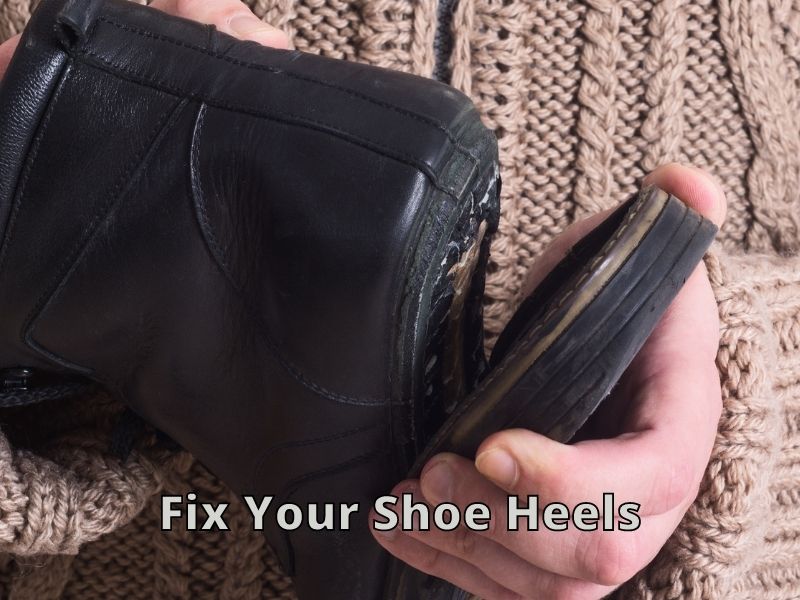
Fix Your Broken Heels
- Before working on your shoe heel, make sure the shoe sole and heel are cleaned. If not, clean them to get rid of the dirt.
- Take sandpaper and roughen the bottom of the sole and the heel top. Smoothing out the surfaces will allow the glue to adhere better.
- Take the glue and apply a generous amount of it on both the heel and the sole. Wait for a few minutes to increase the adhesive power of the glue. Then hold the heel on the shoe.
- Make sure the shoe and the heel are held in the correct position. Now press them together for a few minutes.
- Secure the shoe and the heel with elastic bands and allow them to sit for 24 hours.
Fix Your Worn-Down Heel
- If your shoe heels are worn down and do not look their best, it’s time to fix them.
- Look into your shoe boxes; you may find some spare shoe caps or heel tips.
- These shoe caps are a quick fix for the tips on your high heels!
- To replace them, you need a hammer and a pair of pliers.
- Gently pull the existing dowel out of the heel with the help of pliers
- Then insert the new dowel into the heel using your fingers. Use the hammer to secure them in place.
- And there you have it all fixed.
Fix Your Shoe Holes with Shoe Goo
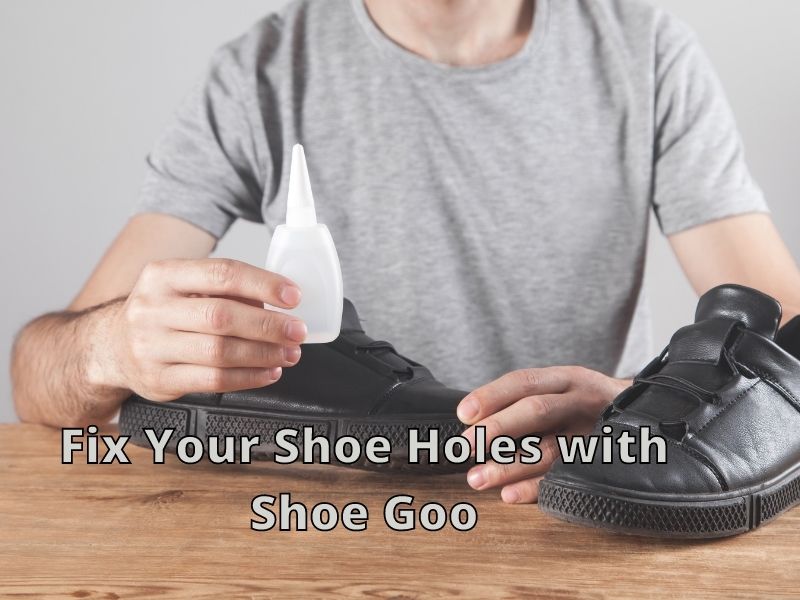
Shoe Goo is a clear, thick adhesive that hardens once it dries. You can find easily find Shoe Goo online or at a local store. It mainly works best from the holes in shoe soles. However, applying it to the hole in the shoe’s upper part may still be visible.
- Use a wet rag to clean dirt and grime from the area around the hole in the shoe. After cleaning the area around the hole, dry it with a paper towel.
- Rub a piece of sandpaper back and forth over the area around the hole until scratches appear. Keep scratching over the hole since it will help the Shoe Goo to adhere.
- Remove the insole from the shoe. Next, take a piece of duct tape and apply it over the hole from the inside of the shoe. The duct tape should be large enough to cover the hole. As a result, Shoe Goo will not get inside your shoe when you apply it.
- Turn your shoe upside down and fill the hole with the Shoe Goo.
- Squeeze the tube slowly, and as the Shoe Goo comes out, move it across the hole to cover it. Once the hole is filled with Shoe Goo, stop squeezing.
- Spread the Shoe Goo evenly over the hole using an ice cube. It doesn’t stick to ice. Ice will help you spread the Shoe Goo evenly and cover the spots you may have missed. Spread it out until it’s even flat layer.
- Place your shoe safely and allow the Shoe Goo to dry overnight. Don’t rush in drying; otherwise, the Shoe Goo may not stick properly.
- Rub the sandpaper over the Shoe Goo to make it flush with the rest of the sole. Avoid bumps in the Shoe Goo since you may feel them later while walking.
Remove The Stains from Your Shoes
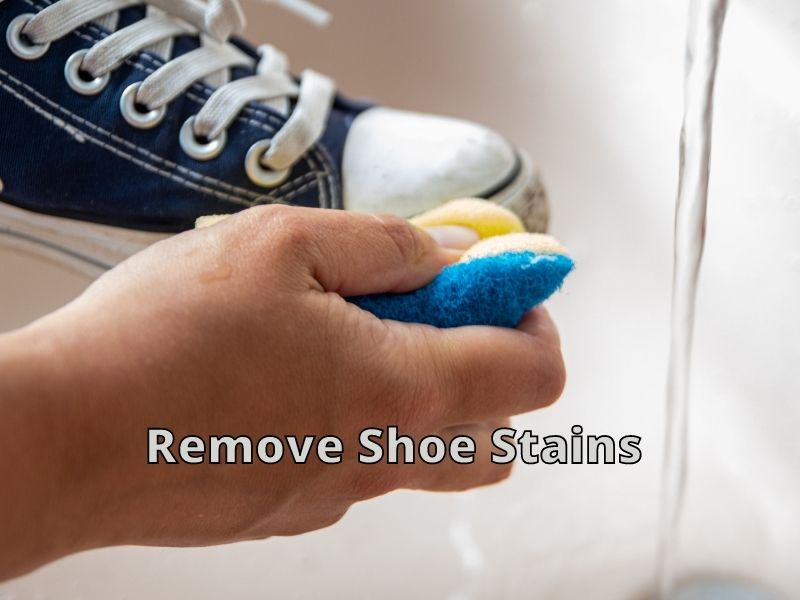
You can clean your shoe stains yourself instead of going to a professional. Here is how:
Removing Stains from Fabric Shoes
- If there is a recent spill, take some paper towels and gently blot the area as soon as possible. This will absorb the excess liquid. Do not rub the paper towel as it may spread the stain.
- Stuff some newspapers inside your shoes to not lose their shape while drying.
- Now prepare a cleaning solution. Add two cups of warm water, one tablespoon of vinegar, and dishwashing detergent. Mix them well.
- Dip a clean sponge in the cleaning solution and dab it on the stained area.
- Now clean the sponge. Again, dip the sponge in the cleaning solution and dab it over the stained part.
- Repeat the process a few times to loosen the stain.
- Take a clean linen cloth and dampen it with only water. Now blot it over the stain. You will see the stain start to fade.
- You need to keep cleaning the stain until it is completely removed or can no longer absorb it.
- Finally, touch the surface with a clean, dry linen cloth to absorb any remaining moisture.
- Now that the stain is completely removed, dry your shoes in a well-ventilated area.
Removing Stains from Leather Shoes
- Prepare a cleaning solution by mixing eight parts of water with one part of facial soap or mild detergent. If possible, use bottled water since tap water may have particles.
- Pour the cleaning solution into a spray bottle. Next, spray the mixture on a clean sponge or a dry linen cloth. Do not spray the mixture directly on the leather shoe because it can damage the leather.
- The mixture will dissolve all the dirt and stains from your leather shoe. Then Gently wipe away the stain.
- Fill your shoes with newspaper to keep their shape and allow them to air dry.
- Once your leather shoes are completely dry, give them a final clean with a wet wipe. This will ensure that your leather shoes appear cleaner and brighter.
Here is a great video that may help you remove stains from your leather shoes.
Fix The Cracks on Your Leather Shoes at Home
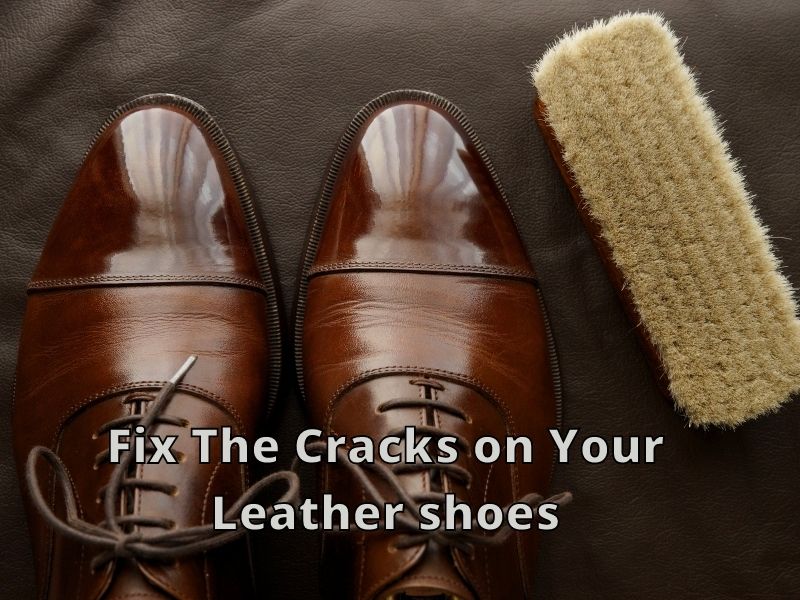
Before repairing the cracks on your leather shoe, make sure they are clean. If not, you can follow the steps mentioned above to clean your leather shoes. After cleaning your leather shoes thoroughly, it’s time to repair all those cracks.
- Stuff your leather shoes with some old newspaper so that they hold their shape. Fill them in a way so that there is no space available.
- Stuffing your shoes helps absorb the extra moisture and allows them to hold their shape while you are working.
- Now is the time to rehydrate your leather shoes by applying certain moisturizers. I would recommend using mink oil to moisturize your leather shoes.
- You need a soft cotton cloth or a brush to apply the moisturizer since it is liquid.
- When applying moisturizer, you need to place it on the cracks first and then push it down.
- After applying the moisturizer, gently heat the leather with a hairdryer. This allows the oil to absorb into the leather.
- After covering all the cracks, you can focus on other shoe parts.
This is just the apparent treatment of your shoe cracks. If you want to repair your shoe cracks in-depth, you will need leather fillers. These fillers are water-based acrylics used to repair deep cracks.
- Apply the fillers only on the cracks.
- Leave your shoes for 30 to 60 minutes to let the fillers cure your shoe’s cracks.
- Once your shoes are dry, buff them with sandpaper.
- Apply a steady amount of pressure so that the fillers blend perfectly with the leather.
- Polish your leather shoes and cover all the filler patches to ensure uniform color and appearance.
Thanks for visiting helpshoe.com
References