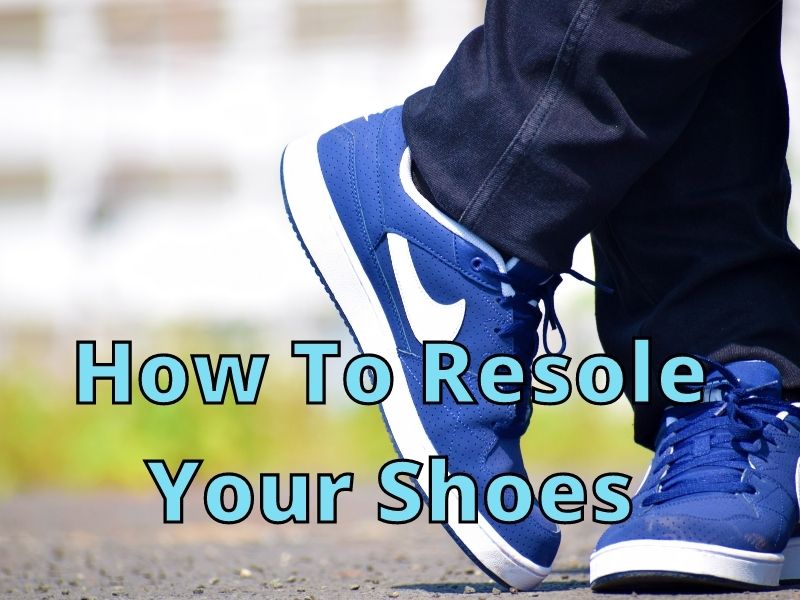
The Shoe soles often wear out before their uppers, and that’s when it hurts. After that, it becomes difficult to decide whether to wear them or throw them away. I’ve learned about how you can DIY your own shoe soles with a little bit of effort. I hope it will help you learn the steps you need to resole your shoes.
Many leather-soled and some rubber-soled shoes can be resoled. Resoling your shoe can be a simple and easy process. Here are a few basic steps that most shoe resoling requires:
- Step 1: Remove Your Old Shoe Sole
- Step 2 Trim the Midsole of Your Shoe If Needed
- Step 3: Attach the New Sole to Your Shoe
- Step 4: Stitch or Glue on the New Sole
Resoling is a cost-effective way to give your old shoes a new life. In this way, you will be able to use your perfect not-so-used uppers with the new soles. But, first, let’s find go into more detail about how to resole your shoes.
What Is Shoe Resoling?
Resoling is the process of removing your shoe’s outsole temporarily and getting a new sole, trimming away excess material, and adding the new sole to your shoe. You can do this to most of the shoes (we will discuss that later), and your shoes will look like new without paying the high price.
Resoling is done to save your footwear investment and prolong its life. It’s an easy, quick, and inexpensive method that you can do yourself to give your shoes a new life.
When Do You Need to Resole Your Shoes?
Sometimes shoe soles will give you obvious signs, such as having holes or coming loose. These signs indicate that the soles are worn out, and you need to resole your shoes. Or sometimes your soles may seem fine, but they may have become thin and have lost their shock absorption and traction.
In such situations, you need to resole your shoes immediately. You can do it either yourself or by a cobbler [you can read what can a cobbler fix]. Because worn outsoles provide less traction, less shock absorption, and cause foot and joint problems.
When you wear less shock-absorbent soles, the impact of walking is transferred to your knees, ankles, or sometimes even the hips, rather than being absorbed by the shoe. These impacts cause discomfort and pain in your joints.
The tread on the sole of worn-out shoes also becomes smooth, which can cause slippage on wet, slippery, and uneven surfaces.
What Types of Shoes Can You Resole?
You cannot resole every shoe. Whether you can resole a shoe or not depends entirely on its design and construction. Some Low-quality shoes do not come with replacement soles, or if they do, they can be more expensive to replace the sole than the shoes themselves.
You can easily resole shoes made with Goodyear welts with visible stitching around the sole. If you got cheap shoes, there are higher chances of them being glued, so don’t expect much. Stitching on shoes that can be resoled includes:
- Blake rapid
- Bologna Construction
- Blake Stitch/McKay
- San Crispino
- Hand Welted
- Veldtschoen
- Norvegese/Storm Welt Construction
- Stitch-down
How To Resole Your Shoes?
If you think about whether you can resole your shoes yourself or not. Well, the answer is yes, you can! And the process is quite simple. All you need is some basic tools. However, if you don’t have time or the tools, you can get your shoes resoled by a cobbler, but you’ll need to spend a little more money.
Firstly, you need to buy soles (half soles/full soles) with heels from a shoemaker. Soles come in different sizes, so make sure you buy the one that is the same size as your shoes. The following steps describe how you can resole your shoes in detail:
Things You Need:
- Safety gloves
- Soles and Half Soles
- Utility Knife
- Stitches
- Stitch cutter
- Shoe stretcher
- Panel Nails
- Sandpaper
- Shoe Repair Cement
- Glue
- Punch
- File
- Hammer
Instructions
Step 1: Remove Your Old Shoe Sole

- Clean your old shoe soles remove all dust, grease, and mud from them. If you plan to use soap and water, then after washing your shoes, let them dry [read How to dry shoes fast?] completely before resoling them.
- Once your shoes are thoroughly cleaned and dry, it’s time to prepare the soles.
- Gather all the tools, and let’s get started:
- Using a sharp knife or blade, cut through your heel’s stitching. After that, it should be easy to pry them apart with your hands. If it’s difficult, apply some pressure on one side of the sole and pop it off.
- If your shoe soles are made of tough material like rubber or leather [you can read What are shoe soles?], you can use pincers or pliers to get more leverage when cutting.
- To avoid injuring yourself or damaging your shoes, you can use a hammer and nail punch while cutting the material.
- Once your old shoe sole is all off, look at both sides of each shoe.
- You will see three layers in total from top to bottom: the outer sole, the midsole, and the inner sole.
- You will need to remove all these layers to attach your new sole.
- With a cutter, these layers can be easily cut through, but you should peel back the upper as much as possible for leather shoes.
- Then use a drill to remove the sole. Start by drilling a small hole. Then apply some pressure and twist until you can remove them with a screwdriver.
- You need to be very careful while cutting since it can damage the midsole. However, once you are done cutting the stitching around the outsole, you should be able to separate the outsole from the midsole.
Step 2 Trim the Midsole of Your Shoe
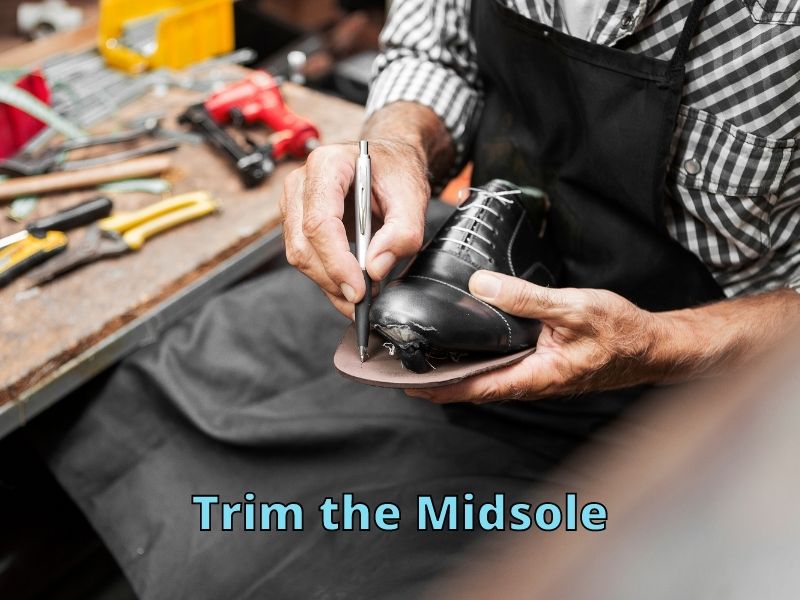
- Now, as you remove the outsole, you will be able to see the midsole of your shoe. This is where you need to attach your new sole.
- Some parts of your midsole may have been worn away.
- To attach your new sole, you need to trim down the midsole.
- Use a sharp knife or blade and measure how much material you need to remove.
- You have to make enough space for your new sole, but be careful not to tear up your shoes.
- After marking how much midsole, you need to remove, trim the excess material with tin snips.
Step 3: Attach the New Sole to Your Shoe
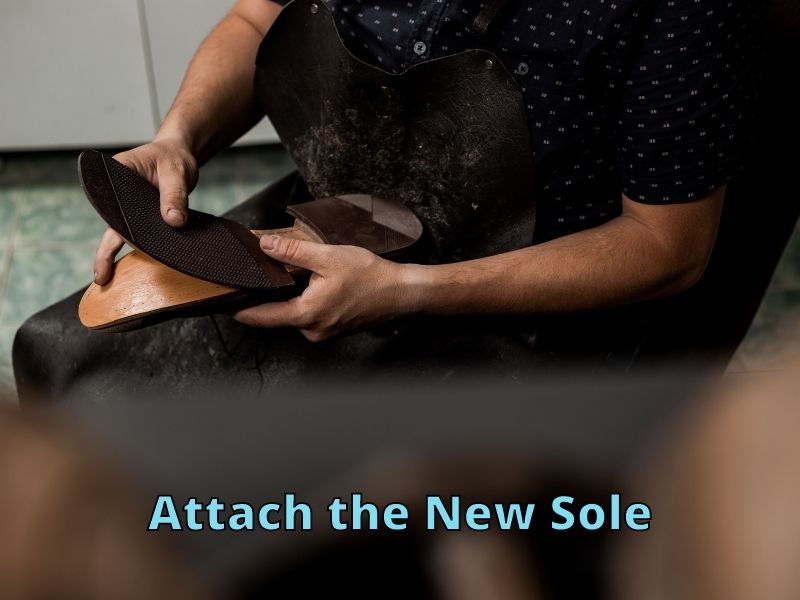
- Once you level the midsole, your shoe is ready to accept the new sole.
- Using a shoe stretcher or a hammer and punch, you can stretch your outsole.
- While attaching the new sole to the midsole, ensure that the sole’s tread is facing the same way! In this way, your new soles will last longer.
- As you attach the new soles, make sure that the tread patterns meet at the top of the shoe. This will hold the shoes together.
- I would suggest using tape on the areas where you will attach the new sole to avoid any mistakes.
- Then you can follow the instructions given on shoe cement.
- First, apply a thin layer of shoe repair cement on the old and new ones.
- You can place newspaper under your shoes while waiting for the cement until it looks dry.
- After coating both the surfaces well, attach them together. Don’t pressure your shoes until everything looks ok since they can’t be moved once contact is made.
- Next, make full contact of the new sole onto the old sole, and press them.
- Put on your shoes and walk around for some time. This secures the new sole and the old sole.
- When the soles are cemented together, trim away any excess material around the sole using a sharp knife. While trimming, you can follow the old sole’s edges.
- Use a file to smoothen the cuts but be careful.
Step 4: Stitch the New Sole
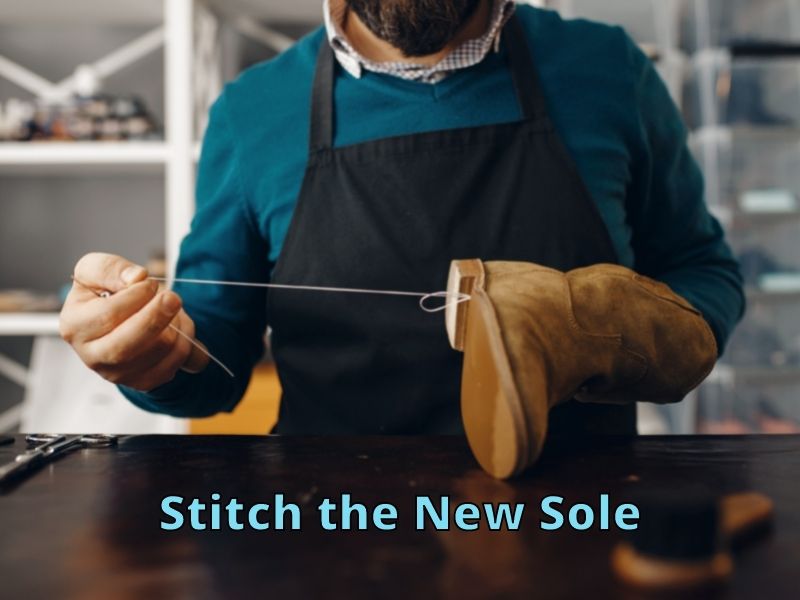
- As soon as your new soles have dried sufficiently to hold their shape, now is the time to stitch them.
- Stitching is necessary to firmly attach the new sole to the midsole. Stitching provides a solid connection to keep the two layers together.
- Choose a sturdy thread for stitching. You can use superglue on each hole before stitching so that your shoe stays together. This is especially helpful if you are using a heavy-duty needle.
- With a sturdy thread, you will not need to use superglue often. You’ll need just one foot of thread to stitch through each hole.
- Make a knot at one end of the thread, leave it there while you finish your shoe, then tie a knot at the other end when you’re done stitching. This helps prevent thread loss when you’re working.
- Cover the inside of the shoe with a plastic bag.
- Start stitching the new sole to the midsole. (You can follow the video below)
- Once you are done with stitching, cover each hole with the superglue and let it dry completely.
- Your old shoes with new soles are ready to rock!
If you’ve ever wondered if you can replace the soles on your yellowing cracked basketball shoes, here’s a great video that shows you how it’s done.
Bonus
Steps To Resole Heels
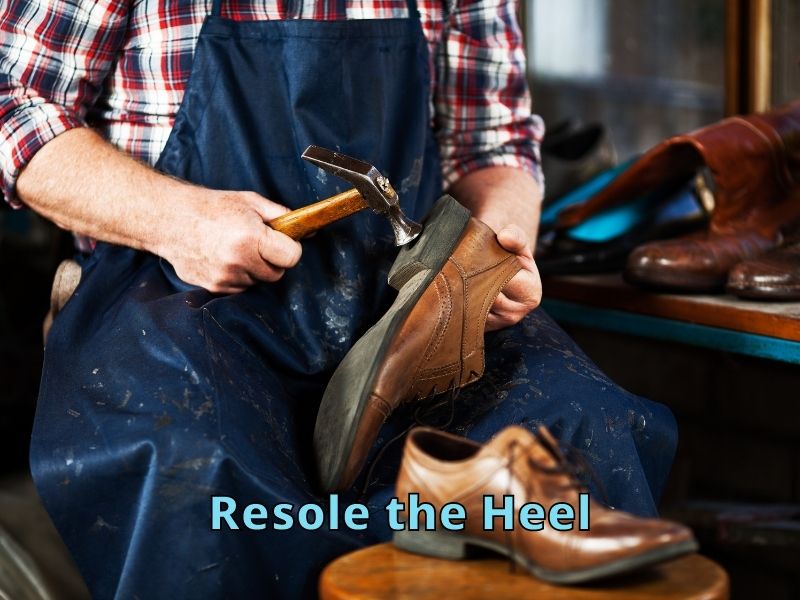
- You need to pull off the old heels with a screwdriver to attach new heels.
- Use pliers to pull out any nails attached.
- Apple shoe repair cement on the new heel and the heel surface of the shoe.
- Let it dry for some time.
- Gently press the heel into place in the shoe. Secure the new heel with a few nails.
- Make sure the heel stays in place by hammering a few nails around the edge
- Nails should be spaced 3/8 inch apart from the heel’s edge.
- Use a filer to trim and smooth the heel’s edges.
- Let the cement dry completely before slipping the heels on.
Difference Between Half-Sole Resole and Full Sole Resole
Some people might not need to resole the entire shoes. What are the differences between resoling an entire shoe sole versus only half the sole? Here’s a chart to help you understand what you’ll need for each type of resoling required.
| Half-Sole Resole | Full Sole Resole |
|---|---|
| A half-sole resole is a cheap and quick fix. | A full-sole resole is a long, tedious job and requires skills. |
| It is ideal for you if you wear shoes hard. | It is ideal for you if your shoes are slowly breaking down. |
| If you like to change the sole frequently. | If you want a permanent solution for your shoes. |
| If your shoe soles are extremely worn out. | It gives your shoes a new life. |
| If your shoe soles are already repaired before. | It makes your shoes perform as they did when they were new. |
| Half resole saves you money. | A full resole is more expensive than a half resole. |
| Your shoes may wear out quicker. | It is ideal for you if you are a skier or work in wet conditions. |
| Your shoes still have some old sole material that may slide your feet. | The old sole material is completely removed. |
| It can cause more slipping if not properly performed. | The sole is bonded directly to your shoes, providing better traction. |
Takeaway
Next time, you won’t have to discard your old shoes or spend extra money on expensive alterations when you can do it yourself. Resoling is a simple method; you only need practice and some patience. Just follow the steps mentioned above carefully, and you’re all set!
Thanks for visiting helpshoe.com
References