
Owning lots of shoes is not an easy job. If you don’t take care of your shoes properly, they may dry up and get cracks. Shoes can be like a small investment that can pay dividends over time. Learning to fix cracked shoes is one way to keep that investment going strong.
To fix your cracked shoes you can use shoe conditioners, oils, shoe creams, and fillers. How you proceed depends on your shoe’s condition and how much time you have.
- Short-term fix: To fix small cracks using a shoe conditioner.
- The long-term fix: To fix deep cracks using mink oil and shoe cream or filler.
Getting cracks in your shoes isn’t always due to usual wear and tear. Sometimes our new shoes also get cracks. You don’t need to spend a lot to fix those ugly cracks; however, the method you choose depends on the severity of the cracks.
Your first aim should always be to prevent your shoes from cracking. But if you couldn’t stop them from cracking, don’t worry! I got your back.
Short Term Fix
The short-term fix is excellent for small cracks, but it may not work for deep cracks. It will take only three to four minutes to fix your shoe cracks. It is specifically useful when you are in a rush or immediately need to wear your shoes.
Things You Need
- Stiff brush
- Soft cloth
- Distilled water
- Mild cleaner or baby soap
- Conditioner
- Applicator
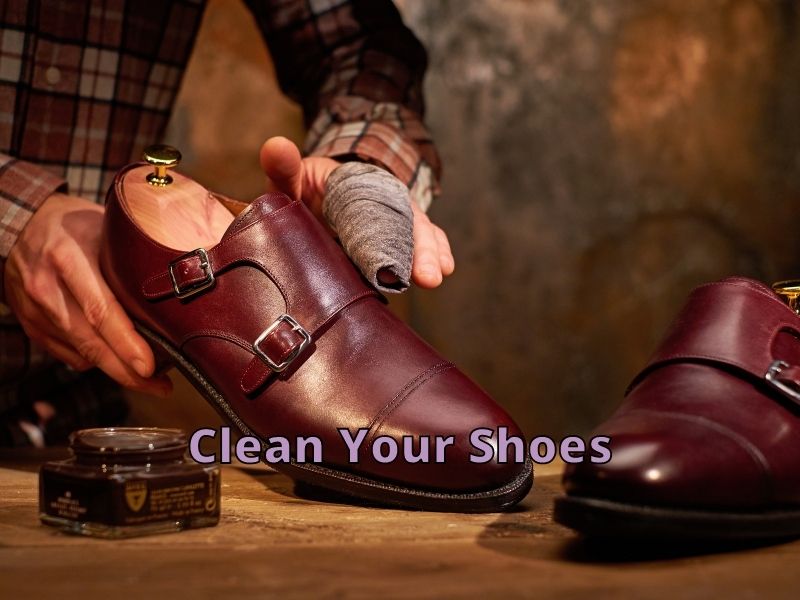
Step 1: Remove the Dirt and Mildew from Your Shoes
- Before fixing the cracks, you need to thoroughly clean your shoes.
- To fix your cracked shoes, you first need to remove all the dirt and mold from them.
- For that, take your shoes outside the house while cleaning them to avoid bringing dirt and mold into your house.
- Take a brush with stiff and short bristles or a soft dry cloth to remove the spots. You can also use your old toothbrush. Start scrubbing the spots.
- If the spots are difficult to remove, dampen the brush or cloth in warm water.
- Also, I would suggest discarding the brush or cloth after using it to avoid spreading mold spores.
Step 2: Clean Your Shoes with A Mild Cleaner
- You need a mild cleaner for this step, but if you don’t have one, you can make your own. Add eight parts of distilled water with one part of baby soap and mix them well to make a cleaning solution.
- Take a soft cotton cloth or a scrub brush and dampen it with warm water.
- Wipe the shoe with dampen scrubber and remove as much visible dirt as possible. This will moisten your shoe but make sure the cloth isn’t dripping with water.
- Apply the cleaner evenly to the shoe and scrub the shoe in a circular motion with the cloth or scrub brush.
- You will see the color of your shoes lighten as the dirt is extracted. Then wipe off the shoe with a damp cloth.
- Scrub your shoe with a damp cloth until they feel dry. You won’t see any cracks until your shoes are dry, so wait for a few hours and let them air dry completely.
- You can use a soft cloth to speed up the drying process [you can read how to dry shoes fast?]
Step 3: Condition the Cracks on Your Shoes
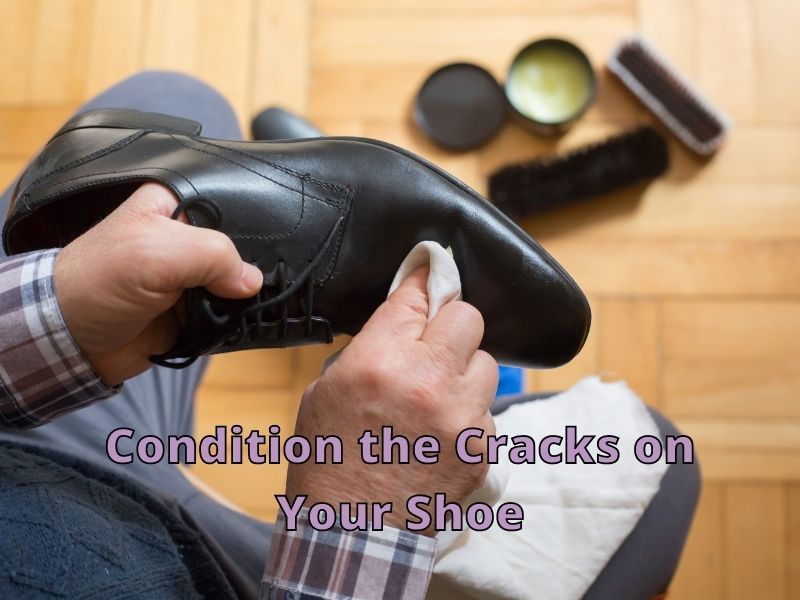
- Apply a generous amount of conditioner to the cracks in your shoes using a sponge or applicator.
- You can easily get a quality conditioner online or at a local departmental store.
- Since your shoes are probably dry, the conditioner will quickly absorb into their cracks.
- Once the conditioner gets absorbed, take some more conditioner and apply it around the cracks. Again, you will see visible changes in your cracked shoes.
- If the cracks are intense, use a spoon or even your finger to press the cracks and flatten them. Then remove any excess material.
- Use the opportunity and apply the conditioner all over the shoes to avoid any future cracking if you have time. [read how to prevent shoes from cracking?]
Step 4: Dry Your Shoe with A Clean Cloth
- Follow the instructions on the conditioner’s label. You will probably see advice on how long to let your shoes dry before wearing them.
- I suggest you leave your shoes to dry for about 24 hours before using them again to see the magic.
- As soon as your shoes absorb the product, you can check if any cracks remain. If you notice the cracks are still visible, repeat the process.
- Make sure to remove the excess conditioner each time since it can harm your shoes.
- I would also recommend stopping the process once your shoes no longer absorb any more conditioner. At this point, you should know that these are deep cracks that will require a long-term fix [discussed in detail below]
Here is a detailed video on how to clean and condition your shoes. Each step is shown in detail, I hope it may help you.
Long Term Fix
A short-term fix, i.e., conditioner, won’t help you when it comes to fixing deep cracks. You would need a long-term fix. It’s a long process as compared to a short-term fix. There are two methods to fix your cracks with a long-term fix.
Things You Need
Here is a list of things you need:
- Scrub brush or soft cloth
- Distilled water
- Mild cleaner
- Saddle soap
- Sandpaper
- Mink oil
- Shoe cream
- Fillers
- Hairdryer
- Butter knife or applicator
Method1 Fix Your Shoe Cracks with Mink Oil and Shoe Cream
Step 1: Clean the Surface Area of Your Shoes
- You need to clean the outer surface of your cracked shoes before you fix them since this makes the process easier.
- Remove the insoles and laces of your shoes.
- Take a scrub brush or a soft cotton cloth and dampen it with warm water. But make sure it just dampens, not dripping with water; otherwise, it may damage your shoe.
- Circularly move the brush from top to bottom on your entire shoe to remove all the dust and grime.
- Once you have completed this step, your shoes will be soft enough for further cleaning with saddle soap.
Step 2: Clean Your Shoe Using Saddle Soap

Saddle soaps are made with waxes and oils. In addition, it has to soften agents and normal soap, which makes it ideal for repairing your shoe cracks.
Follow these steps to clean all the dirt and stains on your shoes with saddle soap.
- Take a soft microfiber cloth or a shoe dauber to apply the saddle soap to your shoe. A microfiber cloth will not cause any abrasions to your shoe.
- Scrub the saddle soap on your shoe in a circular motion.
- You will notice that your shoes will become cleaner, softer and lighter. It’s because Saddle soap lathers up to remove all the dirt and moisture from your shoes.
- Repeat this step until your shoe is properly cleaned.
- With a piece of cloth, wipe the soap off your shoe, and let it dry.
Step 3: Stuff Your Shoes with Newspaper
- Put your shoes in a dry place and fill them with newspaper, sock balls, old socks, pieces of cloths, or rags.
- Stuffing your shoes helps to absorb all the moisture and prevent mold growth.
- It will also help your shoes to dry completely within 24 hours.
- Additionally, it keeps your shoes in their original shape while drying.
- By stuffing your shoes with newspapers before you fix your shoe cracks, you will be able to see the cracks at their most stretched position.
- The basic idea behind stuffing your shoes is to make sure the cracks are stretched and visible. This way, you would know how small or deep the cracks are before fixing them.
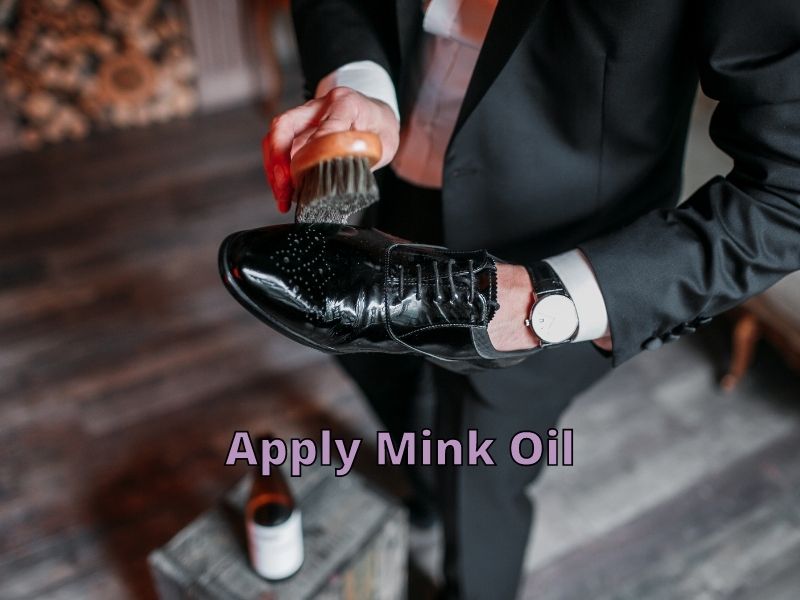
Step 4: Apply Mink Oil on Your Shoes
- Make sure your shoes are well stuffed with no space left.
- Also, your shoes need to be completely clean and dry.
- Use a small amount of mink oil, and apply it over cracks.
- Rub the mink oil over the entire shoe with your fingers.
- Rub a thin layer of mink oil over the cracks until barely visible.
- It will restore all the moisture in your shoes
- Allow your shoes to dry overnight.
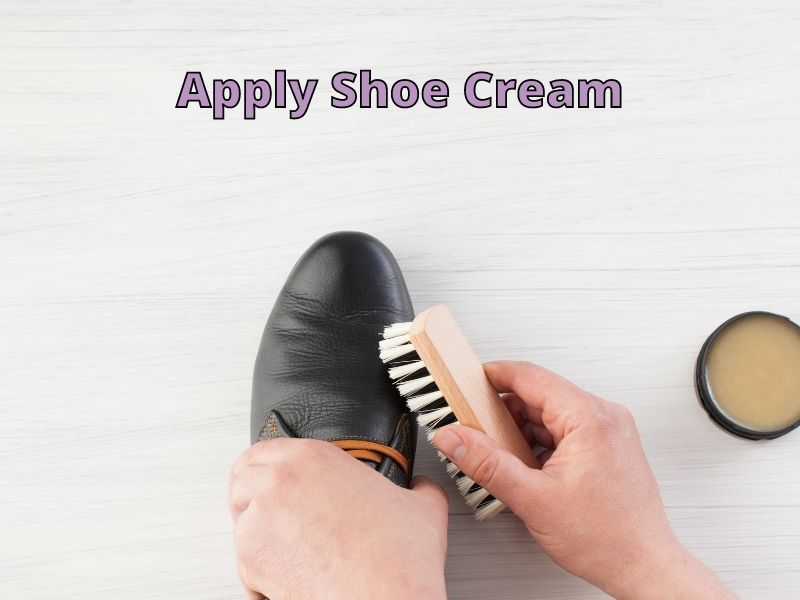
Step 5: Apply Shoe Cream on Your Shoes
- Applying shoe cream will make the color of your shoe uniform.
- Use a shoe dauber, take a small amount of shoe cream and apply it all over your shoe.
- Apply the shoe cream in circular motions and push it inside the shoe cracks. Your primary focus should be the cracks in your shoes.
- Using a thick layer of shoe cream on the shoes will hide the already fading cracks.
- Shoe cream will fill in cracks, improve the look of your shoes, and create a more consistent color.
- With a soft cloth, buff your shoes to finish the look.
- Let your shoes dry for about 3 hours, and you are good to go.
- Also, if you wish, you can apply a final thin layer before using them to give them an extra layer of protection.
Method 2 Fix Your Shoe Cracks with Filler
Sometimes shoe cracks are so deep they can’t be fixed with mink oil or shoe cream, so you’ll need filler. It’s not a complex process; you can easily do it at your home.
You will need a few more things for this method, such as crack filler, shoe dye, sandpaper, etc. After collecting all the equipment, you can follow the below steps:
Step 1: Clean Your Shoes
Clean your shoes as mentioned in the above steps and let them dry completely before proceeding because filler doesn’t work on damp surfaces.
Step 2: Smooth Out the Cracks
- Once your shoes are completely dried, smooth out the cracks with super fine sandpaper.
- Avoid using low grit sandpaper because it may damage your shoes
- Gently press the sandpaper over cracks and continue to soften the surface.
- Use a soft clean cloth and remove the sanding dust.
Step 3 Fill the cracks with the filler.
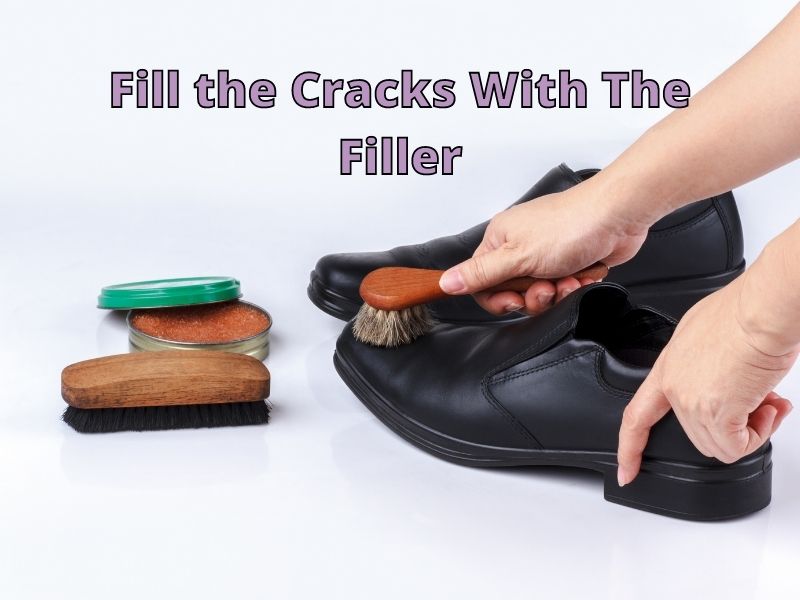
- Take an applicator, a butter knife, or an icing spatula to apply a good amount of colorless filler.
- Press it over and fill the cracks with the filler. Continue until you feel the cracks are perfectly sealed.
- Let your shoes fry for about six hours.
- Repeat the process about four to five times.
- Since the filler shrinks upon drying, you must repeat the process to see better results.
- Before letting the filler dry, sand the area to make it flat.
Step 4 Dye the Cracked Areas
- Pick the appropriate shade of dye for your shoes.
- Apply a thin layer of dye over the filled cracked areas.
- Using a sponge or an applicator, tap the dye over the filler to even the surface and make a consistent color.
- Put your hairdryer on the lowest setting and dry the dyed area for about 2 minutes.
- Do not dry it for more than 2 minutes since it can damage your shoes and cause discoloration.
- You may need to repeat this process five times to see the desired results.
Thanks for visiting helpshoe.com