
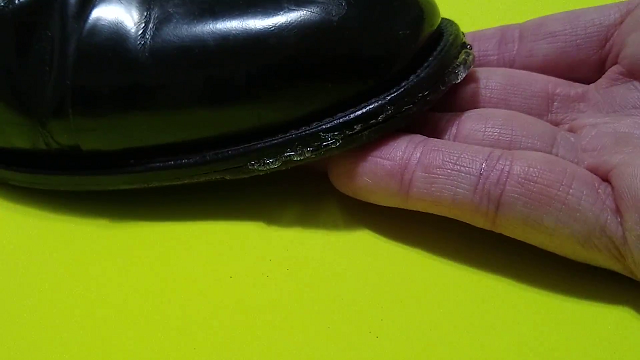
My dress shoes have had loose sole tips for a while. The leather soles have partially lost their adhesion and although it’s not really noticeable, the soles sometimes catch on the floor while I am walking. The opening has gotten bigger over time, and I finally decided to take action and use Shoe Goo to adhere the leather sole to the shoe.
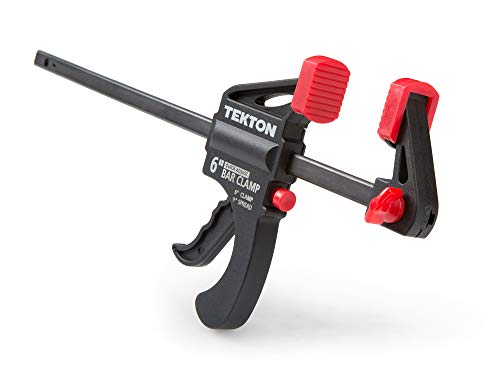
Shoe Goo is fairly easy to use and doesn’t take much time, but does require that you are prepared with some basic tools to make the job go smooth. When using shoe Goo, I recommend a cleaning tool, a spreading tool, a cleaning cloth, some type of weight or clamp, a new paper, possibly a pocket knife, and a bit of patience.
Before I knew it, my dress shoes were ready to wear. It’s a fairly convenient way to get your shoes back in working order with a minimal amount of work. You’ll likely have everything you need to get started in your house.
Before You Begin
Before you start gluing a sole that has separated from your shoe, you’ll want to be prepared by doing three things ahead of time. This will make the process much easier and help you feel happier with the result, rather than disappointed.
First, you want to read the directions on the Shoe Goo tube. You may find something you didn’t expect or were glad you read to clarify. Next, you want to have a clear designated area to do the gluing. Last, make sure you have all the items you need before you begin because everything needs to be done in about a short 2 minute period of time.
Taking a few minutes of preparation time will ensure you get the best results. I personally forgot one step that could have saved me a couple of minutes if I had done it. I’ll discuss all the steps needed in the next section.

Read the Instructions
- Shoe Goo sticks to almost everything it comes in contact with, so caution must be taken when using it.
- It talks about warnings and times you’ll need for each step.
- You can go to shoegoo.com or call (800) 767 4667 if you need help with using it.

Prepare the Area
- Make sure you have newspaper or some other material under your shoes where your working.
- Try to make sure it is a clean are with plenty of area to work in.
- Try to use a well ventilated area because fumes may be an issue.

Get Items Needed
- Get all the items that you need for your application. Some items you might want are:
- Glue Spreading Tool: To ensure the best result when gluing your shoe, make sure there is at least a thin layer in all the areas that have become loose.
- Cleaning Tools: Before you apply the glue make sure you have a rag or paper towel ready.
Steps for Gluing a Loose Sole

When You start to glue a sole that has separated from your shoe, you’ll want to have some items available to help you with the process. Having all the items you need will make the process much easier and help you feel happier with the result, rather than disappointed.
make sure there is at least a thin layer in all the areas that have become loose.
Steps
Step 1 – Clean the Sole and Upper
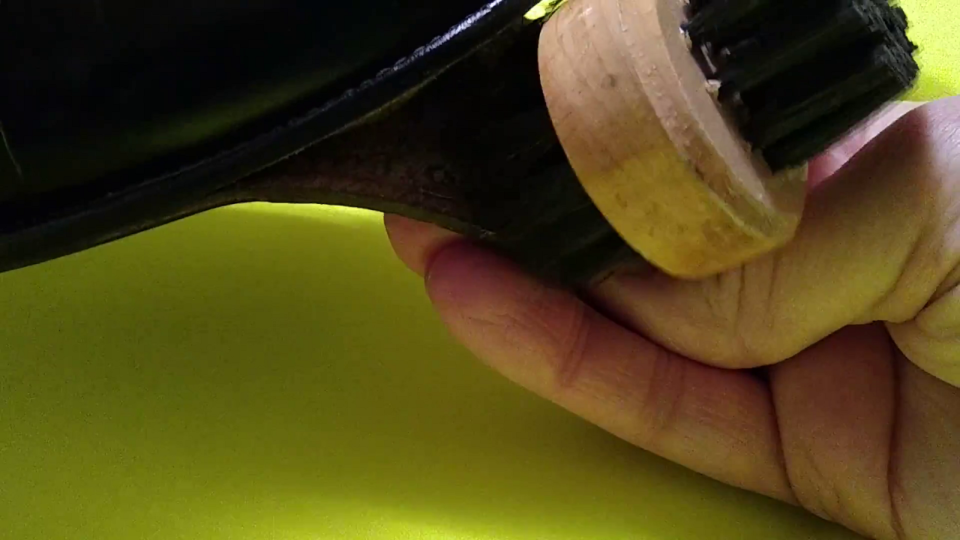

Use a brush or dry cloth to clean away any debris and dirt. If debris is stuck, you might want to scrub them out with a toothbrush or sandpaper.
Make sure the shoe is in a clean area that can get glue on it, like a newspaper.
Step 2 – Open the Shoe Goo and Dispense Glue


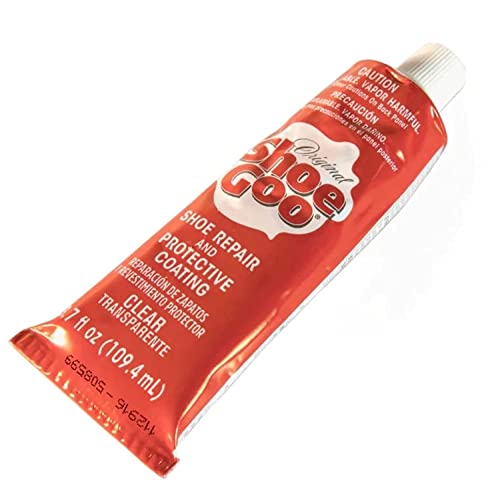
If this is your first time using Shoe Goo you’ll need to take the cap off and use the reverse side to poke a hole in the tube top opening.
Then you will need to pull down the sole of the shoe to apply a bead of glue along the sole.
Be careful not to use too much glue. A thin layer along the entire surface of the sole.
Step 3 – Spread the Glue
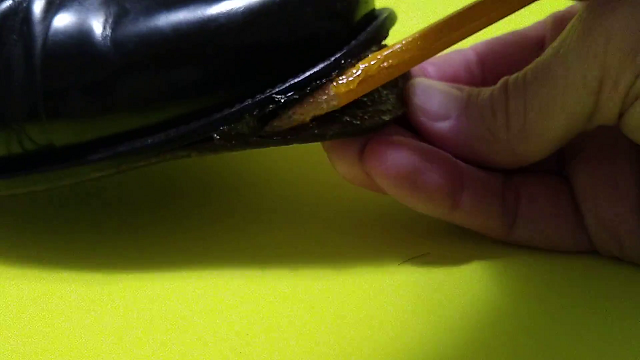
Using a tool to spread the glue, make sure to cover the entire surface exposed sole. If you have a thin layer, this should be good enough. Too much or too little may cause issues.
Try to err on the side of too much glue. You can always wipe away any glue that is squeezed out when you apply pressure.
Step 4 – Wait 2 Minutes
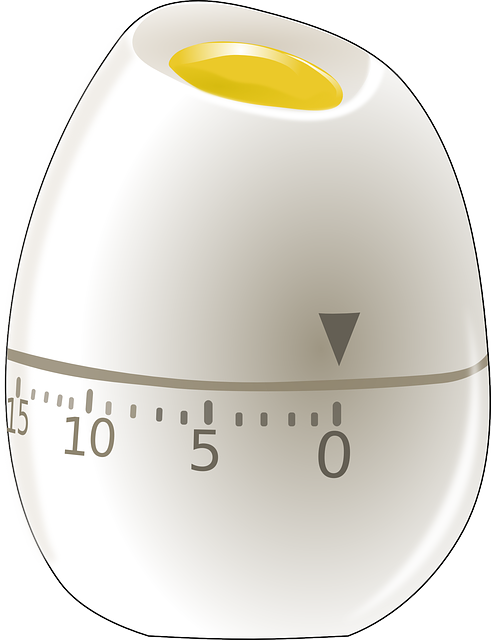
The glue that has been spread needs time to cure before you apply pressure. Wait 2 minutes and then you can apply pressure.
Step 5 – Apply Pressure


Press the sole against the mid-sole with your hand, by pressing up on the sole or down on the toe of the shoe. Another option is to reach into the shoe and apply pressure down from inside.
Some glue will be squeezed out as you apply pressure. Use a rag or paper towel to carefully clean the glue that has come out.
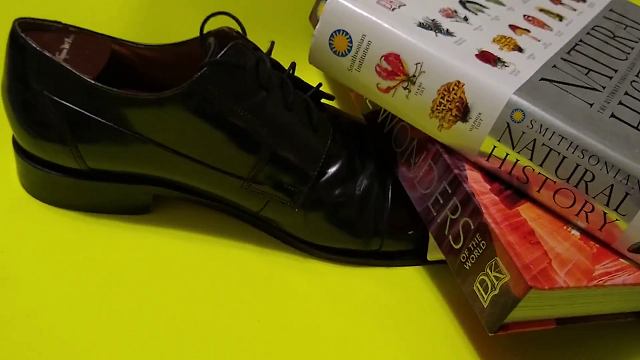
If you have a shoe tree, place it inside the shoe before putting weight on it. It can help make sure even pressure is applied to the glue.
Then you can use some type of weight or clamp to apply steady pressure for 20 minutes. Try to make sure the weight is evenly distributed, so the pressure is applied to the entire glued area.
You can then wipe up any more glue that has been squeezed out. (I forgot this step and it made clean up more difficult.)
Step 6 – Clean Up
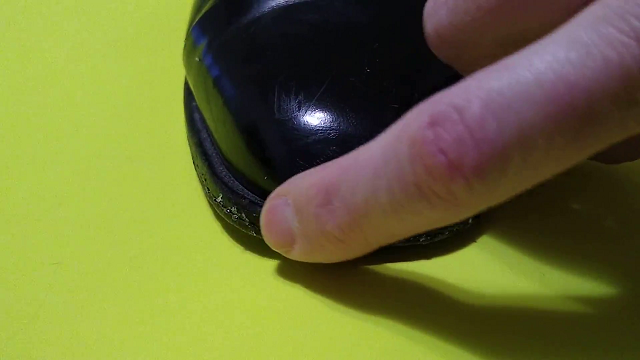
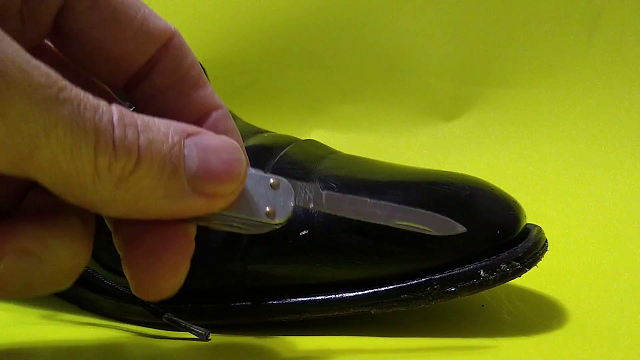
You may see excess glue after the glue is dry. Sometimes this glue can come off using pressure from your finger.
In fact, most of the excess glue came off by rubbing it with my finger, although some needed a bit more help.
I used a pocket knife to help scrape/cut away the glue that remained. This was helpful, but I did cut into the leather at least once on accident.
If you use a knife, use extreme caution, both for your safety and so you don’t cut your shoe.
Gluing your shoe back together can be fairly easy, especially if you don’t have to do step 6 because you cleaned all the glue off in step 5. If you are gluing a different part of your shoe you can apply the same methods, although there may be additional steps you’ll need to take.
Besides waiting for the twenty-minute for the glue to dry, the process should take less than 5 minutes if everything goes well. That doesn’t mean you should rush it though. Patience is key for a successful experience with Shoe Goo.
I recommend being prepared and taking your time with the gluing and cleaning off excess glue. This will give you the best chance at success from my experience.
Can you Use Super Glue instead of Shoe Goo?

I tried super glue on both the soles of my shoes before I used Shoe Goo. I was getting ready to go to church and remembered that my soles were still loose in the front. I thought I could possibly use super glue to attach the sole to the mid-sole.
I tried a liberal amount of glue on one sole and held it together for about 30 seconds. Nothing happened. The glue looked wet and not sticky. I decided to try to use a lighter application of glue on the second dress shoe. The glue seemed a little stickier but wasn’t able to hold the sole to the midsole.
It was time to go, so I left my shoes the way they were. Interestingly, when I checked my shoes a couple of weeks later, one of the soles was now glued to the midsole.
I believe the shoe where I applied super glue liberally hadn’t had time to cure and later became sticky so that when I was walking around, the sole became glued to the midsole.
So it looks like Super Glue can work, but I’m not sure how long it takes, how much to apply, to create the right environment for a leather sole to stick a midsole.
Using Super Glue
Pros
- Easier to apply
- A small tube can likely be used on both shoes
- If you use my method, no weight or clamp is needed to hold the sole to the midsole
- No clean up should be needed
Cons
- May not work. Depends on shoe and amount used.
- Extremely difficult to remove from shoes, fingers, etc.
- Can’t be used to fill holes or level uneven areas
- Bonds instantly to many things.
Shoe Goo Helpful List

- Time reminders: Wait 2 minutes before you apply pressure, wait 20 minutes as you apply pressure or weight, wait 24 hours for the glue to cure completely, and up to 72 hours to be sure it’s as strong as it can be. After 20 minutes it may look dry, but be careful if your using them right after they’ve been glued.
- Get Supplies Before Starting: Once you start, you can easily get stuck with a mess if you don’t have everything you need.
- Ask for Help if Needed: Sometimes we don’t have the supplies we need and a helper can aid us during certain steps.
- Take your Time: When gluing and cleaning, a little extra care will go a long way towards a good outcome.
- Retry: If it doesn’t turn out right, it may be possible to remove the glue and try again. With a fresh start and more experience you can make it look like you wanted.
- If all Else Fails Try Something Else: When I tried Super Glue, it actually worked.
- Store your Shoe Goo: Shoe Goo can work well for years if the cap is in place correctly and the tube isn’t punctured.
- Try it on Most Anything: It can be used on leather, rubber, canvas, and vinyl.
Conclusion
If you have a spare 10 minutes, you’ll likely be able to use Shoe Goo to get your shoes back in shape by gluing the loose part together again. The entire process will likely last around 30 minutes if everything goes well and most of that is waiting.
The steps are fairly easy and most of the items you need should be available in your home. It feels good to fix a shoe you enjoy and continue using it. And you feel good about saving money. I hope your experience with gluing your shoes is a good one and that all turns out as expected.
Thanks for visiting Helpshoe.com