I remember tent camping at the Grand Canyon National Park. I was fine that evening when I went to sleep, but when I woke up in the morning, it was painfully cold, even in the tent. The temperature had dropped quite a bit while I was sleeping.
Insulating a tent for winter involves adding layers to a tent and to yourself to help keep you warm during the wind or snow. Winter tent camping involves using gear and resources effectively to insulate and create a comfortable sleeping area.
But camping in the winter may also mean that you’ll need additional gear or a little more preparation than normal. You have to take extra precautions to protect yourself from the cold.
Why Camp in the Winter?
When winter comes around, most of us become homebodies who prefer to stay indoors like hibernating bears. When people aren’t at work, you’re most likely to find them snuggled up in a blanket either watching Netflix or catching up on a novel.
Either way, a majority of people are happy to trade Pina Coladas and palm trees for coffee mugs and beanies. However, it’s worth noting that while we’re indoors, magical things are happening outside. During winter, the face of nature transforms into an icy wonderland of remarkable beauty.
That’s why a growing number of people are starting to explore camping as a viable and enjoyable recreational activity in winter.
Read on for some helpful pointers on how to enjoy the perfect winter camping trip, starting with your tent.
What is Tent Insulation?
Insulation is a pretty straightforward process. The goal is to construct a barrier that helps to minimize the amount of heat transferred between two materials.
You can do this by minimizing conduction and radiant effects. Different materials transfer heat differently.
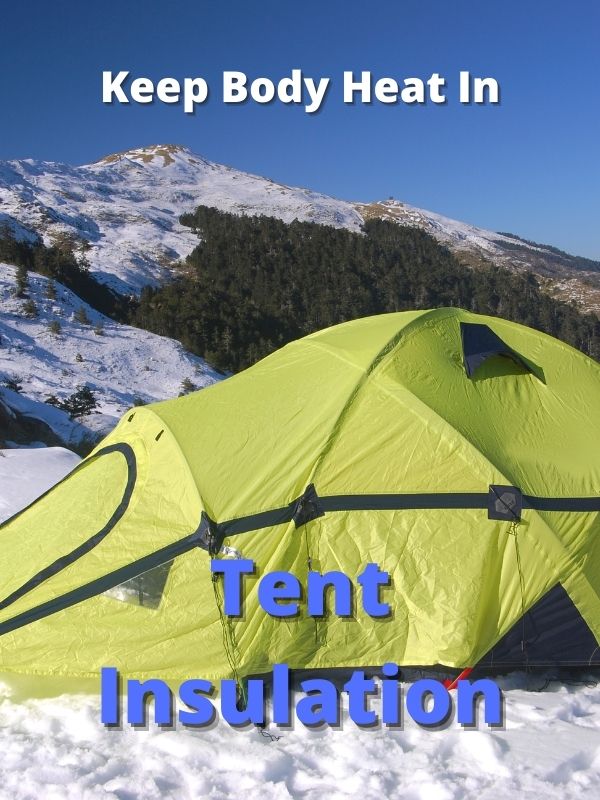
Basically, insulation allows us to keep the body heat we generate within the tent from escaping. After all, you can’t use any heating source to warm up your tent because tents are flammable, so you must rely on body heat and other methods.
This is the most viable solution because the human body produces the same amount of energy and heat as a 100-watt light bulb.
Since many tents are small enclosed spaces, it’s easier to heat it up with body heat alone. The most important thing is to insulate the two main areas within the tent, namely the walls and the floor.
Your body heat, along with the equipment you bring, may be able to heat up your tent in cold conditions.
Gear for Tent Insulation
In order for the heat to stay in your tent, you need materials that help prevent heat loss. Air can be an effective tool for heat loss prevention.
We’ll try to give you the most practical ways to insulate your tent, although if you have the time and money, you can find many ways to insulate your tent.
You should opt for lightweight gear, if you’re hiking, that insulates well and stays away from anything too heavy. However for the most comfortable camping, you’ll want to bring some extras that won’t fit in a backpack.
Typically, the air is the best possible insulation for a tent. This is why you’ll find that a majority of camping gear used in tents is made to trap tiny pockets of air to use as insulation. These can include your sleeping bag, sleeping pad, and clothing.
This is similar to how single-pane windows are constructed. Almost all types of insulations involve trapping air inside a particular space.
However, that’s just one piece of the puzzle. You must also consider heat reflection. There are some types of gear available that you can use to reflect heat back towards you.
A good example of a material that ticks all the boxes is a thermal blanket or sleeping bag (Amazon Link). This type usually works by trapping body heat and reflecting it back to you.
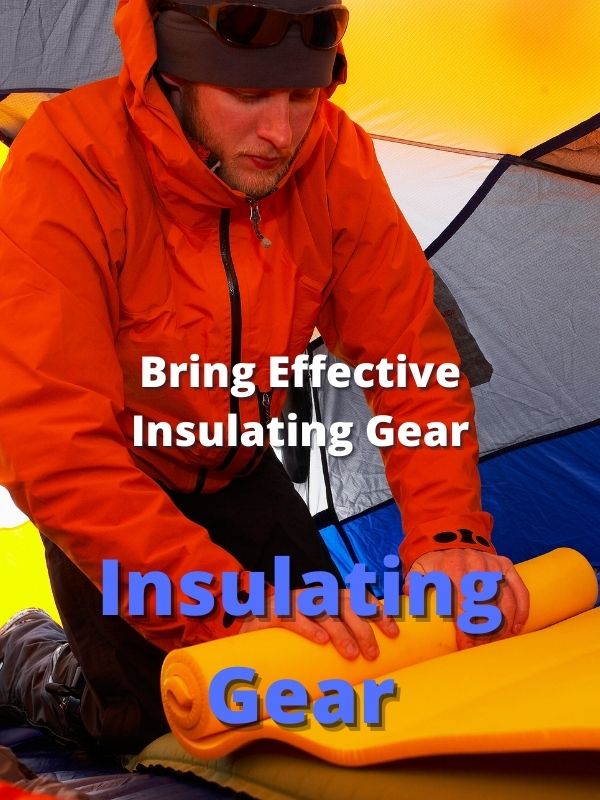
Tents can help retain heat in various ways, like a thermal blanket, by not allowing the heat to escape. One example is using a sleeping pad. An air or foam sleeping pad insulates and lessens the loss of heat as you sleep.
Insulation will help your body temperature stay warm even when it’s very cold outside. Let’s look at techniques that you can use to get the most warmth when using your tent.
Insulate a Tent for Winter (12 Tips)
It’s actually not that difficult to insulate your tent against cold weather conditions.
But you must be very careful with how you approach tent insulation make sure you are prepared with the right gear and follow the advice of those who have experience camping in the snow and cold weather.
Here are some helpful tips I’ve learned from others that you may find helpful for your next winter camping trip.
1. Find the Best Place to Pitch Your Tent
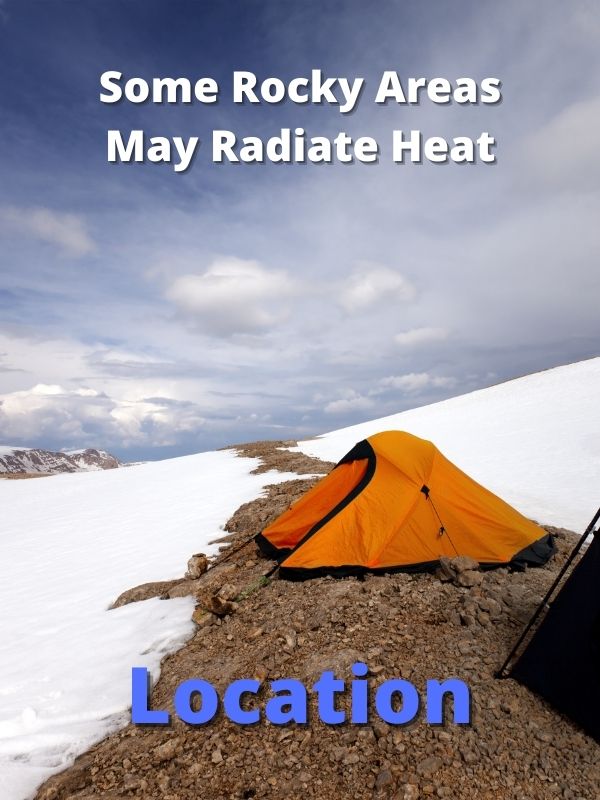
The first and most important step to take is to choose the perfect location to pitch your tent. For best results, look for the most sheltered spot on the camping ground that you’ve selected.
Finding a spot that’s relatively sheltered from the elements will go a long way in helping you keep your tent insulated.
Look for a spot away from direct wind exposure. The last thing you want is to face the wind only and have your insulated tent blown away into oblivion.
Keep in mind that the direction of the wind can still change, so you’ll need to stake your tent to make sure it stays in place just in case that happens during your stay.
Don’t pitch your tent in low areas, especially if the area you’re camping at is expecting snowfall.
That’s because snow will always travel downward to lower areas, and trust us, you don’t want to wake up to a mountain of snow in front of your tent.
Look for higher sheltered areas that are less likely to attract snow. Unlike summer, high ground is always better than low ground in winter.
Something else to think about is ground warmth. If you find a flat rocky area, it’s likely to radiate heat much longer into the night than a flat dirt area. Other materials can provide ground insulation.
These R-values are based on one inch. You may not have any of these materials around when you camp, but if they are available, they can help you stay warmer. You could also look for the following to sleep on to help provide some insulation:
- Drywall (R-value 9)
- Cardboard (R-value 3-4)
- Wood sheathing (R-value 2.5)
- Straw (R-value 1.45)
- Wood Chips, possibly bark (R-value 1)
- Snow (R-value 1)
- Brick (R-value 0.2) – Can radiate heat
- Concrete (R-value .08) – Can radiate heat
- Asphalt or blacktop areas (R-value ?) – Can radiate heat
( Information obtained from – wikipedia.org)
2. Make Sure There’s Good Windbreak
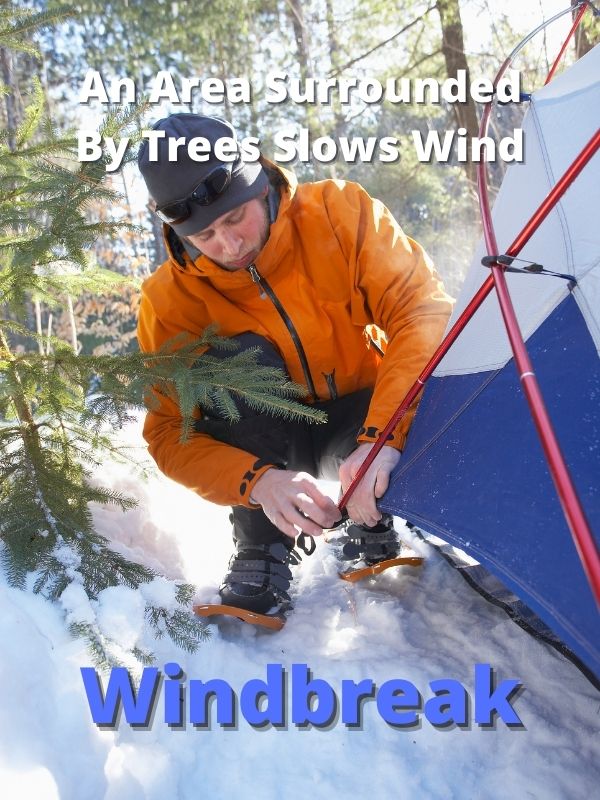
It’s very important to set camp in a place that has some sort of rock shelter. If that’s not possible, look for an area with a good windbreak in the form of thick bushes or trees.
If even that isn’t available, then you’ll need to create your own windbreak.
Remember that the air is always thick and much colder in winter than it is in any other season. This means that even the slightest exposure to a blast of icy cold wind can lead to pneumonia.
The good news is that creating a windbreak is relatively easy. All you need to do is hang a tarp on a line that runs between two trees or two stakes.
Make sure to tie the bottom-most part of the tarp to the stakes or trees as well.
Once your windbreak is in place, you should be able to make fire without worrying that it’ll get blown out by the wind.
3. Stake the Tent

We cannot stress the importance of staking your tent enough. This is not the same as waterproofing your tent but it will contribute to keeping you safe just in case the weather changes course in the middle of the night.
Staking your tent is absolutely essential if you’re going out camping in an open area. It’s the best way to ensure that you don’t get air leaks or get your tent blown down.
Ensure the tent and rain cover for your tent are both very secure to prevent heat loss. A 4 season tent may be your best bet to help you stay warm. The rain fly touches or comes close to the ground, so cold air, snow, or rain can’t touch the tent walls.
The thing you might need to worry about is too much moisture in the tent. Make sure you have enough ventilation to allow air to circulate without getting cold. Here’s an article from REI that may help.
Didn’t bring any stakes with you? Don’t worry. You can always make makeshift stakes using wood sticks around your camp area.
You should have a camping hatchet that’ll help you create the stakes you need to keep your tent in place. Once you’ve knocked the stakes into the ground, use a camping rope to secure the tent.
4. Get a Ground Tarp (& Footprint)
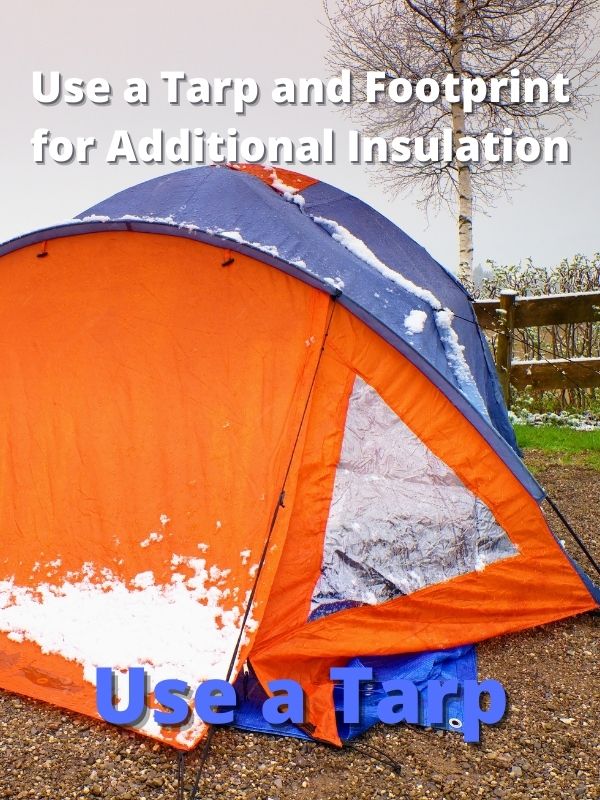
No one wants to sit or even lie down on the hard cold ground. That’s why your tent needs to have a ground tarp which will be the foundation of your winter tent floor.
A tent tarp floor is not to be confused with a tent footprint. The purpose of a tent footprint is to keep your tent clean from debris and shelter it against possible wear and tear.
On the other hand, the ground tarp is designed to improve tent insulation and should be used in addition to a tent footprint.
You place the ground tarp right below the tent on top of the tent footprint. It comes with the added benefits of waterproofing the floor, preventing floor damage from rocks or sticks, and protection from the cold.
This can be helpful for anyone who’s camping out in the snow. You’ll be thankful that you took this one little measure for additional insulation from the cold ground.
5. Learn How to Start a Fire
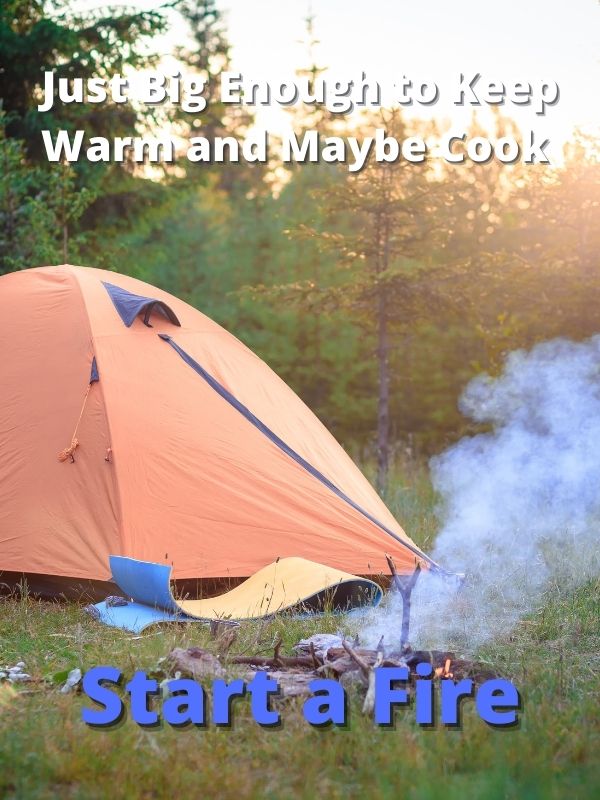
There’s a level of planning that’s required when you’re planning a winter camping trip. You want to have a warm body temperature when you get into your tent and sleeping bag. Cold hands and feet may have a hard time warming up if the rest of your body gets too cool.
That is why having a fire can be helpful before you retire for the night. Make sure you’re in an area that allows fires, and use a fire pit or find rocks to contain the fire. Once you’re ready to sleep, make sure the fire is out.
If the fire is not out, winds may pick up and carry fire embers to dry areas or your tent and start a fire. You should be prepared to start another fire in the morning or at night if there’s a tent malfunction. Keep your wood dry and have your fire-starting supplies ready.
You will need to search for dry wood if you didn’t bring any. Make sure to only use wood from the ground and not a living tree. Make sure that your area allows you to use wood from the ground.
Be mindful of wind direction when choosing the spot at which you choose to build your fire. The last thing you want is for the wind to blow the fire and smoke towards your tent.
Also, stick to a small fire and avoid boisterously large flames that can get out of hand. Remember, you’re not trying to impress anyone here.
6. Put Blankets on the Floor
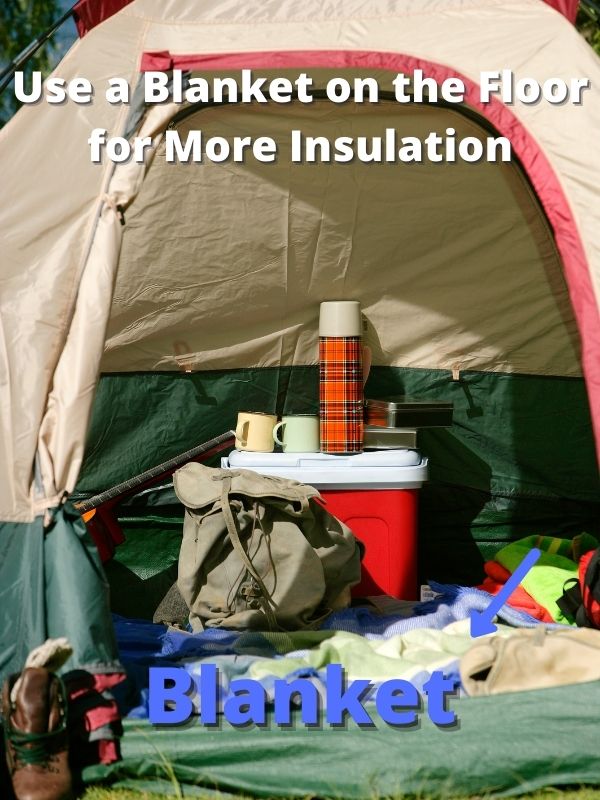
It’s interesting to note that the tent floor is the area through which the cold comes in, more than the sides.
That’s why it’s always recommended to use a blanket if you can fit it into your backpack or truck.
You’ll need to place your footprint down first, then your tarp, then the tent, and lastly your blanket on the floor of your tent. A wool blanket will really insulate well if you have one.
Placing a rain fly over the tent will keep it waterproof and help with a cold wind. With a good sleeping bag and sleeping pad, you should be able to stay very warm in most circumstances.
Sure, there are a lot of steps and items you need. Some people can get by with a great tent, pad, and sleeping bag. But, to be sure you’ll be comfortable in the winter, you want the most insulation you can get.
7. Make Sure You’re Covered Well Before Sleeping

It doesn’t matter how warm-blooded you are; you’re going to need multiple layers when going to sleep in your tent during winter.
Layering isn’t just about wearing multiple clothing layers; it’s also about the items you insulate yourself with.
The first layer is the closest to your body is your clothes. Many campers like wool clothing because it stays dry and insulates great. When you sleep, you may want to ensure you have warm enough clothing.
The next layer is your sleeping bag. There are so many to choose from, so choose the one that covers the lowest temperature you expect to find yourself in. If it becomes too warm in your sleeping bag, you can always take off your wool clothing and open the sleeping bag a bit to ventilate.
If for some reason your clothing and sleeping bag aren’t keeping you warm, use a thermal blanket inside the sleeping bag to help you stay warm.
The best time to start layering up is about an hour before you call it a night and go to sleep. That’s because it may take some time for you to get warm from layering up.
But, once you get warm, you’ll usually stay warm for long periods of time in a sleeping bag.
The worst thing you can do is to start layering up right before bed and when you feel the coldest. This will make it very difficult to fall asleep as it’ll take some time for the layers to warm you up.
Don’t forget to always change into dry and clean clothes once you come into the tent. This means you should bring extra clothes that you can change into after your daily adventures.
8. Use a Camping Tent Heater
AD
If you look online or even at your local camping store, you’ll find that there are lots of different options to choose from when it comes to camping heaters.
Many people like battery-powered hand warmers (Amazon Link) because they’re effective at keeping your hands nice and toasty. But it’s always important to consider the weight you’re carrying with you if you’re hiking.
Packing a heater will add more weight to your backpack but it can be worth it. Just don’t forget to use it outside the tent. They need oxygen and could also possibly burn a tent, so warming up your body from the outside is best.
The benefit of bringing a portable heater with you is that you don’t need to build a fire for heat.
The one pictured above also has a tip-over safety shut-off, so it won’t keep burning if it falls. The other feature I like is that it has an oxygen sensor, so if you stay warm in a small shed, it will turn off if too much oxygen is used.
9. Insulate Your Tent with a Water Bladder
AD
Hot water bladders or water bottles have been in use for a long time and they offer a reliable way to warm things up in your tent.
All you need is to pack a few water packs/bladders and fill them up with hot water before bed so you place them inside your tent. The heat will radiate for quite a while, especially if one is in your sleeping bag or insulated in some way.
We recommend you pack a smaller tent when using hot water bladders because a smaller tent is easier to warm up.
Hot water packs/bladders are an ingenious air-warming method that allows you to generate warmth from inside your tent for a while.
Even when you wake up in the wee hours of the morning, you may find that your tent is still warm and toasty.
10. Warm Yourself Up Before Sleep

You can warm yourself up by putting on layers of dry clothes as well as pouring yourself some hot chocolate or herbal tea.
Limit yourself to one cup because you don’t want to get up in the middle of the night to use the restroom. Pee before going to bed so your body can spend its energy warming you, not your pee.
Drinking warm-hot beverages can warm you up from the inside and if you need ideas for how to do that we suggest you read how to make hot coffee or tea while camping.
11. Sleep on a Sleeping Pad
AD
One of the best things you can do for yourself is to bring a self-inflatable sleeping pad. It’ll definitely boost your tent insulation efforts and allow you to sleep comfortably throughout the trip.
The better your level of insulation between the tent floor and your sleeping bag, the further you’ll be from the cold, hard ground, and the more comfortable you’ll be.
It’s better to bring your own sleeping pad as a form of added padding instead of not bringing anything at all or relying on your tarp and blankets alone.
For extra comfort, you could bring a camping air mattress. It’s going to take up a fair amount of space, sure, but it’s pretty easy to pack. Once deflated, you can easily fold it up into a small package.
An air mattress is helpful, especially if you suffer from back problems or want extra comfort.
In our experience, a camping mattress is the best way to ensure that you get your best sleep every night. But, if you can’t bring an air mattress due to size constraints, then a sleeping pad should be very helpful.
12. Get a Rain Fly Tarp
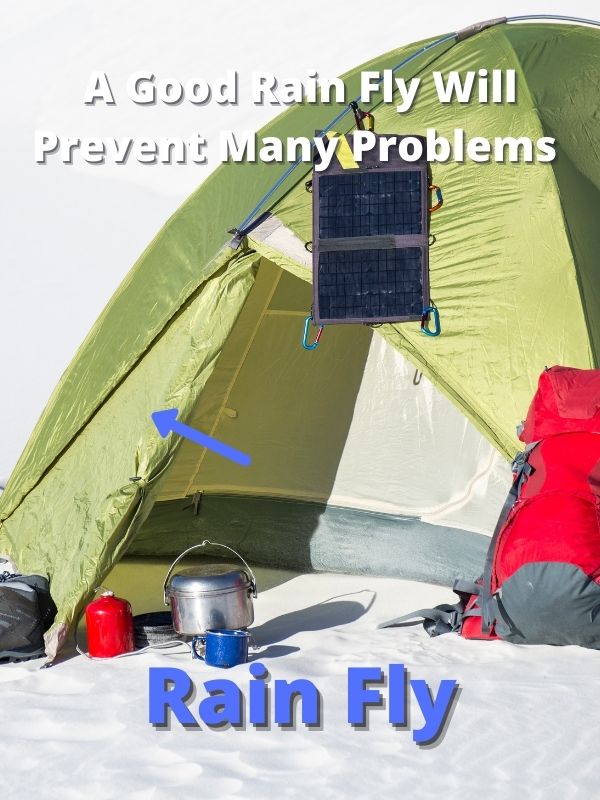
Most tents come with a rain fly. Make sure to use it each time you set up your tent in winter conditions. It can help insulate your tent from wind, rain, and snow.
If your tent doesn’t have a rain fly, then you should bring one. The good news is that most tents, especially 4-season tents, come with a rain fly which offers full tent protection.
They are fairly easy to set up once you set up your tent. A rain fly tarp is usually coated with waterproof polyurethane which means it’ll keep your stuff protected from rain, snow, and even sleet.
Final Thoughts
As you can see, there are many different ways to insulate a tent. Taken together, these steps take a lot of work, time, and effort.
Plus, you have to repeat the process every time you set up camp, and who knows how many times that’ll be on a single trip?
If that doesn’t sound appealing to you, then you should definitely consider investing a great tent, sleep pad, and sleeping bag. Many hikers just use these along with good quality warm clothing.
It’ll make your life so much easier and if you get it from a reliable brand, it’ll last for a lifetime.
Thanks for visiting Helpshoe.com

