I like to use my hiking poles when I go on a hike that has steep inclines and when hiking on ridgelines. I find that they help me stabilize my footing and gain traction.
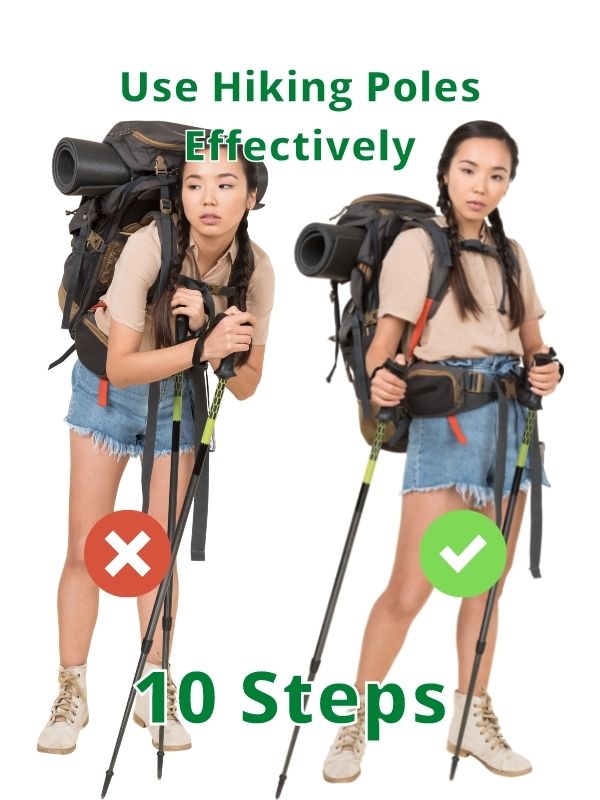
Most people find hiking poles helpful when used correctly. They aren’t needed but make hiking easier. To use hiking poles properly:
- Adjust the pole shaft height so that when you hold the grip, your arm is at a 90° angle.
- Reach up through the strap so that when you are holding the grip, you are also holding part of the strap and the grip.
- Walk and swing your arms normally, although your arms should be at about a 90° angle.
- Alternate placing poles on the ground. As your left foot moves forward, place your right pole down, and as your right foot moves forward, place your left pole down.
- Adjust your hand position if needed for going up or downhill. Place hands on the lower grip when climbing if needed and on the top of the pole when descending if needed.
- When going up and down steep hills where grabbing hold of rocks or crawling is needed, carry your poles in or on your backpack so the poles don’t get in the way.
- Angle your pole tips backward while you hike unless you go downhill. When going downhill, angle your pole tips forward.
- When hiking along a narrow trail, ridge, snow, or soft ground, go slower and feel how solid the surface is with your pole before stepping. Without placing much weight on your poles, continue forward.
- Keep balanced by bending your knees, not bending at the waist. Try not to lean forward. You can adjust your poles’ angle when ascending and descending hills to maintain balance and keep most of your weight on your feet.
- Use the carbide tip for most trail hiking and the rubber tips for hard surfaces like sidewalks. Snow and mud baskets can be attached to prevent poles from sinking into the ground too far.
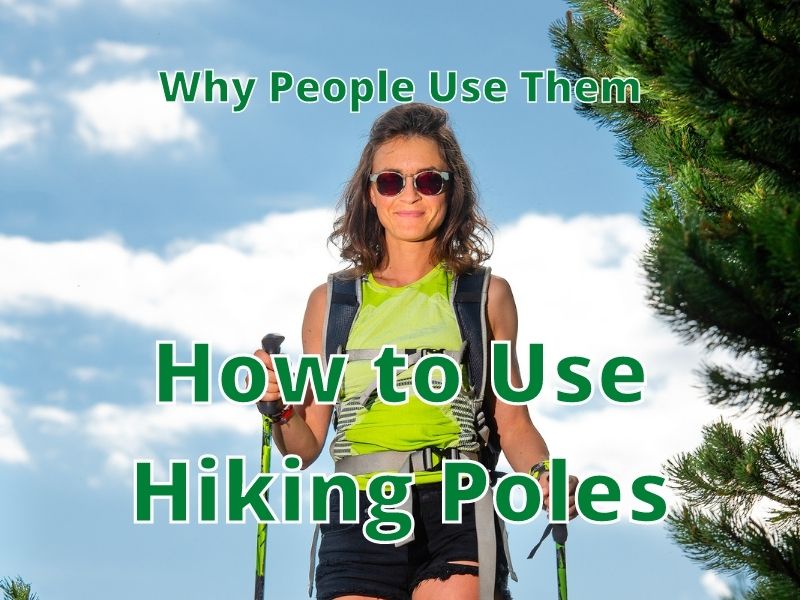
There are a lot of benefits to using hiking poles. You might want them for several reasons. Some of the ideas below can help you decide which kind of pole is best for you and which you might want to choose.
Sometimes you’ll observe other hikers using poles on their hike. Hiking poles are purely optional when hiking, yet many people don’t leave home without them because they are so helpful.
Hiking poles can be a great stability booster for some, and a way to reduce joint impacts for others. Which category do you think you’d fall into?
Before you make your decision, let’s take a more detailed look at hiking poles.
Table of Contents
How Best to Use Your Hiking Poles

Hiking poles are used for many different reasons. In terms of their primary purpose, hiking poles are used to help you navigate terrain efficiently while providing you with extra stability and support.
1. Correct Pole Length
It all starts by getting a hiking pole that is long enough. After you adjust and lock the pole into place, make sure your arm is at a 90° angle when holding the grip.
A pole that is too high will make your arm more tired and decrease stability. A pole that is too short may cause some to lean at the waist to compensate. They may strain their back and have leg stability.
2. Using Pole Straps Effectively
There are many ways to use the straps when hiking. The generally agreed best way to hold the straps is to reach up through the strap from the bottom and then grip the pole grip.
When done correctly the strap will lie across your palm and go around your wrist (depending on the length of the strap). This allows you to grip the pole lightly and still maintain complete control of the pole.
In addition, you can bear down weight on your straps when hiking to take some of the pressure off your leg joints. This makes it easier on your hands don’t have to hold the grip so tight.
3. Walk Normally
Walk with normal, good posture, just as you would without hiking poles. The only difference on a flat hiking trail is that your arms are approximately 90° when using your poles.
When hiking up hills, you’ll need to lift your arms a bit higher, and when going downhill, you will lower your arms a bit. This helps you keep the tips of your poles in contact with the ground effectively without misplacing them.
Depending on the angle of the hill rise or descent, you may need to bend your knees more or less. Try your best to keep your back straight and your weight distributed equally on your feet.
4. Alternate Placing Poles
Sometimes, it can be tempting to place both poles in front of you during your hike. You might get an extra boost of power to move forward as you use two poles at once, but this can lead to problems.
I think most people are tempted to use two poles in front of them when climbing and descending. Their idea is to gain extra leverage or stability, but this is only effective when proceeding slowly, taking one step at a time.
What normally happens is too much weight is placed on the poles when two are placed in front at the same time. This often leads to slips and stumbles since they aren’t relying enough on their own legs for stability.
Sometimes, using two poles in front is unavoidable, such as when going up or downstairs. During these instances, it’s important to use your legs as the main lifting power and the poles mainly for a bit of stability.
A good strategy is to place one pole in the back and one in front when climbing or descending, if the terrain isn’t too steep, and proceed slowly. The poles should be used for stability but not balance.
5. Adjust Hand Position
There are three main hand positions that hikers find helpful, although you can change your hand position to match what works best for your circumstances.
It’s helpful to hold the grips in different positions with a relaxed grip most of the time.
- Hands on the Grip
The grip is the main hand position generally used for the majority of hikes. Make sure the pole is facing the correct position. If pole straps are facing you the pole position is correct.
Most poles have an ergonomic grip, so your hand naturally holds the grip correctly. While this may not be perfect for everyone, it usually brings added comfort and control over your pole.
You’ll want to use this hand position during the entire hike unless going up or down steep areas.
- Hands on the Top
You can place your hand over the top of the grip when going down a steep hill. Your palms will cover the top of the grip and you will hold the pole with your fingers.
You will place the pole tip in front and lower than your foot to help with stability and apply just enough pressure on the top of the grip to steady your balance as you descend a hill.
- Hands on the Lower Grip
If you are climbing up a hill, you can use the lower grips if your hiking pole has them. For long stretches of uphill climbs, you might also just use your grips and shorten your poles.
A lower grip or a short pole will enable you to keep your arms at about a 90° angle for the best angle for leverage, pole mobility, and pole ease of use.
6. Put the Poles Away
Sometimes, your poles will only get in the way during your hike. This is when you are using both your hands and feet to climb and maneuver around rock areas and narrow ledges.
If you need to climb up or down any area where hands are needed,, it’s best to temporarily store your poles in your backpack. It is best to collapse your poles so they don’t stick out of the backpack and get caught on anything.
7. Angle Pole Tips
The pole tip will be angled behind you as you hike forward most of the time. As you swing your arm forward, the pole tips will touch the ground parallel to your body and then angle behind you as you walk forward. So, most of the time, the tips will be behind your body.
The only time the tips are in front of your body is when you are descending a hill. Then, the tips will touch the ground in front of your body, and as you walk forward, they will be parallel to your body again.
8. Use Your Poles As Feelers
In some situations, your poles can be used to navigate unsteady ground. If the ground is soft, narrow, or there might be deep snow, use your poles to check the ground ahead before you step.
Place one pole in front of you to test the ground while keeping the other pole behind you for stability. Apply a little more pressure on the front pole than normal while maintaining full balance on your feet.
This should give you a sense of how solid the ground ahead is. Then, you can walk one step forward and repeat the process with the other pole.
9. Use Your Legs as Support
It can be tempting to use your poles to support your body when hiking. This leads to falls and slips. When climbing and descending hills, bend your knees to gain the support and balance you need.
Your poles are not there to lean on or to use for heavy downward pressure. Get used to lessen the pressure on your poles as you go up and down hills, and learn to use your feet and legs for balance.
Then, your poles will come in handy if you need to get your balance back during a slip or on unsteady ground.
10. Pole Tip Use
Most poles come standard with a carbide tip and a rubber tip. The carbide tip is for trials, and the rubber tip is for hard surfaces (sidewalks, long, flat rocky areas, asphalt).
If you encounter mud, your pole might have a mud basket attachment you can use so your pole doesn’t sink much in the mud.
If you encounter snow, your pole might have a snow basket attachment you can use so your pole doesn’t sink much in the snow.
Are Hiking Poles Needed?

Not all hikers like to use poles. You may not want them if you have a light pack and are hiking on mostly level ground.
When you go for an hour or two hike, you might not feel the need or desire to use hiking poles.
Each hiker needs to consider what kind of trail they’ll be hiking on and if hiking poles will improve their hike or just add an extra item that you might not use.
Generally, hiking poles are good for all hikers because they provide support and can help prevent some injuries. If you want to see how I used my hiking poles, go to this article.
Hiking poles may not be needed, but can be very helpful for hikers because they have several benefits.
- They help you with stability.
- For others, they help reduce pressure on the joints.
- They can improve hiking efficiency.
- Using hiking poles properly will result in an increase in your pace.
- Your oxygen intake will also increase, which comes with numerous health benefits.
- Hiking poles also provide you with peace of mind by allowing you to better navigate difficult terrain with greater ease.
- And finally, hiking poles can work wonders when it comes to promoting good posture. If you focus on using your poles properly you can get in the habit of using the correct posture when hiking.
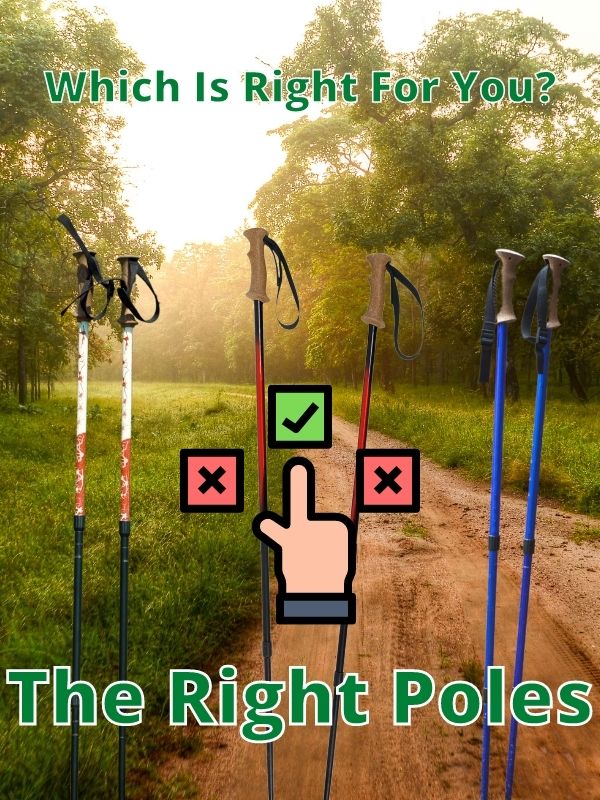
Get the Right Poles

First, pick poles that are ideal for your height. Be sure to measure the hand to ground height when your arm is at a 90° angle. Then if you buy poles online you can be sure you are getting ones that will fit your height.
If you’re very tall you may need to find specialized hiking poles. On the other hand, if you’re very short you’ll likely be found with any adjustable hiking pole.
The best option is to go to a store with hiking poles and try them out. You can adjustable poles to fit your hand grip height and see how they feel.
Trying Them Out At the Store
1. At the store adjust the pole’s length to fit your hand height while your arm is at a 90° angle. If it has two locking mechanisms be sure to adjust the shafts to the same lengths so you can avoid over-extending them.
2. Make sure you understand how the locking mechanism works and how to adjust the tightness if needed.
3. Once you find the perfect pole height so your arm is at a 90° angle, you might want to take note so you can try out other poles and adjust them to about the same length.
4. Each hiking pole will have different straps. Use the straps as you try out the hiking poles. Most straps are adjustable, so you can get the feeling that you want to.
5. The grip is one of the items that most people will use in determining if a pole feels comfortable or not. Some are foam, some cork, and some use other materials.
Hold the grip in a relaxed manner as you walk forward to get an idea of how it will feel. Then add some extra pressure to see what it feels like if you’re holding it tighter.
Generally during a hike, you want a relaxed hold on the grip.
6. Practice walking with the poles. As you walk imagine you’re on the trail. Walk normally with elbows tucked in a bit. Remember to alternate left and right pole placement. It should feel like a normal walk but with a bit more emphasis on arm control.
There’s no need to exaggerate any motions as hiking poles work best with a natural walking gait. Just be careful not to place the pole tips on your foot if you get distracted.
7. Take a look at the pole tips. What types of tips are included and what type of hiking do you expect to do with your poles. Most people will be fine with the standard carbide tips on most hiking poles. If you’re looking for special tips you might also be able to buy attachment tips for some pole brands.
Tips for Using Poles When Hiking

Tip 1 – Double Poling
Sometimes planting both hiking poles at the same time is necessary. This is usually when you’re traveling uphill or downhill or while you’re navigating a particularly tough bit of terrain.
This technique is called the ‘swing and drop’ and is done by thrusting both hiking poles forward at the same time, then taking a few steps forward before repeating this process until there’s no longer a need for it.
Tip 2 – Hike Downhill
Some people only use hiking poles for the purpose of walking downhill with a lower risk of falling. Shortening your stride is highly recommended so that the impact on joints is less.
If you’re traveling downhill on terrain that’s icy, muddy, or extremely steep it’s recommended that you descend sideways by jabbing the pole’s tip deep into the ground first followed by your foot. Your feet are still your main point of balance so don’t place too much bodyweight on the poles.
Tip 3 – Hike Uphill
When using hiking poles on uphill trails, you may need to shorten the length of the poles or use the lower grip if your pole has them.
Remember, in this situation, hiking poles are used to help you gain some leverage and stability, not so you can pull yourself up the hill.
Tip 4 – Efficiency
For extra efficiency, keep the hiking poles close to your body but avoiding poking your shoes. Also, don’t plant the tip of your pole in front of your leading foot as you’ll exert too much energy.
Tip 5 – Holes and Cracks
Sometimes hiking poles can slip into a hole or between the crevice of two rocks. Be aware when you see surfaces like this and make sure you’re not putting too much pressure on your poles.
Poles and locking mechanisms can break if your pole is stuck and you try to move forward.
Try to remove your pole quickly if it gets in or between something. If you don’t, you could become unbalanced and possibly fall over and injure yourself.
How to Use Poles for Speed
If speed is your focus rather than stability, use your hiking pole the way you would use a Nordic walking pole. You can do this by relaxing your arms a little and placing more pressure on your shoulders to maneuver the poles.
Like speed walking, walking at a quick pace with hiking poles should be efficient and low impact. You will likely get into a rhythm as you walk at the same pace and the same motion for long periods.
There’s no need to extend your arm forward or to place the tip of the pole in front of you when hiking quickly. Use your hiking poles to help you maintain a consistent pace and find a good rhythm.
Should You Use One or Two Poles?
You’ll find that some people only use one hiking pole. Sometimes it may be a hiking stick. The benefits are still available when using one pole but only half as much as with two poles. Yet, personal preference may determine if someone uses one or two.
Using one hiking pole over a long distance can create an imbalance. However, this isn’t usually a cause for concern unless someone relies on the poles for too much support.
Difference Between Hiking Poles vs. Nordic Poles
The short answer is that hiking poles are for hiking and Nordic poles are for walking exercise.
Hiking poles are used to provide stability while hiking, whereas Nordic walking poles are meant for walking on flat areas so people can burn calories and work their upper body muscles.
While the two types of poles serve different purposes, they share a number of similarities (and as many differences!). Let’s take a look at them.
Adjustability
Both poles are adjustable in terms of length. In your typical designs, you’ll normally find both are made with durable aluminum while the more expensive models feature premium materials such as carbon fiber.
Straps
Nordic walking poles feature a strap to ensure the pole stays firmly positioned in your hand. On top of this, the strap features a sort of ‘snap-back’ technology which means there’s no risk of the pole accidentally slipping out of your hand.
Hiking poles don’t often feature these straps and when they do it’s normally a strap found in between the thumb and forefinger used merely as a preventative measure to stop the poles from slipping out of your hand by means of reinforcing.
Grips
Both Nordic walking poles and hiking poles feature grips, although hiking poles’ grips are traditionally larger and support a more anatomical design. The grips found on Nordic walking poles, on the other hand, typically feature a minimal design that’s narrow.
Pole Tips
Another similarity found between these two types of poles is that they both normally consist of a carbide tip, rubber paw, and a basket.
Carbide tips are designed to dig into hard ice and secure your grip on softer trailers. Rubber paws are used over the carbide tip to help grip onto asphalt-based surfaces like roads, walkways, and pavements. Baskets are designed for usage in either snow or sand and dirt to prevent the tips from sinking into soft surfaces like those we’ve mentioned.
Final Thoughts
To ensure you get the most out of your hiking poles make sure to practice the techniques discuss in the article and see if they provide benefits during your next hike. Most people find that hiking poles are great to have along when they hike and give them several benefits.
So, what are your thoughts? Are hiking poles something you will use on your next hike?
Thanks for visiting Helpshoe.com

