Wet feet are no fun. Whether it’s spring rains, winter snows, or pools and creeks during a hike, water can soak through your shoes and ruin your day. One trip outside leads to a full day of misery, with soggy socks and frigid feet. What can you do about it? Is there a way to keep your feet dry, no matter what?
How can I waterproof my shoes? Preparation is an important first step. You can waterproof shoes with a broad range of materials, including wax, spray waterproofers, or improvised methods.
We’ve collected 27 genius hacks to waterproof your shoes. No matter if your shoes are cloth, leather, or suede – we’ve got you covered. Follow these tips to block water out of your shoes no matter how wet things get. To keep your feet nice and dry, keep reading.
Preparation
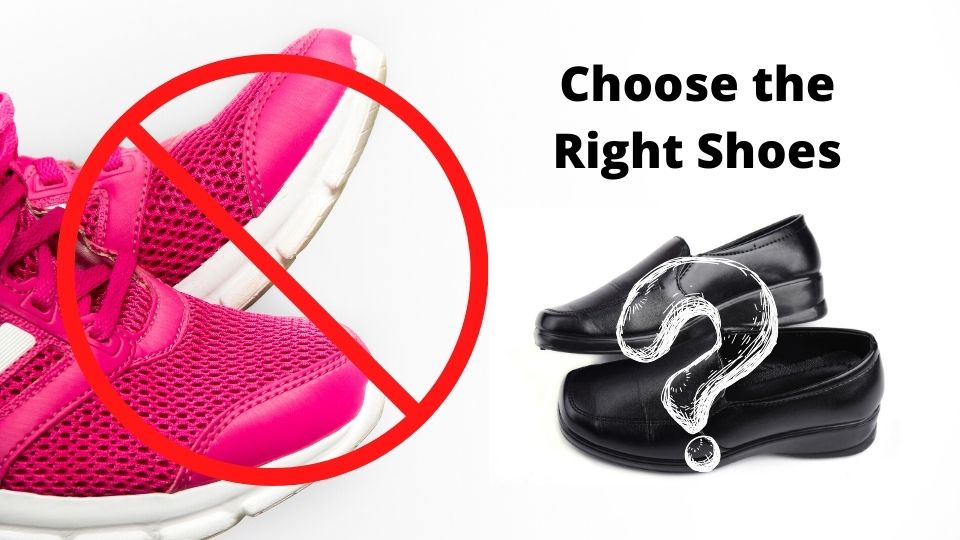
Making your shoes waterproof starts with proper preparation. If you don’t prep correctly, the waterproofing treatment won’t stick as well. Follow these tips to set your shoes up with success.
- Make sure your shoes can be waterproofed. If your shoe is solid leather or solid cloth, it can be made waterproof. Some shoes have features designed to keep your feet fresh. These shoes can’t be made waterproof; there are too many ways for water to enter. Those features include:
- Mesh panels for ventilation. If the mesh is too loose, there’s no way to seal it against water; it will always leak. Mesh panels are found on some running shoes and some hiking boots.
- Vent holes. Leather shoes with lots of small vent holes will be tough to waterproof because the holes are too hard to plug.
- Drainage holes. Some military-style boots and some cotton sneakers have vent holes designed for airflow and water drainage. These holes are lined with metal grommets, and there’s no way for you to fill them.
If your shoes have any of these features, you probably can’t make them waterproof. You’ll have to use some other strategies to keep your feet warm and comfortable while wearing shoes like this. Don’t worry if that’s the case – we’ve got a few tips for you at the end of the article.
- Clean the shoes first. Unless your shoes are brand-new, they have picked up dirt and grime while you’ve been wearing them around. Any extra stuff on the outside of your shoes will block the absorption of your waterproofer, so you’ll need to get them clean before you treat them. If you add waterproofing to dirty shoes, you are waterproofing the dirt, not the shoe. Take the time to clean before waterproofing.
- Clean fabric shoes with a mix of baking powder and powdered laundry soap. Add just enough water to the mix to make a paste, then rub it into the cloth of your shoes. Rinse it away with lukewarm water. Your shoes should look as good as new after this treatment. This treatment is best for cloth shoes, but it works on leather as well. However, there is a better way to clean leather.
- Clean leather shoes with saddle soap. Saddle soap is a time-honored treatment for cleaning leather. To use saddle soap, get a cake of soap and a soft brush. Wet the brush and work it over the soap to build a lather. Scrub your shoes with the soapy brush, then wipe away the foam with a damp cloth. Let the shoes air-dry before treating them.
Leather contains oils that keep it soft and supple. Regular soaps and detergents can remove these oils and dry the leather out. Dry leather will eventually crack and split. Saddle soap leaves the oils in place, keeping your shoes soft and supple. They will last a lot longer if you clean with saddle soap.
- Use a suede cleaner for suede shoes. Saddle soap, or detergent and baking soda, can clog up the nap of your suede shoes and make them look old and ratty. Seek out a product made for suede to keep your shoes looking like new.
- Vacuum shoes if they aren’t marked up too heavily. Push the vacuum hose firmly against your shoe and move it around to get out small amounts of dirt or caked-on mud. This isn’t as thorough as other methods, but it’s the gentlest way to get dirt off shoes. It’s also suitable for dried mud and dirt – the vacuum pulls the worst of the mud off and keeps it contained.
If your shoes are filthy, you may want to combine cleaning methods. Start by vacuuming to get the big chunks of dirt off, then use soap to remove the last traces of the mess.
Let Them Dry!
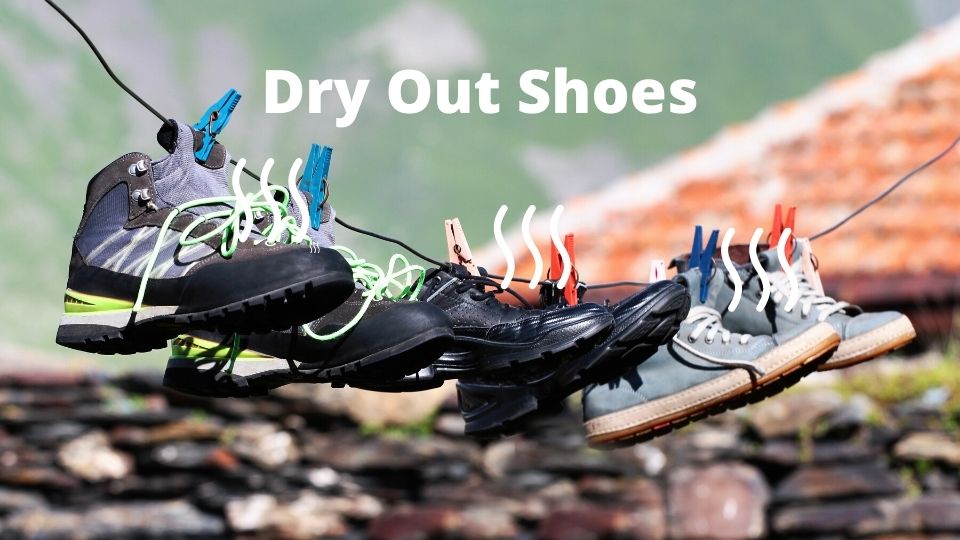
Shoes are often wet when you want to make them waterproof. Sometimes, it’s because you soaked them on a rainy day. (Read this article about waterproofing for rain) Other times, the shoes are wet because you just cleaned them. Either way, that brings us to the next tip:
- Don’t waterproof wet shoes. Every method of waterproofing shoes relies on filling the leaky pores in the shoe material with something that excludes water. If the pores are already full of water, the waterproofing material can’t soak in and do its job. Let your shoes get completely dry before adding waterproofer.
- Get soaked shoes dry. If your shoes got soaked while you were wearing them, there are some tricks you can use to dry them faster.
- Clean them first. It’s easier to wipe away mud than scrape away caked-on dirt. The cleaning process can also help work some of the water out of your shoes, so it’s a two-in-one win.
- Remove the insoles so that they dry separately.
- Pack your shoes, inside and out, with newspaper. The newspaper will absorb water from the shoe and help it dry faster.
- Put cloth shoes in the dryer (but check the label first). Most cloth shoes are safe to put in the dryer; this will remove the water quickly.
- Don’t dry leather shoes with heat – the clothes dryer, hairdryers, and even placing the shoe next to a heater vent can cause the leather to crack and split.
Add Waterproofing Material
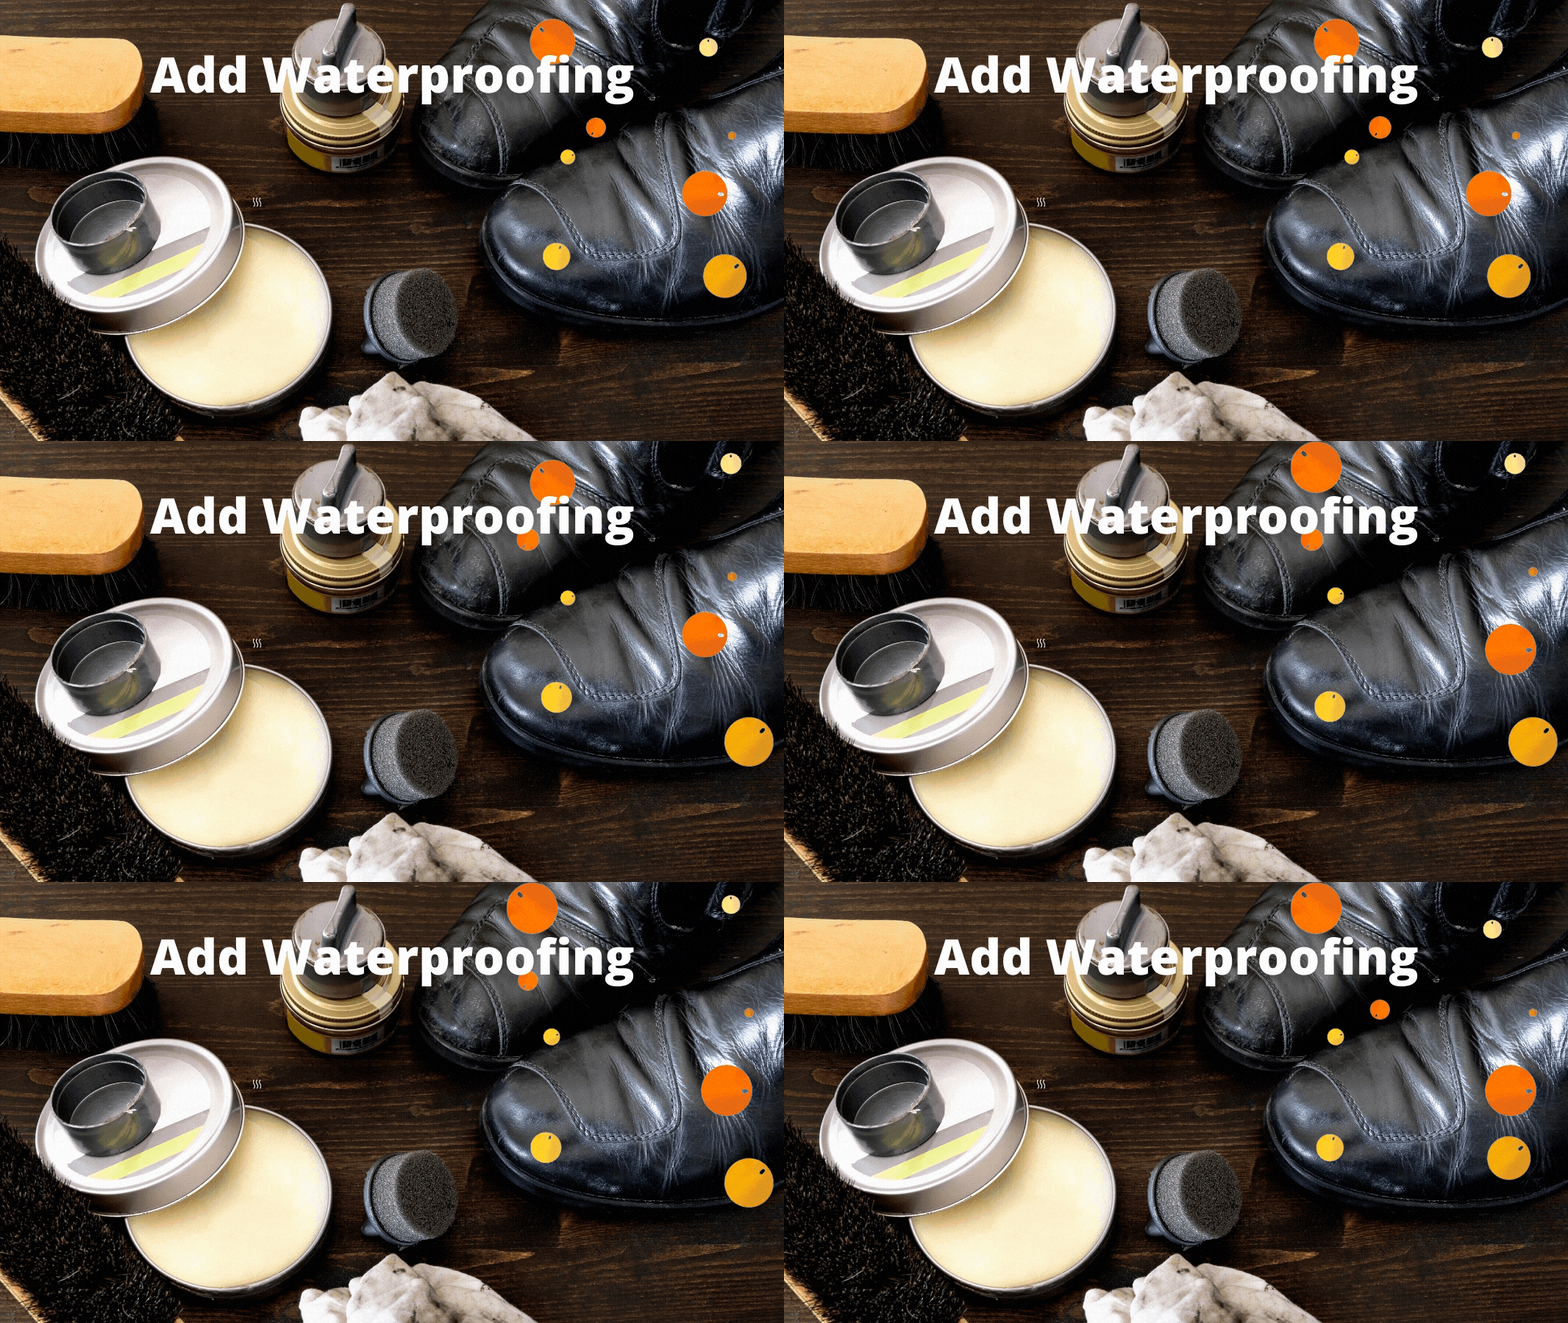
Now that your shoes are clean and dry, you are ready to add something to repel water and keep the material dry forever. Waterproofing materials all work the same way: they plug up all the pores, leaks, and holes in the shoe that might allow water to seep in. The holes are blocked up with materials that will stick there and keep water from seeping through.
The best waterproofing substance depends on the material the shoe is made of, the amount of water the shoe will see, and how important its appearance is to you. Here are some of the best waterproofers for different shoe materials.
- Test first! Some waterproofers can discolor your shoes. Whatever material you choose for waterproofing your shoes, test it first. Pick a small, inconspicuous spot on the shoe and apply a little bit of the waterproofer. Suitable test spots include the shank for boots or high-tops or the inside of the heel. These spots aren’t noticeable most of the time.
Most waterproofing materials will change the appearance of your shoe while they are fresh. Give the test spot time to dry, then look at it again. If the spot has faded, or if you don’t care about the color change, go ahead. If you dislike the new color, keep looking for a different solution.
Wax On, Wax In
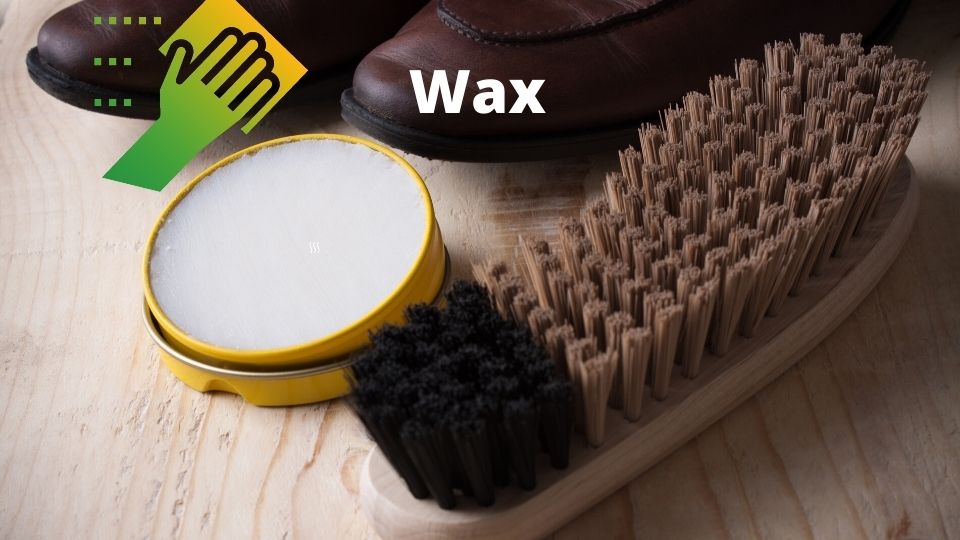
Wax is probably the best waterproofer for shoes. It lasts the longest and keeps leather and cloth shoes dry. Wax is also one of the cheapest waterproofing materials. The drawback is that wax is difficult to apply and requires you to use a hairdryer to set the wax in the shoe material. Waxing shoes is best for people who know their shoes will get wet but don’t want to go all-out and wear rubber boots.
- Wax the shoe. Wax is a terrific waterproofer and works for both cloth and leather shoes. It’s best to use wax that hasn’t been dyed or scented to preserve the look of your shoes. Plain tea candles, white dinner candles, and ordinary beeswax are all excellent choices for waterproofing.
To apply the wax, rub the candle or beeswax firmly against your shoe. It should leave a white or yellowish residue behind. Really scrub the candle all over your shoe to get the residue everywhere. Once your shoe is completely gunked up, use a hairdryer set on high to melt the wax into the fabric of the shoe.
As you play the stream of hot air over your shoe, the wax will melt and be absorbed into your shoe. It may darken for a moment, but the material will return to its original color as the wax cools and dries. As a bonus, some leather shoes will get a lot shinier if you wax them.
Once the wax has cooled, your shoes will be waterproof. The wax prevents water from soaking through the shoe. If your shoes get wet frequently, you might want to add a second coat of wax to make sure you didn’t miss a spot.
- Don’t use melted wax. Some websites advocate for melting the wax and pouring it over your shoes to waterproof them. This will waterproof your shoes. It will also waterproof your shirt, the counter, your hands, and possibly your cat. We’ve tried this method; it’s way too messy. It is just too difficult to pour the wax on your shoes only without spilling any, and cleaning up spilled wax is a chore.
Stick with rubbing the wax on your shoes. Rubbing is just as effective, but you don’t need a scraper to clean up after. (Plus, you won’t get any burns from rubbing!) Leave melted wax for candle-makers.
Spray Waterproofers
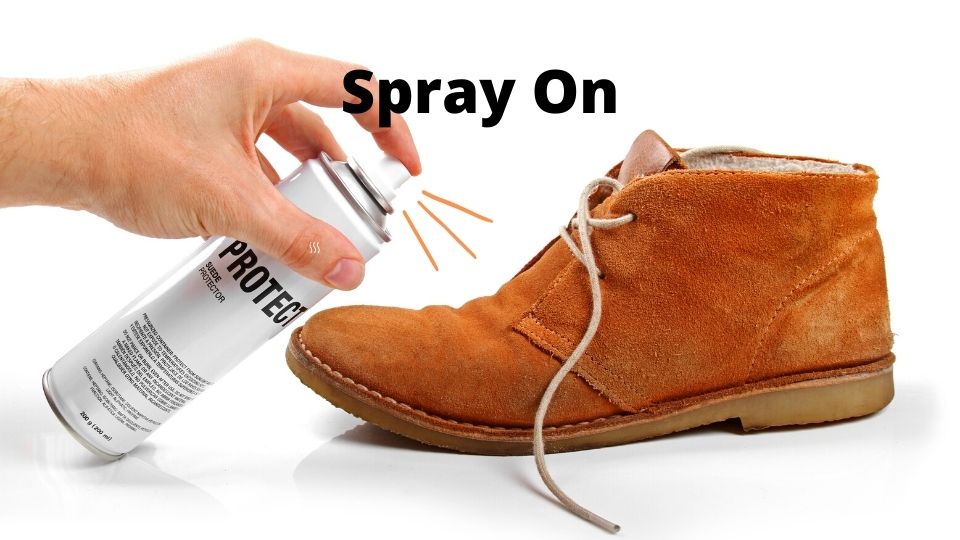
There are several brands of spray-on products for waterproof shoes. The sprays are more expensive than wax and don’t usually last as long. The benefit of waterproofing sprays is the ease of use. If you can use a spray can, you can apply these products. They are suitable for occasional use but don’t have the impervious nature of the wax.
- Use silicone or acrylic sprays. Commercial waterproofing products use silicone or acrylic compounds to waterproof your shoes. These are easy to apply and dry quickly but don’t last as long as wax. Silicone sprays are better all-around than acrylic sprays but tend to be more expensive. Many people believe that silicone sprays also last longer than acrylic sprays.
- Hang shoes to spray them. If you opt for a spray product, hang your shoe by the laces to get maximum access to the shoe. You don’t have to hold in one hand and spray with the other; you can just gently spin the shoe to get access to the other side.
Spray your shoes outside or in a garage. The spray will spill past your shoes and get all over your work area. It’s not a big deal outside, or at least in a garage. Overspray inside your house will make a mess that’s hard to clean up. At a minimum, spread newspapers under the shoes to prevent overspray and keep your floor clean.
- Let spray products dry before wearing them. While the spray products will be dry to the touch, most don’t achieve full effectiveness until they have had a day to dry. Wait a full 24 hours before wearing your shoes to give the waterproofing spray time to work.
- Use heat to set your waterproofing spray. Some users report that heating your shoes after spraying helps the waterproofing spray penetrate the pores of the shoe material better. Most manufacturers don’t recommend heat-treating your shoes, though. If you decide to heat-treat, use a hairdryer set to high. Use the hot air, just like the instructions for heating a waxed shoe.
- Special-purpose sprays for suede and rough-out boots. Wax and standard sprays can leave suede and other nappy leathers looking matted and stiff. If you have suede shoes, get a suede conditioner to waterproof them. Suede conditioners give the full benefits of waterproofing, but don’t ruin the texture of the suede. They also keep the leather clean, which is helpful if someone accidentally steps on your blue suede shoes.
Old-school Products
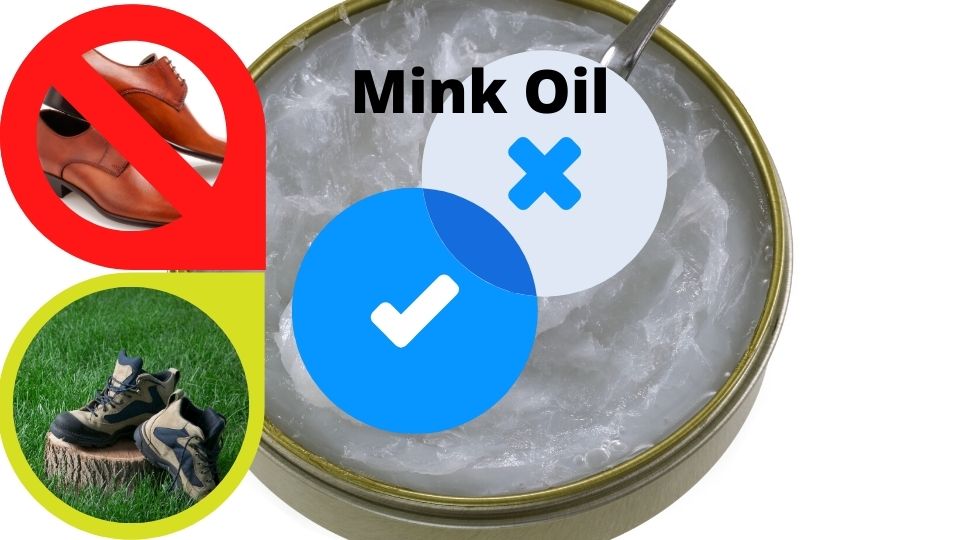
People have been waterproofing shoes for as long as shoes have existed. Wax isn’t the only old-school waterproofer on the market. There are oils available that will waterproof leather shoes and keep the leather soft and supple. These are great for leather workboots and casual leather shoes.
- Special oils for traditional leather. Some kinds of leather are tanned with oil, particularly those used to make sturdy work and hiking boots. Products like mink oil and neat’s foot oil are great for keeping workboots soft, supple, and water-resistant.
Rub the oil on your shoe, give it a little time to soak in, then wipe away the extra. Your feet will stay dry for months!
Don’t use leather oils for shiny leather or expensive dress shoes. Mink and neat’s foot oils are bad about discoloring leather, and they prevent the leather from being polished to a high shine. These oils can ruin your expensive dress shoes, so limit their use for fancy shoes.
Special Considerations
Whatever method you use to waterproof your shoes, there are some select items you need to consider. The basic waterproofing methods will do a good job, but they will be even better if you follow these special tips.
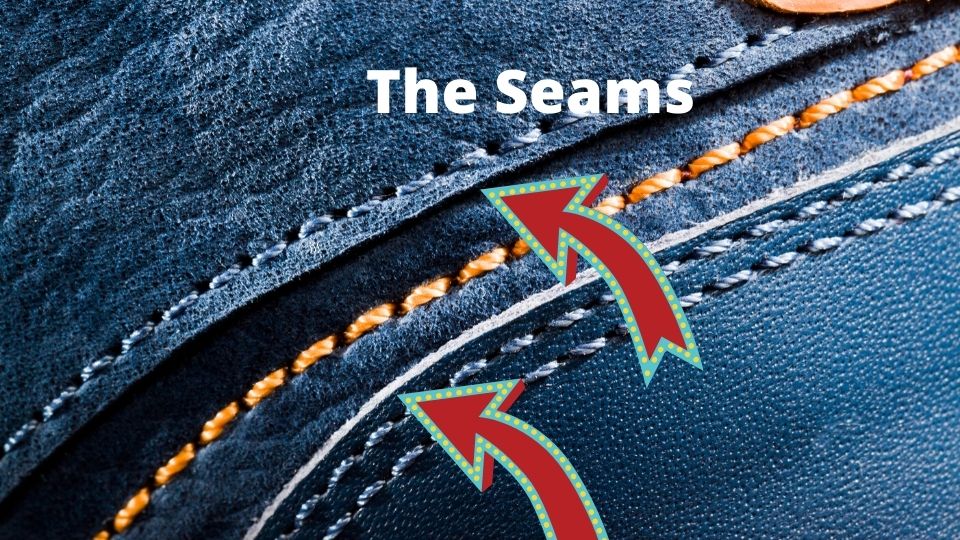
- Pay attention to seams. Anywhere two pieces of material join together is a potential spot for leaks. These spots need special attention to get the best seal. If you are using a spray, make sure to angle the spray so that it goes into the seam. Get close if needed to guarantee the spray fills the seam.
If you are using wax, really work the wax along the seam. Twist and press to get wax deep into the seam. When you use the hairdryer on the wax, hold your shoe so that the wax runs into the seam and makes a good seal.
Even if you only apply one coat of waterproofing to the rest of the shoe, it’s a good idea to add two coats along the seams. Those will be the first places your shoe leaks, so you want to be thorough about filling in the seams.
- Refresh the waterproofing periodically. Even the best waterproofers will wear out eventually. Every three to six months, you need to re-apply your waterproofing to keep your feet dry and toasty. Spray-on products tend to have the shortest life, while wax and mink oils have the longest useful life.
Pay special attention to places where your shoe wrinkles and bends as your foot flexes. Those are the places where the waterproofing will work out of the pores first and the places where leaks will start. The good news is that you don’t have to be quite so thorough with waterproofing after the first treatment; you just have to fill in spots where it’s worn away.
Improvised Waterproofers

Sometimes you need to waterproof a shoe and don’t have access to commercial solutions. These improvised waterproofers won’t last for as long as the items above, and they will discolor most shoes. They can also make your shoes wear out faster in some cases. They will keep your feet dry in a pinch, though.
- Use petroleum jelly. Good old Vaseline can make your shoes waterproof. Apply like mink oil – rub into the shoe, then wipe away the excess. A hairdryer can help penetration, but it’s not vital to get full protection. Petroleum jelly is pretty messy to apply, too. Users report that petroleum jelly works as well as wax to repel water, but it doesn’t last as long.
- Spray your shoes with WD-40. The “WD” acronym stands for water displacement. WD-40 was designed to spray on machine parts to keep water from penetrating. Just spray it on and let it dry. It will discolor your shoes, it won’t last a long time, and it’s not a perfect waterproofer, but it is better than nothing.
- Other improvised waterproofers. If you are desperate to seal water out of your shoes, and you don’t have access to any of the other things we’ve listed here, you can improvise a sealant from just about any kind of oil. As long as it will penetrate the pores on your shoes, and it doesn’t like water, most types of oil and grease will seal your shoes.
There are several drawbacks to improvised waterproofers. Since they don’t really dry, these oils will leave your shoes looking and feeling greasy. They might not last very long, and they can attract and hold dirt particles to your shoes. These will keep your feet dry but might ruin your shoes. Use if you must, but don’t say we didn’t warn you.
Other Waterproofing Options
Sometimes, you don’t want to gunk up your nicest shoes with waterproofing chemicals. What then? Here are some other tips to keep your feet dry without applying anything to your shoes.
- Use waterproof shoe covers. Call them what you will – shoe covers, overshoes, or galoshes – these rubber or silicone covers will keep your shoes dry and snug. They may not be stylish to wear, but they will keep your stylish shoes clean. You can trudge through the rain to your office, take the overshoes off, and your office shoes will look great.
- Wear waterproof shoes. If you are going to take the time to put on and take off shoe covers, it isn’t any more challenging to wear waterproof boots to begin with. They are also the best option for hiking in wet weather or swampy terrain. Sometimes you need to skip trying to add waterproofing and pull out the big guns. There are a couple of options for fully waterproof shoes.
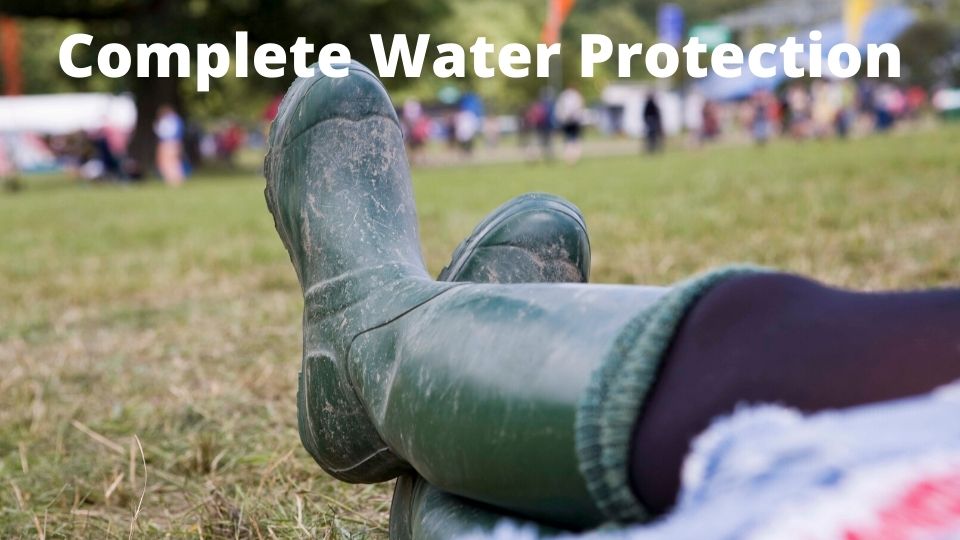
Rubber boots are the most waterproof gear you can get. They are 100% leakproof (unless you poke a hole in them). Rubber boots will stop puddles, snow, slush, mud, and everything else that could soak your feet.
The downside of rubber boots is that they can be too warm in hot weather, trapping sweat inside the boots (gross). It also kind of defeats the purpose of wearing waterproof shoes. Outside of a hot summer day, these are great for keeping your feet dry. Rubber boots can also fit awkwardly and be uncomfortable if you must wear them for extended periods.
Shoes or boots lined with gore-tex are almost as waterproof as rubber, plus they are breathable. Gore-tex is common in hiking, hunting, and other types of outdoor footwear. It’s the best choice for hiking in wet conditions. Gore-tex hiking boots are comfortable and waterproof even if you are walking for days on end.
- Get waterproof socks. If you can’t swing waterproof footwear any other way, waterproof socks are an affordable option. These socks are lined with gore-tex or similar materials that prevent water from getting to your foot. Your piggies stay dry even if your shoes are full of water. These are an excellent choice for wet hikes when top-notch footwear isn’t available.
- Wear wool socks. Wool won’t stop your feet from getting wet, but it will keep insulating when it’s wet. Replacing cotton socks with wool will mean that your feet will stay warm when they are wet instead of getting a chill. It’s not great, but it’s better than nothing.
- Give up. There are times when waterproof shoes can be counterproductive. If you are on a hike that involves frequent, deep river crossings, your feet will get wet. No boot is waterproof in water that spills over the top of the boot.
However, if you let boots lined with gore-tex fill with water, the liner becomes a waterproof bag that holds liquid in – a truly miserable situation.
If you are planning a hike that will see your boots filled with water, give up on waterproofing. Go for drainage. Military boots frequently have drainage holes along the instep. Some high-end hikers are made with mesh panels that allow drainage, too.
Pair functional draining boots with waterproof socks, and your feet will be fine, even if you cross and re-cross rivers all day long.
If you are facing lots of deep water, light-weight shoes that will drain and dry quickly are your best bet. It’s not waterproofing, but it might be the best you can do.
Conclusion
There you have it – 27 genius hacks to make your shoes waterproof. Whatever material your shoes are made of, whatever your circumstance, you have the knowledge to keep your feet comfortable in all situations. It’s not difficult to seal water out of your shoes if you are willing to put in a little work. Whether it’s wax, commercial spray, traditional oils, or something you find in the tool cabinet, there are plenty of ways to seal water out of your shoes.
Whatever product you choose, your shoes can be waterproof. If you’ve had it with cold, wet feet, size up your shoes, grab your waterproofer, and get to work.
Thanks for visiting Helpshoe.com

