![Ways To Tie Shoelaces [Easy Alternate Methods]](https://helpshoe.com/wp-content/uploads/2022/04/Ways-To-Tie-Shoelaces-Easy-Alternate-Methods.jpg)
We all have been taught how to tie our shoelaces at some point. But we have been sticking to that one technique we learned in our childhood for every type of shoe without exploring new methods. Today, I will discuss five easy ways to tie shoelaces.
There are hundreds of ways to tie shoelaces depending on your shoes, feet, and walking style. Here is a list of the five easiest and fastest ways to tie your shoelaces:
- Tying Shoelaces Using “The Standard Knot” Method
- Tying Shoelaces Using “The Bunny Ears” Method
- Tying Shoelaces Using “The Circle” Method
- Tying Shoelaces Using “The Ian Knot” Method
- Tying Shoelaces Using “The Ian’s Secure Shoelace Knot” Method
These simple methods will help you whether you are learning a new technique for tying shoelaces or teaching your kids how to do it. So let’s look at them one by one.
How To Tie Shoelaces?
How to tie shoelaces? This question may seem simple to you, thinking everyone knows how to do it. However, some people may have never learned how to tie a “regular” knot or a secure knot.
You can also use the other methods to help your kids learn to tie a shoelace knot, especially if they are frustrated by the “regular” knot. Let’s discuss a few basic and easy ways to tie shoelaces.
Tying Shoelaces Using “The Standard Knot” Method
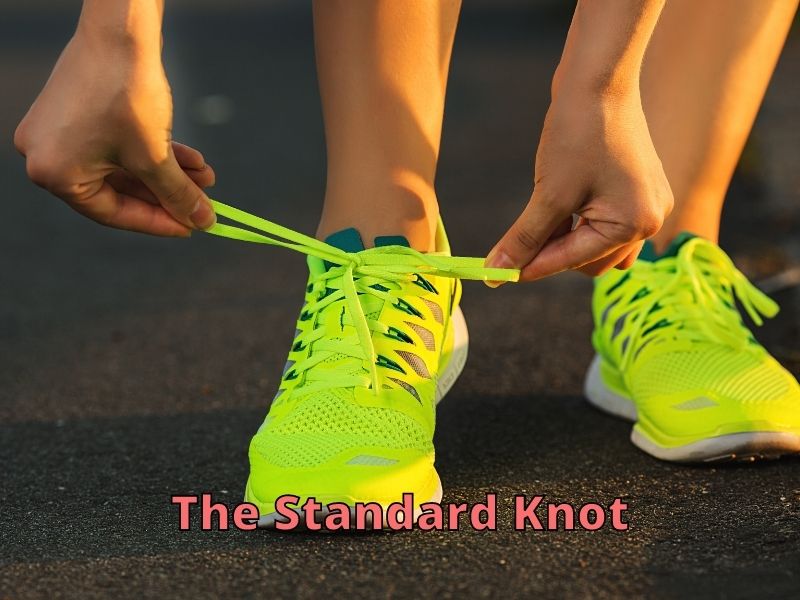
The standard knot technique is the basic method for tying shoelaces. It is the easiest method to tie your shoelaces. The standard knot method is also known as the “Around the Tree” or “Bowknot” method. I think “The Standard Knot” method has probably been taught to us in childhood. So let’s see how it works:
- Step1: Place your shoes on a flat surface. Place the shoe in such a way that the heel side is near you and the toe side is away from you. Allow the shoelaces to hang down on either side of the shoe.
- Step 2: Take both shoelaces in each hand. Cross the left shoelace over the right one. At the point where the laces meet at the center, wrap the right lace over the left lace to create a loose knot. The knot should be in the center of the shoe. Now pull the laces tight to complete the knot.
- Step 3: Make a loop with the right shoelace. Hold the loop between your first two fingers and your thumb. Make sure the loop is small.
- Step 4: Use your left hand to wrap the left shoelace around the loop. Make sure to wrap the left lace toward you, not away from you. Hold the left lace over your fingers and the loop. It will create a hole between the looped lace and the left lace wrapped around it.
- Step 5: Use your free hand to pull the left lace through. It will create a hole between the looped lace and the wrapped lace. Now pull the wrapped lace through the hole to create another loop on the left side.
- Step 6: Hold both the loops and pull them tight to tie your shoes nicely.
Tying Shoelaces Using “The Bunny Ears” Method
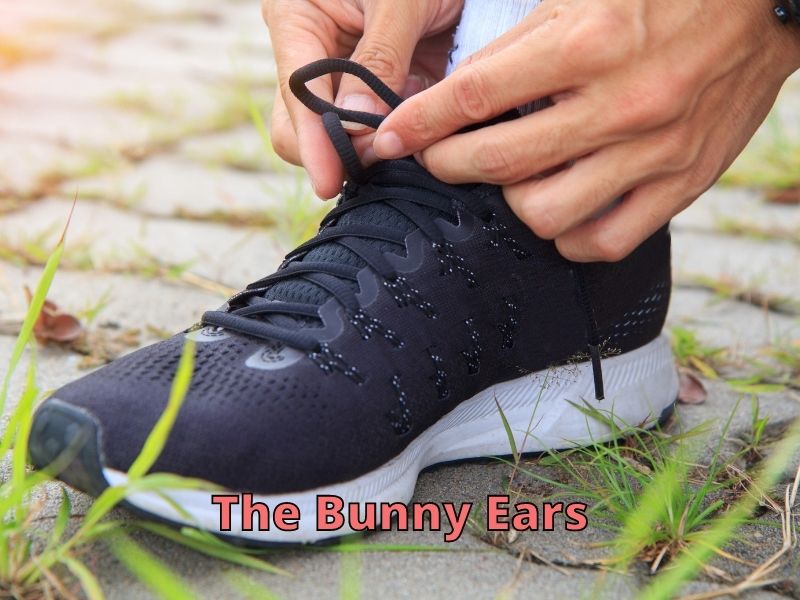
The bunny ears method is among the most common, popular, and fun methods for tying shoelaces. Also, you can easily teach your kids the bunny ears method to tie shoelaces by defining your own bunny characters. It will help them remember it!
- Step 1: Place your shoe on a flat surface so that the toe side is away from you. It is essential since the toe side is always in front while the heel side is at the back when you wear shoes. Allow the shoelaces to hang down on either side of the shoe.
- Step 2: Make a basic knot by taking both shoelaces in each hand and threading one over the other. Make a cross, and pull the aglet of upper lace back in from the other side. Pull them tight to form a basic knot in the shoe’s middle.
- Step 3: Make a bunny ear loop with the right shoelace and hold it together between your thumb and first two fingers. Make sure the loop is small with a long tail.
- Step 4: Make a similar bunny loop with the left shoelace. Hold it together between your thumb and the first two fingers of your left hand. They should look like little bunny ears.
- Step 5: It’s time to tie a knot with the bunny ear loops. Place the left loop over the right loop and make a cross. Tuck the right loop behind. It will create a hole between both loops. Now thread the left loop through the hole created.
- Step 6: Hold both the bunny ear loops and gently pull them to make a tight knot. Your shoes are now nicely tied with the fun bunny ear method.
Tying Shoelaces Using “The Circle” Method

- Step1: Place your shoes on a flat surface. Keep the toe side of the shoe away from you. It is especially helpful if you are teaching someone so they can see your hand movement and the technique. Let the laces fall on either side.
- Step 2: The second step is to make a basic knot, as mentioned above. Hold the right shoelace in your right hand and the left lace in your left hand. Place the left shoelace over the right shoelace making a cross. Next, thread the right lace over the left and pull them tight. It will create a tight knot at the center of the shoe.
- Step 3: Tie another knot with the same method. But do not tighten the second knot. Keep it loose. You will see a circle is formed by the knot at the center of the shoe. Gently place the circle flat against the shoe with your hand and hold it there.
- Step 4: You need to thread one lace into the circle. But make sure the aglet of the lace crosses over to one side after passing through the circle. You can keep it loose, but it shouldn’t slide out of the circle.
- Step 5: Do the same with the other shoelace. Thread the other lace through the circle. You should pass it through the circle and onto the other side. You will now have two loops on both sides of the knot in the middle of the shoe. Make sure the loops are small with long tails.
- Step 6: Now gently pull both the loops tight to securely tie your shoe.
Tying Shoelaces Using “The Ian Knot” Method
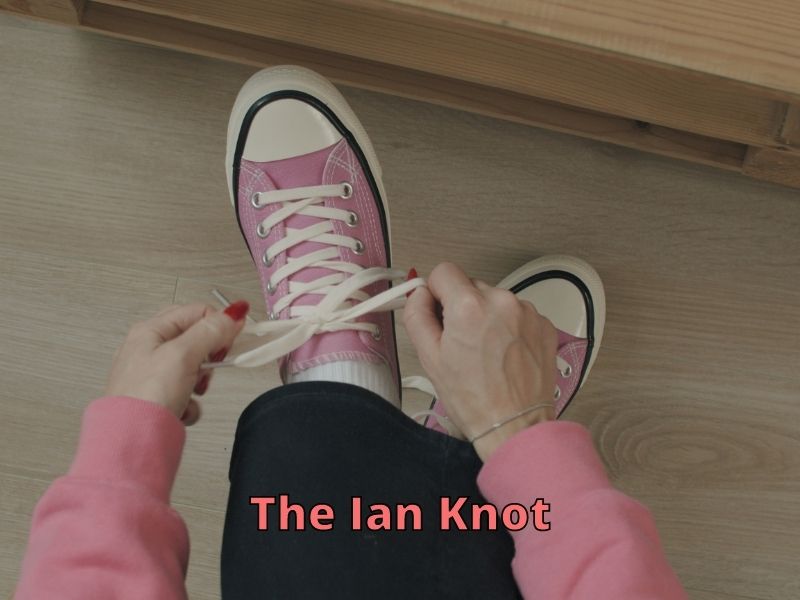
The Ian knot method is a fast shoelace tying method. In this method, you make loops at both ends and pull them simultaneously through each other to make a knot. Let’s see the steps in detail.
- Step 1: Place your shoe on a flat surface in front of you. Keep the toe side of the shoe away and the heel side near you. This will make it easy for you to tie the shoe or teach someone how to tie it. Allow the shoelaces to fall on either side of the shoe.
- Step 2: Tie shoelaces in a basic knot. Take both the shoelaces in each hand, cross them over, and thread one lace over the other. Now pull them tight to make a secure knot. The knot should be made in the center of the shoe.
- Step 3: In your right hand, grip and hold the right shoelace with your thumb and index finger. Grip the right shoelace with your right fingers, including your pinky finger. Make sure your fingers are facing toward you. As you are holding the right shoelace, try to make a rectangle with your thumb and fingers.
- Step 4: Grip the left shoelace in the same way. Hold the left lace between your thumb and forefinger with your left hand, including the pinky finger. Again, make sure your fingers are facing toward you. Make a half rectangle with your fingers.
- Step 5: Tilt your hands, so the fingers face each other. You will feel some tension between your fingers as you pull them towards each other. Try to bring the two halves of the rectangle coming closer toward each other. Create an “X” shape with the shoelaces.
- Step 6: Pinch both the shoelaces between your fingers. Now pull them through with your thumb and index finger. Gently pull them tight. While tightening the shoelaces, you’ll see two loops are created on both sides of the shoe and a tie in the center of the shoe.
If you are still confused about how to tie your shoelaces quickly using the Ian knot method, here is a small video that may help you.
Tying Shoelaces Using “The Ian’s Secure Shoelace Knot” Method
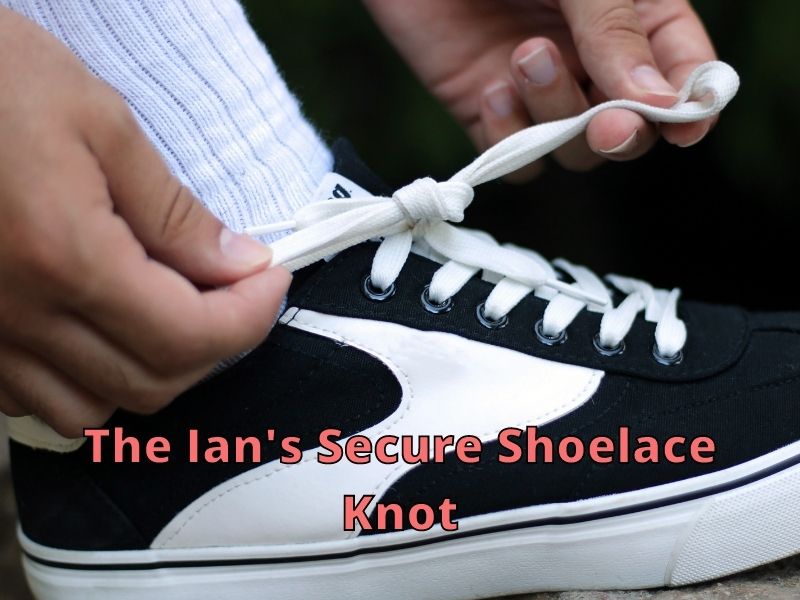
- Step 1: Place your shoe on a flat surface in front of you. Ensure that the heel side of the shoe is near you and the toe side is away from you.
- Step 2: Tie a basic knot as mentioned above. Take both the laces in each hand. Take the left shoelace and cross it over the right one. Holding the aglet of the same left lace, wrap it around the right shoelace. Thread it and make a knot. Pul them tight to secure the knot.
- Step 3: Make two loops with both the right and left laces by folding them back onto themselves. Make a small loop with the right shoelace and hold it in your right hand. Similarly, make a small loop with the left shoelace and hold it in your left hand, just like you do in the bunny ears method.
- Step 4: Cross the right loop over the left loop so that the right loop is in front while the left loop is at the back.
- Step 5: Now wrap the left loop around the right loop to end up in front.
- Step 6: At the same time, wrap the right loop around the left loop to end up at the back. You will see a hole is created in the middle with the ends of two loops. Insert both loops’ ends into the hole in the middle. In this way, the right loop will come out in the front again, and the left loop goes to the back again.
- Step 7: Finally, pull the loops gently to tighten the knot. You will end up with a nicely done knot.
Tips For Learning How to Tie Shoelaces
These tips can be helpful if you are learning how to tie your shoelaces for the first time or if you are teaching your children.
Before looking at the tips, you can watch this video to understand the step-by-step guide on tying shoelaces.
| Tips | Benefits |
|---|---|
| Start On a Practice Board | It is especially beneficial if you teach your kids how to tie shoelaces. Learning on a flat surface is easier and more fun than on real shoes for kids. |
| Try Practicing on A Table | Learning to tie your shoelaces can be quite tricky when you have shoes on. It’s easy and fun to practice on a shoe placed on a table. Your child will have a good view, position, and posture while learning. |
| Use Different Colored Shoelaces | It will avoid the confusion of “right shoelaces” and “left shoelaces.” It will create the learning process exciting and interesting. |
| Use Contrasting Lace with Shoe Color | It simplifies the learning process and avoids any confusion. |
| Use Hard Laces for Practice | It helps the loops stay in place |
| Use Long Laces | It gives your kid a lot of space to make loops for the bow. The learning process can be difficult and frustrating with short laces. |
| Draw Dots on The Shoelaces | It helps them know where to hold the lace. It will help them to create correct-sized loops. |
| Try Different Tying Methods | If the traditional method isn’t working, try a different way to avoid frustration. It will make the learning process enjoyable, You may find a quick and fun method that works well for you. |
Thanks for visiting helpshoe.com
References